
>>

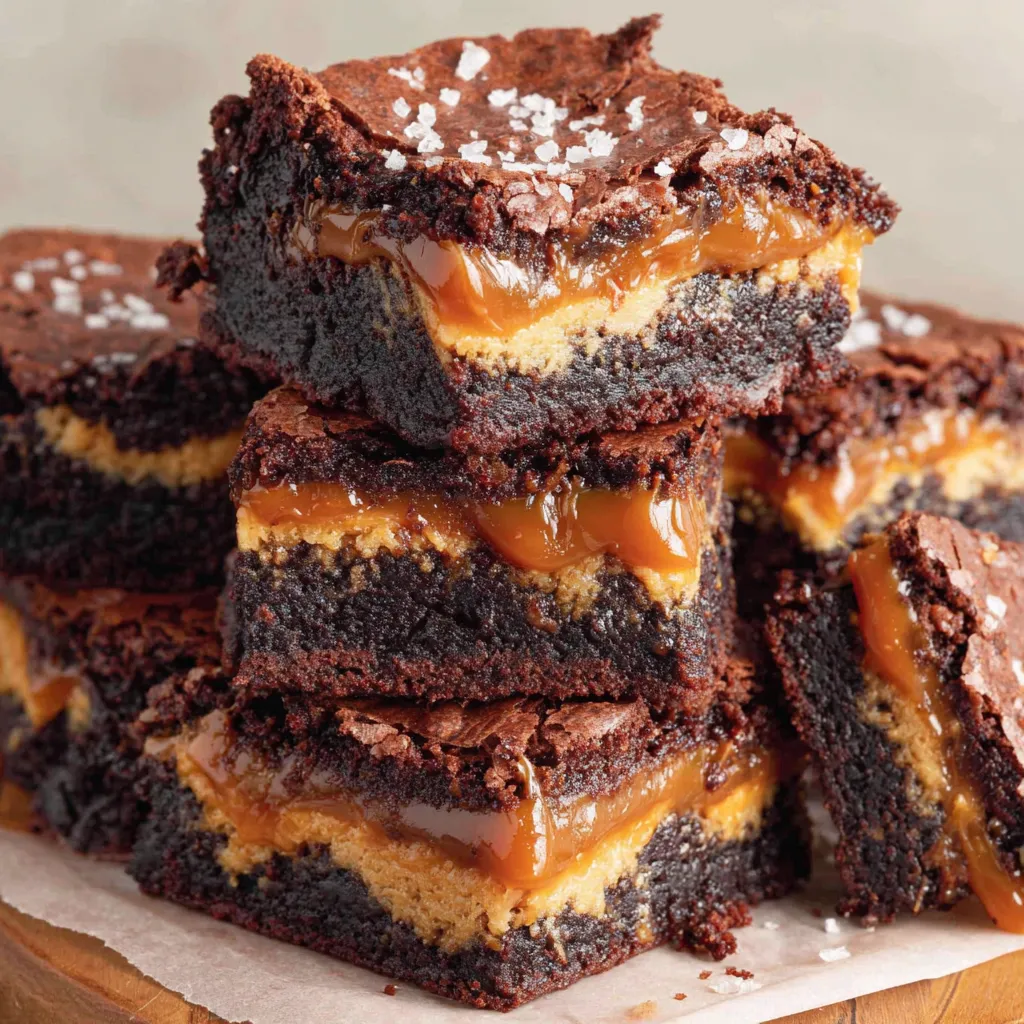
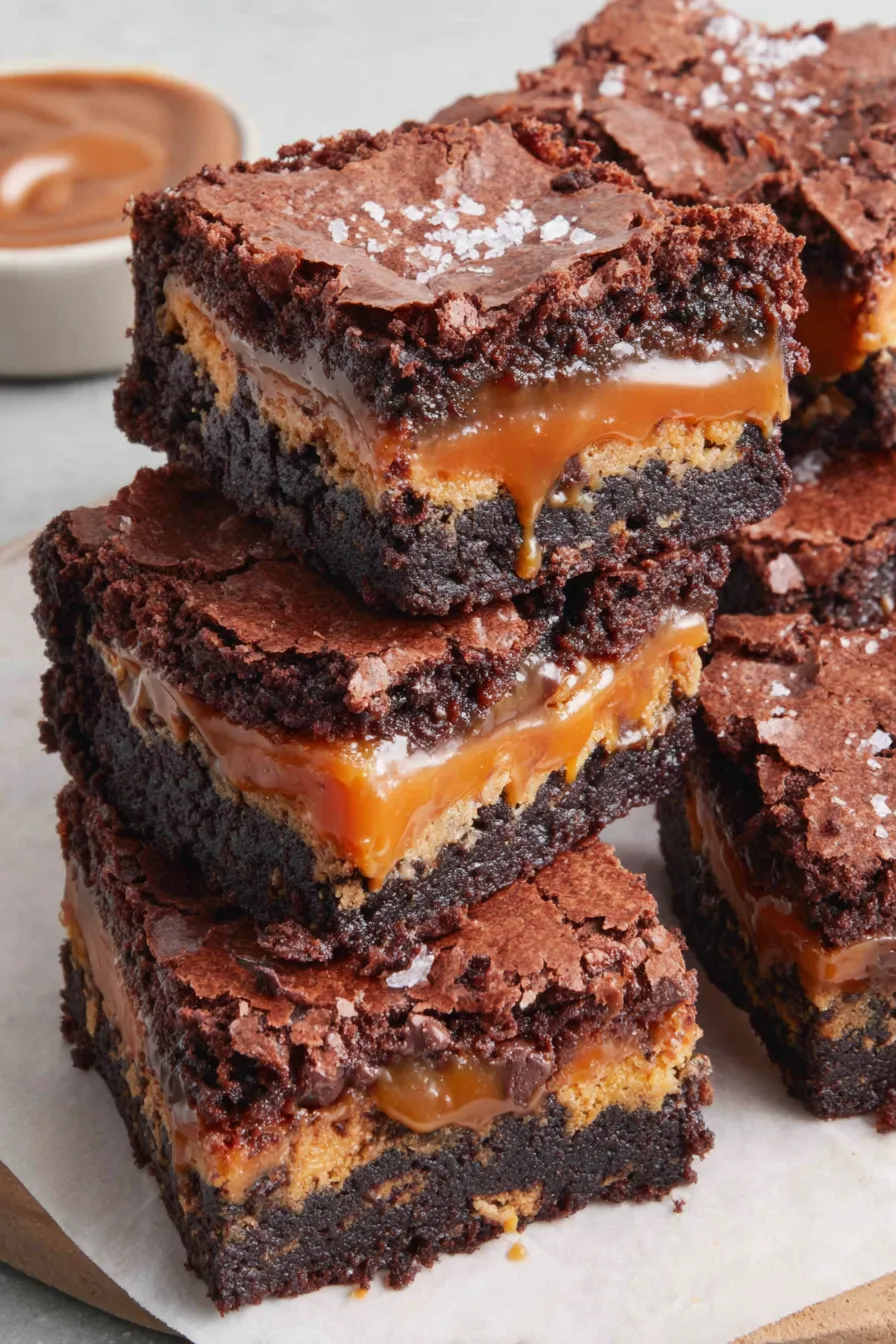
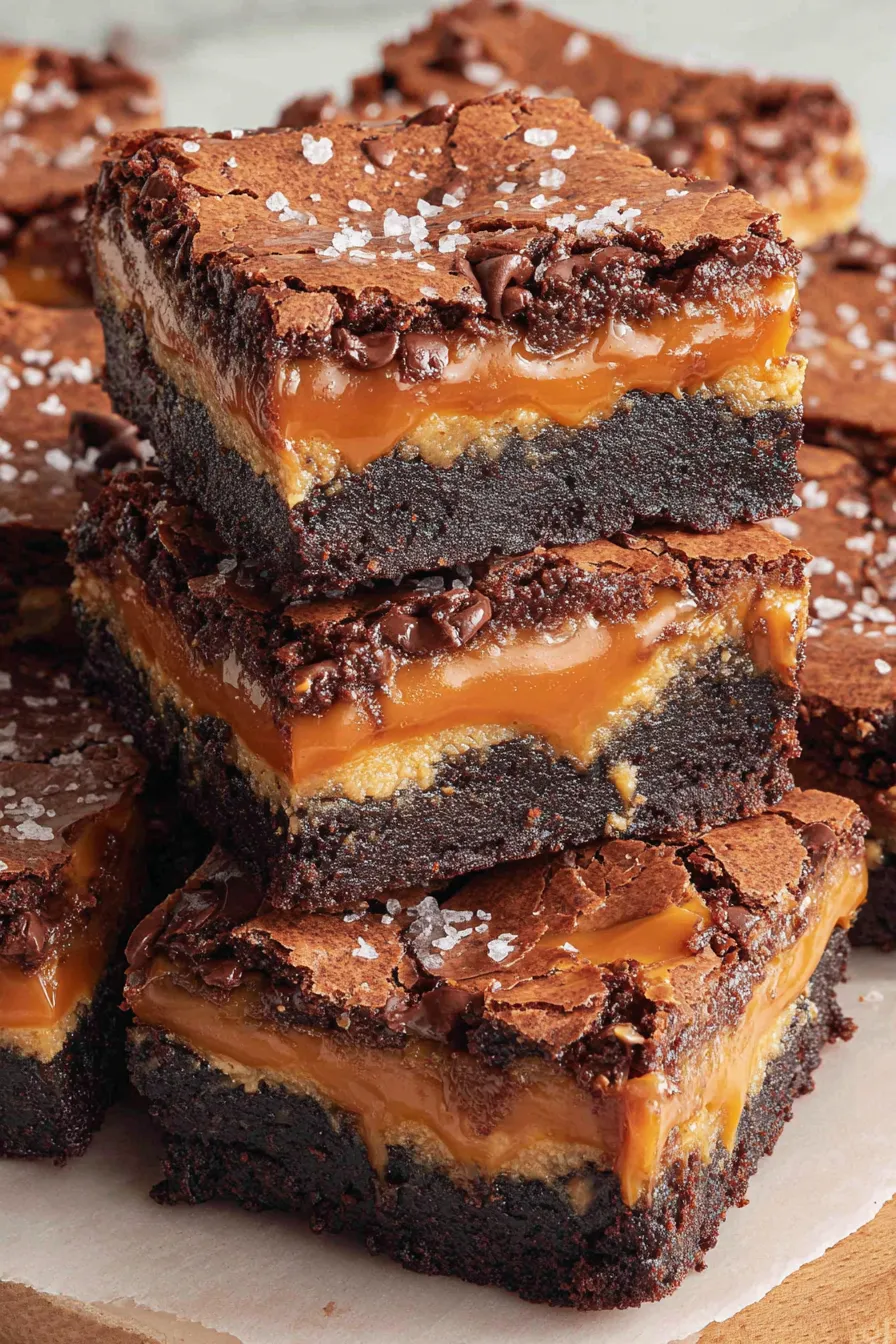
Decadent fudgy brownies swirled with homemade caramel made from sweetened condensed milk and soft caramels, finished with flaky sea salt for a perfect sweet-salty balance.
I still remember the first time I brought these to a family dinner: the platter returned empty and my aunt asked for the recipe within minutes. They’re simple enough to make on a weeknight but glamorous enough for a celebration. The caramel swirl surprises people who expect plain brownies, and the flaky salt takes it from homemade to bakery-worthy.
My favorite part is watching the caramel ribbon form between the layers as it bakes — it creates those rustic swirls that look bakery-made. The combination of chocolate’s slight bitterness and caramel’s toffee notes, finished with a pinch of flaky salt, always pulls people in and makes these brownies a highlight of any dessert table.
Allow the brownies to cool fully before storing to avoid condensation. Keep them in a single layer in an airtight container at room temperature for up to four days; layer pieces with parchment to prevent sticking. For longer storage, wrap individual squares tightly in plastic wrap and place in a freezer-safe bag for up to three months. Thaw overnight in the refrigerator or at room temperature for a couple of hours, then bring to room temperature before serving to restore the chewy texture.
If you need to adapt the recipe: substitute chopped dark or milk chocolate for the chips for a different intensity; use coconut oil in place of butter for a dairy twist but expect a slight change in texture. For a gluten-free version, replace the all-purpose flour with a 1-to-1 gluten-free baking flour that contains xanthan gum; texture will be slightly different but still delicious. To reduce sweetness, swap semi-sweet chips for 60–72% dark chocolate and use a smaller amount of caramel or a partially unsweetened dulce de leche.
Serve warm with a scoop of vanilla ice cream and an extra drizzle of warmed caramel for a decadent dessert, or cut into smaller squares for a party platter. These are excellent with strong coffee or salted caramel lattes. Garnish with toasted pecans or walnuts for crunch, or top with a light dusting of cocoa powder for presentation. They work well as a sweet finish to a rich dinner like braised short ribs or alongside seasonal fruit.
Chocolate-butter bar combinations have long been a part of American baking tradition, evolving from simple cocoa slab treats to layered bars with fillings like caramel or peanut butter. The use of sweetened condensed milk as a shortcut to caramel has roots in home baking where convenience met richness — condensed milk yields a dense, creamy toffee-like sauce with minimal effort, a technique popular in both North American and European home kitchens.
For autumn and winter, fold in 1/2 teaspoon of ground cinnamon and a pinch of nutmeg to the batter for warm spice notes; top with crushed candied pecans. In summer, serve chilled squares with lightly macerated berries to cut through the richness. For holiday baking, press a few crushed peppermint candies into the top when the caramel is still tacky for a festive twist.
Make the batter and the caramel a day ahead and assemble just before baking for fresher texture. Store the unbaked pan tightly covered in the refrigerator for up to 24 hours — bring to room temperature before baking and expect an extra 5–10 minutes of oven time. For a quick dessert, bake the day before and finish with the warmed reserved caramel and salt right before serving.
These salted caramel squares have become a household favorite because they are easy to make, look impressive, and taste like something from a boutique bakery. Don’t be afraid to make them your own — the method is flexible and forgiving, and the results are reliably crowd-pleasing. Happy baking from Delishum — enjoy every chewy, caramel-streaked bite!
Use room-temperature eggs so they incorporate smoothly for an even texture.
Warm the condensed milk slowly and stir constantly when melting caramels to prevent scorching.
Line the pan with parchment paper overhang for easy removal and cleaner cuts.
Allow the pan to cool completely before drizzling extra caramel to prevent it from running off the warm bars.
This nourishing salted caramel brownies recipe is sure to be a staple in your kitchen. Enjoy every moist, high protein slice — it is perfect for breakfast or as a wholesome snack any time.
Yes — freeze individual squares wrapped tightly for up to 3 months. Thaw overnight in the refrigerator and bring to room temperature before serving.
For gooey centers, bake for about 35 minutes. For more set bars, bake closer to 45 minutes. Look for edges set and a few moist crumbs on a toothpick inserted in the center.
This Salted Caramel Brownies recipe makes perfectly juicy, tender, and flavorful steak every time! Serve with potatoes and a side salad for an unforgettable dinner in under 30 minutes.
Preheat oven to 350°F. Grease an 8x8-inch pan and line with parchment paper, leaving an overhang to lift the finished bars.
Whisk melted butter and cocoa powder until smooth. Add sugars, eggs, vanilla, and 1/2 teaspoon salt; whisk until glossy. Fold in flour and chocolate chips until just combined.
Spread half of the batter evenly in the prepared pan to form the bottom layer for the caramel.
Warm the sweetened condensed milk over medium-low heat for about 3 minutes, stirring. Add unwrapped caramels and remaining 1/2 teaspoon salt, stirring until melted and smooth; remove from heat.
Pour two-thirds of the caramel over the brownie base. Dollop remaining batter over the caramel in spoonfuls; reserve some caramel for drizzling after baking.
Bake 35–45 minutes until edges are set and center has moist crumbs on a toothpick. Cool completely on a wire rack before drizzling reserved caramel and sprinkling flaky salt. Cut into squares.
Last Step: Please leave a rating and comment letting us know how you liked this recipe! This helps our business to thrive and continue providing free, high-quality recipes for you.
Leave a comment & rating below or tag
@delishum on social media!

Thick chocolate chunk brownies crowned with melted mini marshmallows and drenched in glossy chocolate frosting for the ultimate fudgy, crowd-pleasing bite.

Buttery shortbread crust meets a lush brown sugar pecan topping. Crunchy, caramelly, and ready with just 10 minutes of prep for effortless indulgence.

Ultra-smooth pumpkin cheesecake with warm spice and a sturdy graham crust. A showstopper on its own, unforgettable with caramel and rum-kissed whipped cream.
Leave a comment & rating below or tag @delishum on social media!
Enjoyed this recipe? Share it with friends and family, and don't forget to leave a review!
This recipe looks amazing! Can't wait to try it.
Comments are stored locally in your browser. Server comments are displayed alongside your local comments.

Join to receive our email series which contains a round-up of some of our quick and easy family favorite recipes.
