
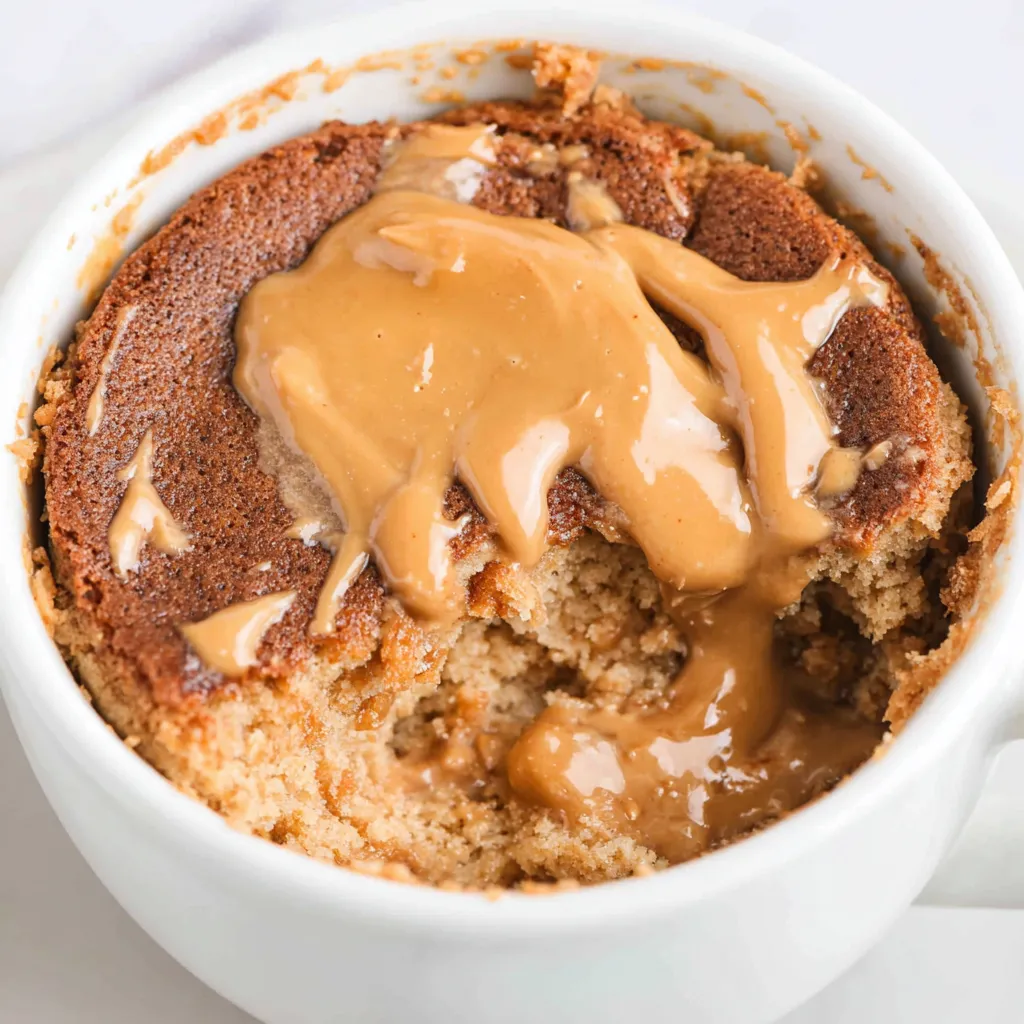
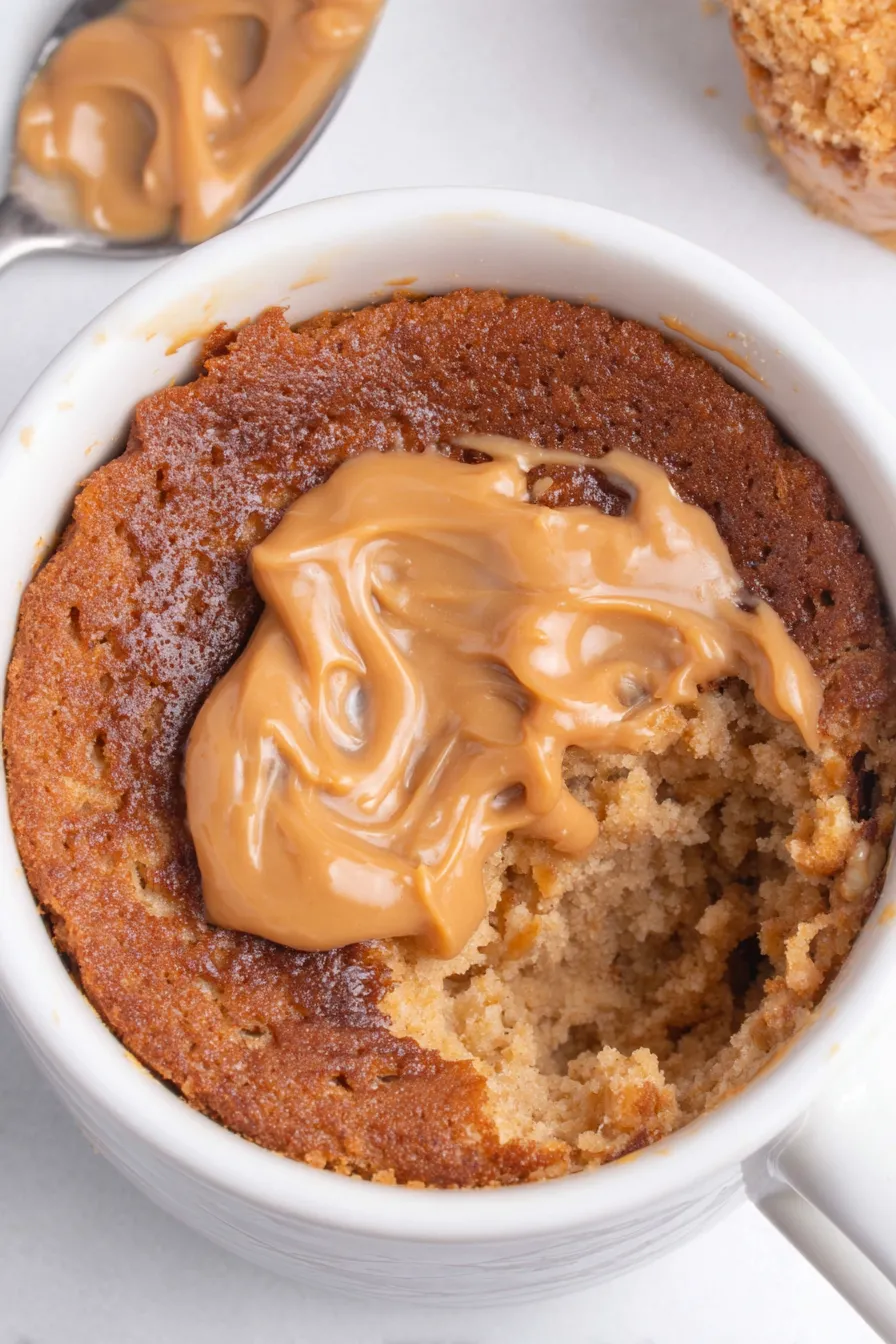
Peanut Butter Cake in a Mug

A single-serve, ultra-easy peanut butter mug cake ready in under three minutes — rich, tender, and perfect for a quick sweet fix.
Why You'll Love This Recipe
- Ready in under 3 minutes from mixing to cooling, ideal for single-serve cravings and last-minute desserts.
- Uses pantry staples — self-rising flour, sugar, creamy peanut butter and milk — so you rarely need a store run.
- No eggs required, making it easy to prepare for those with limited ingredients and quick to whisk together.
- Highly customizable: swap the garnish, add chocolate chips, or fold in a spoonful of jam for a peanut-butter-and-jelly twist.
- Minimal cleanup — the mug you eat from is the only dish, great for busy weeknights or dorm living.
- Comforting texture: a tender crumb with a slightly fudgy center thanks to the peanut butter and melted butter combination.
My family always giggles at how something so simple can taste so good. Once, I made two of these while babysitting — the kids declared them the best mug cakes ever and requested them for breakfast the next day. That kind of immediate approval is exactly why this has earned a permanent spot in my quick-dessert repertoire.
Ingredients
- Self-rising flour (4 tablespoons): Choose a well-known brand with consistent rising action; sift or stir the flour in the measuring spoon to prevent packed measurements. Self-rising saves a step by already including leavening.
- Granulated sugar (3 tablespoons): Standard white sugar adds sweetness and structure. For slightly more caramel notes, use a blend of cane sugar and light brown sugar, but keep total volume the same.
- Creamy peanut butter (4 tablespoons): The backbone of the flavor and moisture. Use a smooth, well-stirred jar for even incorporation — natural varieties work but may alter texture if oil separation hasn’t been mixed back in.
- Extra peanut butter for garnish (1 tablespoon, optional): A small dollop on top melts into a glossy finish; use a high-quality brand for best flavor in the center.
- Whole milk (3 tablespoons): Adds tenderness and helps dissolve sugar. If you only have reduced fat milk, the cake will still work but may be slightly less rich.
- Salted sweet cream butter, melted (3 tablespoons): Provides richness and a tender crumb. Unsalted butter can be used, but add a pinch of salt to balance flavors.
- Pure vanilla extract (1/2 teaspoon): Small but important — vanilla rounds and uplifts the peanut butter aroma for a more complete dessert experience.
Instructions
Combine dry ingredients: Use a 14-ounce microwave-safe mug to combine 4 tablespoons self-rising flour and 3 tablespoons granulated sugar. Stir thoroughly so there are no pockets of sugar or flour — you want an even base. A whisk or fork helps aerate the flour slightly, improving texture. Visual cue: the mixture should look uniform and slightly powdery with no clumps. Add the peanut butter and liquids: Add 4 tablespoons creamy peanut butter, 3 tablespoons whole milk, 3 tablespoons melted salted sweet cream butter and 1/2 teaspoon vanilla extract to the mug. Stir vigorously until fully incorporated; the batter will be fairly thick but smooth. Scrape the sides with a spoon to ensure everything is mixed. If your peanut butter is very stiff, microwave it for 10 seconds first to loosen it. Microwave to cook: Microwave on high for 1 minute 30 seconds to 1 minute 45 seconds. Microwaves vary: start at 1:30 and test by inserting a toothpick in the center — it should come out with a few moist crumbs, not raw batter. Look for a domed top and slight spring when pressed gently with a fingertip (using a spoon to avoid burns). Overcooking will dry the cake, so err on the shorter side. Cool and garnish: Allow the mug to cool for 2 to 3 minutes before serving. While cooling, place 1 tablespoon peanut butter on top; the residual heat will soften and melt it. Use the back of a spoon to gently spread the melted peanut butter for an even, glossy finish. If desired, add a sprinkle of flaky salt or a few chocolate chips for contrast.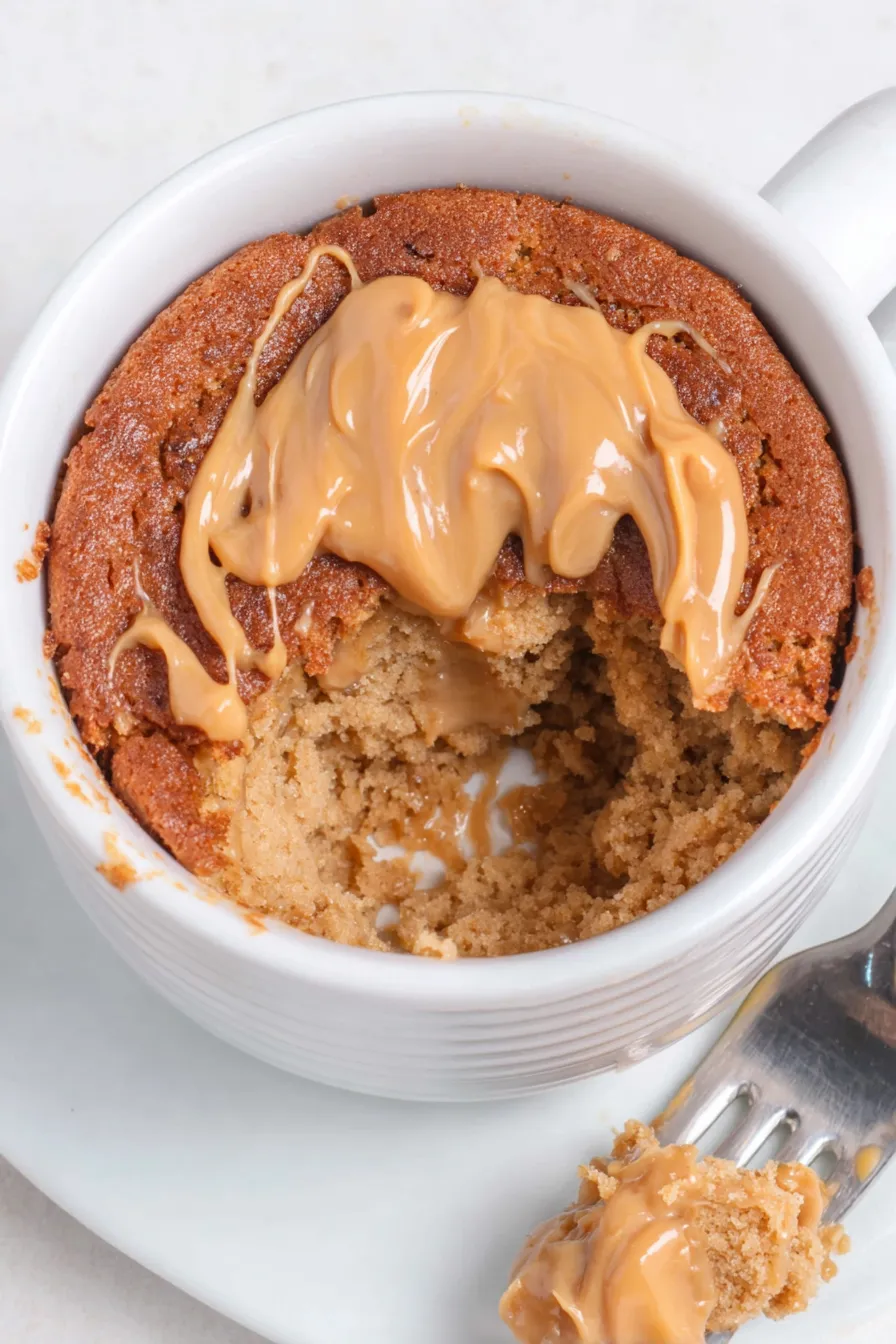
You Must Know
- This single-serve cake contains concentrated calories and fat due to the peanut butter and butter — keep portioning in mind if tracking intake.
- Leftovers store well in the refrigerator for up to 48 hours; reheat briefly in the microwave for 15 to 20 seconds to restore warmth.
- Freezing is possible: remove cake from the mug and wrap tightly, freeze up to 1 month, then thaw and reheat gently to avoid sogginess.
- Microwave power differences mean you may need to adjust by +/- 15 seconds; check early to prevent overcooking.
My favorite part is the immediate comfort it provides — the smell of warm peanut butter fills the kitchen and always prompts compliments. One winter evening I made this while reading by the window; the simple ritual of measuring, mixing and tasting that first spoonful felt indulgent and oddly grounding. Friends who visit now expect I’ll have the ingredients on hand for an impromptu treat.
Storage Tips
Store the cooled cake in the refrigerator in an airtight container or covered with plastic wrap for up to 48 hours. If keeping it in the original mug, press cling film directly on the surface to limit condensation. To reheat, microwave for 10 to 20 seconds — check after 10 seconds as microwave wattage varies. For freezing, remove the cake from the mug, wrap tightly in plastic and aluminum foil, and freeze for up to one month. Thaw in the refrigerator overnight and reheat gently to retain moisture; avoid rapid high-heat reheats that can make the crumb gummy.
Ingredient Substitutions
If you don’t have self-rising flour, make your own by combining 4 tablespoons all-purpose flour with 1/8 teaspoon baking powder and a pinch of salt. Swap whole milk for oat or almond milk for a slightly different mouthfeel; the cake will be less rich but still tasty. To reduce calories, replace 1 tablespoon of butter with mashed banana or unsweetened applesauce, though the texture will be softer and less glossy. Use natural peanut butter if you prefer a more pronounced nut flavor, but stir the oil back in before measuring to keep consistency uniform.
Serving Suggestions
Serve the cake warm in the mug with a dollop of peanut butter melted on top, a drizzle of honey, or a few dark chocolate shavings for contrast. For brunch, pair with a cup of strong coffee or a creamy latte to balance the richness. Garnish with flaky sea salt to lift the flavors or add fresh berries for acidity. For an elegant touch, serve alongside a scoop of vanilla ice cream on a small plate; the contrast between hot cake and cold ice cream is delightful.
Cultural Background
Single-serve microwave cakes are a modern convenience born from the desire for immediate satisfaction and minimal cleanup. Peanut butter, a distinctly American pantry staple since the early 20th century, lends both protein and nostalgia to this mug treat. While not tied to a single regional tradition, the combination of peanut butter and sweet baked goods echoes classic American flavors like peanut butter cookies and sandwiches, adapted here into a compact, fast-cooking format that suits busy lives and small kitchens.
Seasonal Adaptations
In winter, stir in a pinch of cinnamon and nutmeg and top with a spoonful of hot caramel for a cozy holiday version. For summer, fold in chopped peanuts and a spoonful of strawberry jam for a peanut-butter-and-jelly riff that feels light and fresh. Around Halloween, add a few orange zest and mini chocolate chips for festive color. Adjust moisture slightly for warmer months by reducing the melted butter by 1/2 tablespoon to avoid an overly oily finish.
Meal Prep Tips
Make several components ahead: pre-measure dry ingredients into small jars for quick assembly or portion out peanut butter into tablespoon containers. If preparing multiple servings for guests, use ramekins and reduce microwave time slightly to ensure even cooking. For packed lunches, cool completely before wrapping and store in the refrigerator, reheating briefly before eating. Label any frozen cakes with the date and a brief reheating note to avoid overcooking later.
There’s joy in turning a handful of pantry ingredients into a warm, satisfying treat in minutes. Whether you keep it as a midnight indulgence or a planned solo dessert, this peanut butter mug cake rewards curiosity and invites small personal tweaks. Try it once and you’ll find it’s one of those little kitchen wins you’ll return to again and again.
Pro Tips
Stir the peanut butter briefly in the jar if oil separation has occurred before measuring to ensure consistent texture.
Start with the lower microwave time and check — overcooking leads to dryness quickly with single-serve mug bakes.
If your peanut butter is stiff, warm it for 8 to 10 seconds before mixing to help the batter come together smoothly.
Press a few chocolate chips into the top immediately after cooking so they melt slightly and create a glossy finish.
This nourishing peanut butter cake in a mug recipe is sure to be a staple in your kitchen. Enjoy every moist, high protein slice — it is perfect for breakfast or as a wholesome snack any time.
FAQs about Recipes
How long should I microwave the mug cake?
Microwaves vary; start at 1 minute 30 seconds and add 10- to 15-second increments if needed. The center should be set with a few moist crumbs.
Can I freeze the mug cake?
Yes. Once cooled, wrap tightly and freeze for up to 1 month. Thaw overnight in the refrigerator and reheat briefly before serving.
Can I make substitutions for dietary needs?
You can use natural peanut butter, but mix the oil back in before measuring. For dairy-free, use plant-based milk and a non-dairy butter substitute.
Tags
Peanut Butter Cake in a Mug
This Peanut Butter Cake in a Mug recipe makes perfectly juicy, tender, and flavorful steak every time! Serve with potatoes and a side salad for an unforgettable dinner in under 30 minutes.
Instructions
Combine dry ingredients
In a 14-ounce microwave-safe mug, add 4 tablespoons self-rising flour and 3 tablespoons granulated sugar. Stir until evenly combined and free of clumps so the base is uniform.
Add peanut butter and liquids
Add 4 tablespoons creamy peanut butter, 3 tablespoons whole milk, 3 tablespoons melted salted butter and 1/2 teaspoon vanilla. Stir thoroughly until smooth and scrape the mug sides to ensure full incorporation.
Microwave the cake
Microwave on high for 1 minute 30 seconds to 1 minute 45 seconds. Start at 1:30 and test with a toothpick; it should come out with a few moist crumbs. Do not overcook to avoid dryness.
Cool and finish
Let the mug cool for 2 to 3 minutes. Dollop 1 tablespoon peanut butter on top so it melts from the residual heat, then spread gently for a glossy finish. Serve warm.
Last Step: Please leave a rating and comment letting us know how you liked this recipe! This helps our business to thrive and continue providing free, high-quality recipes for you.
Nutrition
Did You Make This?
Leave a comment & rating below or tag
@delishum on social media!
Categories:
You might also like...

Gooey Marshmallow Chocolate Brownies
Thick chocolate chunk brownies crowned with melted mini marshmallows and drenched in glossy chocolate frosting for the ultimate fudgy, crowd-pleasing bite.

Buttery Pecan Pie Bars
Buttery shortbread crust meets a lush brown sugar pecan topping. Crunchy, caramelly, and ready with just 10 minutes of prep for effortless indulgence.

No-Crack Pumpkin Cheesecake
Ultra-smooth pumpkin cheesecake with warm spice and a sturdy graham crust. A showstopper on its own, unforgettable with caramel and rum-kissed whipped cream.
Did You Make This?
Leave a comment & rating below or tag @delishum on social media!
Rate This Recipe
Share This Recipe
Enjoyed this recipe? Share it with friends and family, and don't forget to leave a review!
Comments (1)
This recipe looks amazing! Can't wait to try it.
Comments are stored locally in your browser. Server comments are displayed alongside your local comments.

Hi, I'm Amelia!
What's Popular

30-Minute Meals!
Join to receive our email series which contains a round-up of some of our quick and easy family favorite recipes.