
>>

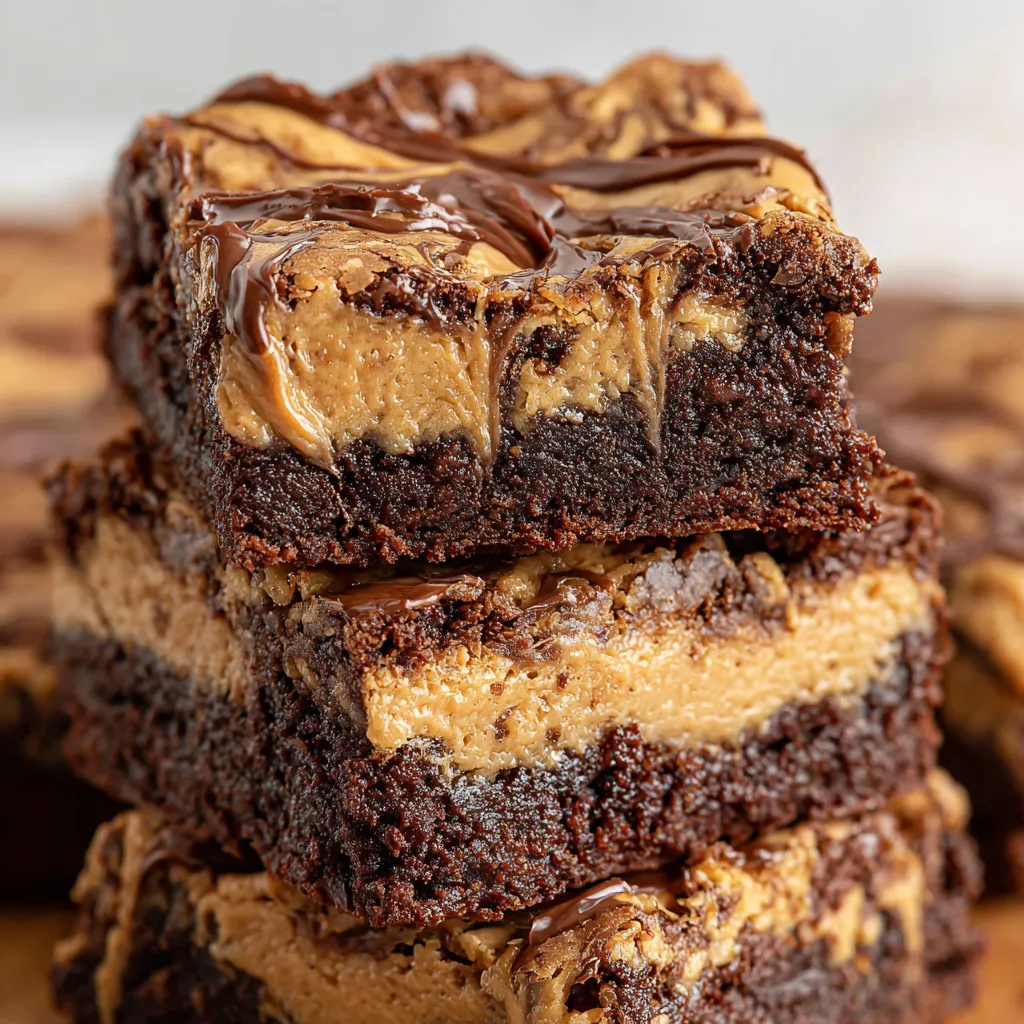
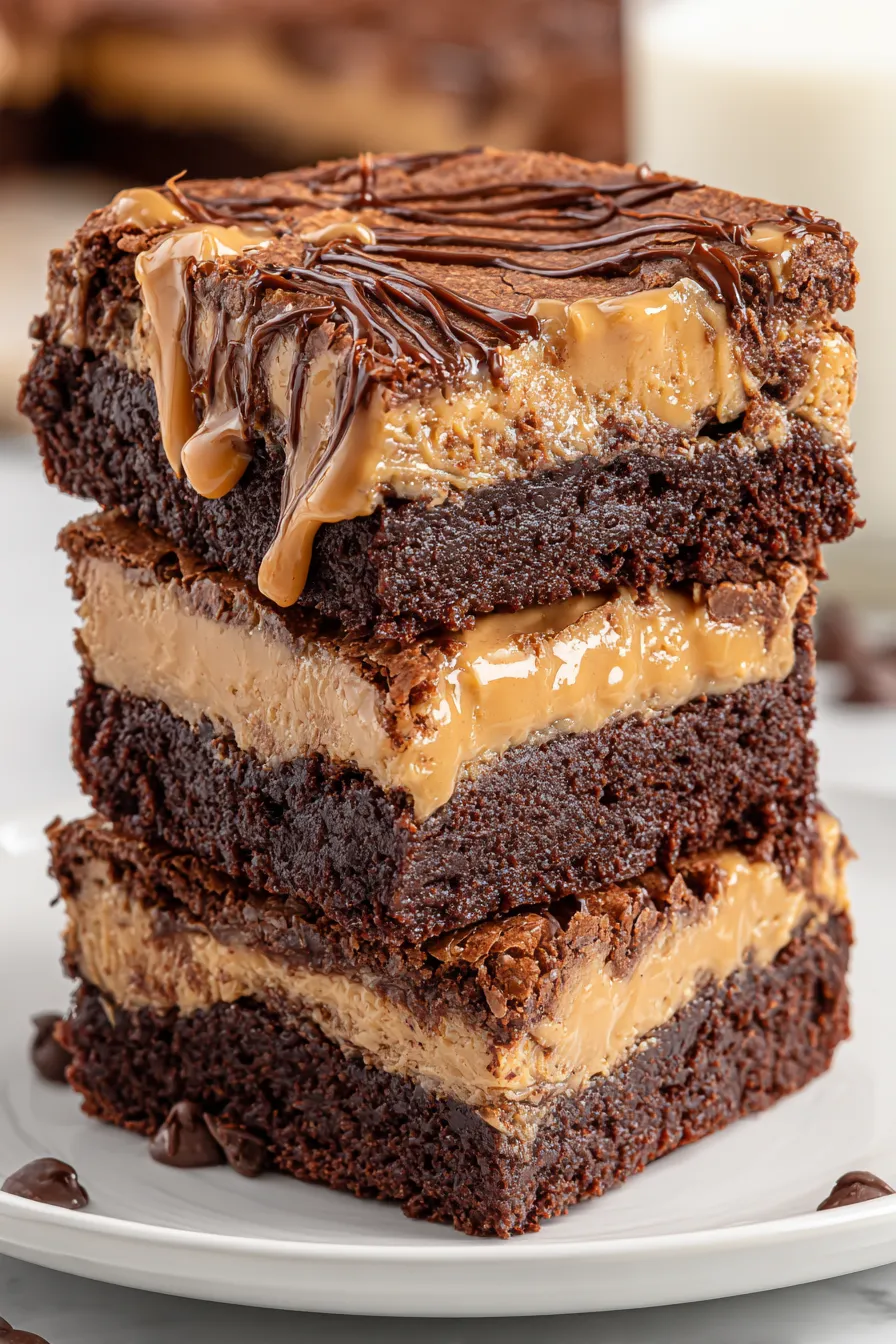
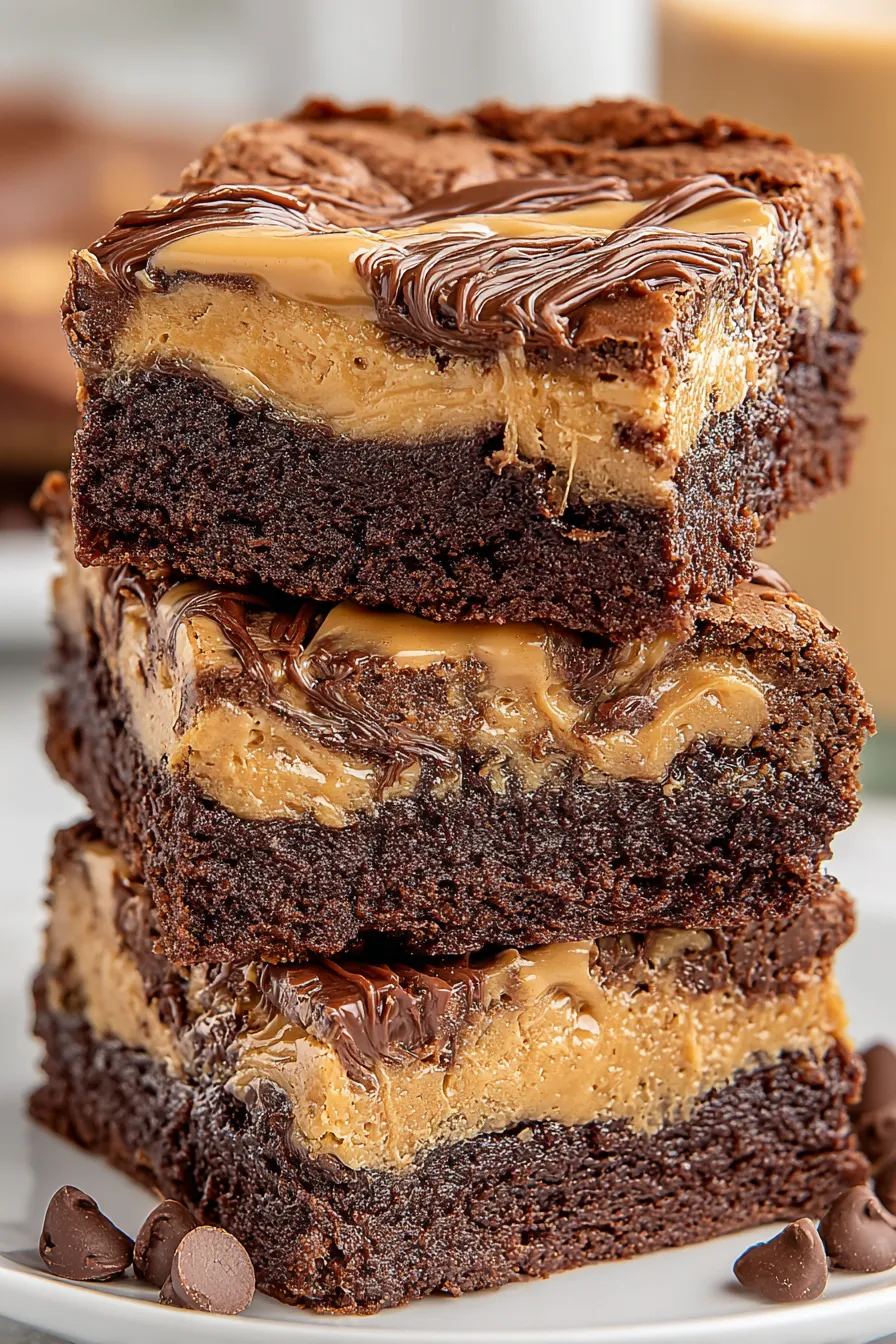
Fudgy, chocolate-packed squares ribboned with creamy peanut butter swirls — a nostalgic treat that’s easy to make and impossible to resist.
This peanut butter brownie is one of those comforting desserts that feels like a warm kitchen memory the moment it comes out of the oven. I first developed this version during a weekend when I had both a jar of creamy peanut butter and a stubborn craving for a dense, fudgy brownie. Combining the two produced something richer than the sum of its parts: deep chocolate flavor, tender yet slightly gooey crumb, and pockets of rich peanut butter that cut through the sweetness with a savory nutty note. It became an instant favorite at family gatherings, and my nieces still ask for the "swirled brownies" whenever they visit.
What sets this version apart is balance — the batter uses melted butter for a glossy, fudgy texture, two kinds of sugar to add chew and depth, and just enough flour and cocoa to create a tender structure without drying out. The peanut butter is split so most becomes little ribbons inside the bars while a smaller portion is heated and drizzled on top for attractive swirls. The method is straightforward: minimal beating, careful mixing, and a watchful eye in the oven. The result is a tray of brownies that slice cleanly but remain indulgently soft in the center.
I remember the first time I brought these to a potluck — within an hour there was an empty plate and several requests for the recipe. My sister, who claims not to like overly sweet desserts, loved the salty-sweet interplay from the salted butter and peanut butter. The simple technique and crowd-pleasing result make this a repeat dessert at holiday dinners and weekend get-togethers alike.
My favorite aspect is the peanut butter swirl: it makes each piece feel a little different, which guests love. At a recent backyard dinner, someone commented that the swirl looked like handcrafted marbling. It’s a small flourish that elevates simple ingredients into something that feels special and intentionally made.
Store cooled bars in a single layer in an airtight container at room temperature for up to 3 days; place a sheet of parchment between layers to prevent sticking if you stack. For longer storage, refrigerate up to 5 days to maintain texture, but bring them to room temperature before serving so the fats soften. Freeze individually wrapped squares in plastic wrap, then transfer to a sealed freezer bag for up to 3 months. To thaw, leave on the counter for an hour or heat briefly in the microwave for 8–10 seconds to revive the fudgy center.
If you need alternatives, almond butter or sunflower seed butter can replace peanut butter in a 1:1 swap — sunflower butter is a great peanut-free option. For a gluten-free version, use a 1:1 gluten-free flour blend, and sift it to remove lumps. Swap the chocolate chips for chopped chocolate bars for more intense pockets; use darker chocolate to reduce sweetness. To reduce sugar slightly, cut granulated sugar by 2 tablespoons without a dramatic change in texture, but avoid lowering both sugars or the bars will be too soft.
Serve warm with a scoop of vanilla ice cream and a drizzle of warm chocolate sauce for an indulgent dessert, or simply dust with powdered sugar for a classic finish. For a party platter, arrange squares on a board with salted roasted peanuts and fresh berries to cut richness. These squares also pair wonderfully with strong coffee or a nutty porter beer — the bitterness contrasts the sweet, nutty bars. Garnish with flaky sea salt when you want a gourmet touch.
In colder months, stir in 1/2 teaspoon ground cinnamon or a pinch of cayenne for warmth. For summer entertaining, top cooled brownies with a quick berry compote to brighten the flavor. Around holidays, fold in 1/2 cup chopped peppermint bark or mini peanut butter cups into the batter for festive variety. The base method adapts well to seasonal mix-ins without altering technique.
Make the batter a day ahead and refrigerate in an airtight bowl; bring to room temperature and give a gentle stir before layering to prevent the peanut butter from firming too much. Bake the day you plan to serve for best texture. For packed lunches or grab-and-go snacks, trim edges and wrap individual squares in wax paper; store in a chilled lunchbox if needed. Label and date frozen portions so you can rotate them easily.
These peanut butter brownies are a trustworthy go-to for celebrations and quiet weeknights alike. The technique is forgiving, the ingredients familiar, and the result always well-received. I hope you enjoy making them as much as I do — pass them around, share the recipe, and don’t be surprised when they become a request at every gathering.
Do not overmix once flour is added; stop when dry streaks disappear to keep brownies fudgy.
Warm the small portion of peanut butter briefly so it drizzles smoothly for cleaner swirls.
Use room-temperature eggs to ensure a smooth batter and even rise.
Check for doneness early; remove when a toothpick shows moist crumbs to avoid overbaking.
This nourishing peanut butter brownies recipe is sure to be a staple in your kitchen. Enjoy every moist, high protein slice — it is perfect for breakfast or as a wholesome snack any time.
This Peanut Butter Brownies recipe makes perfectly juicy, tender, and flavorful steak every time! Serve with potatoes and a side salad for an unforgettable dinner in under 30 minutes.
Preheat oven to 350°F. Line a 9x9-inch pan with parchment paper leaving an overhang and lightly spray with nonstick cooking spray so brownies lift out easily after cooling.
In a small bowl whisk together 3/4 cup flour, 1/2 cup unsweetened cocoa powder, 1/2 teaspoon baking powder, and 1/2 cup chocolate chips to ensure even distribution.
In a medium bowl add 1/2 cup melted and cooled salted butter. Stir in 3/4 cup granulated sugar, 3/4 cup light brown sugar, two room-temperature extra-large eggs, 2 teaspoons vanilla, and 1/2 teaspoon kosher salt until just combined.
Add the dry mixture to the wet ingredients and fold gently until just combined. Avoid overmixing to keep the texture fudgy rather than cakey.
Spread half the batter into the prepared pan. Dollop teaspoons of the reserved 2/3 cup creamy peanut butter over the surface so you get pockets of peanut butter in the finished bars.
Spread remaining batter over the dollops. Warm the remaining 1/3 cup peanut butter for about 10 seconds in the microwave to loosen, then drizzle over the top and swirl with a knife tip for a marbled effect.
Bake at 350°F for about 30 minutes or until a toothpick comes out with a few moist crumbs. Cool completely at room temperature for around 2 hours before lifting from the pan and cutting into 16 squares.
Last Step: Please leave a rating and comment letting us know how you liked this recipe! This helps our business to thrive and continue providing free, high-quality recipes for you.
Leave a comment & rating below or tag
@delishum on social media!

Thick chocolate chunk brownies crowned with melted mini marshmallows and drenched in glossy chocolate frosting for the ultimate fudgy, crowd-pleasing bite.

Buttery shortbread crust meets a lush brown sugar pecan topping. Crunchy, caramelly, and ready with just 10 minutes of prep for effortless indulgence.

Ultra-smooth pumpkin cheesecake with warm spice and a sturdy graham crust. A showstopper on its own, unforgettable with caramel and rum-kissed whipped cream.
Leave a comment & rating below or tag @delishum on social media!
Enjoyed this recipe? Share it with friends and family, and don't forget to leave a review!
This recipe looks amazing! Can't wait to try it.
Comments are stored locally in your browser. Server comments are displayed alongside your local comments.

Join to receive our email series which contains a round-up of some of our quick and easy family favorite recipes.
