
Mini Red Velvet Cheesecake Bites

Tender red velvet bases crowned with tangy cream cheese centers — the perfect bite-sized dessert for parties, brunch or a sweet snack.
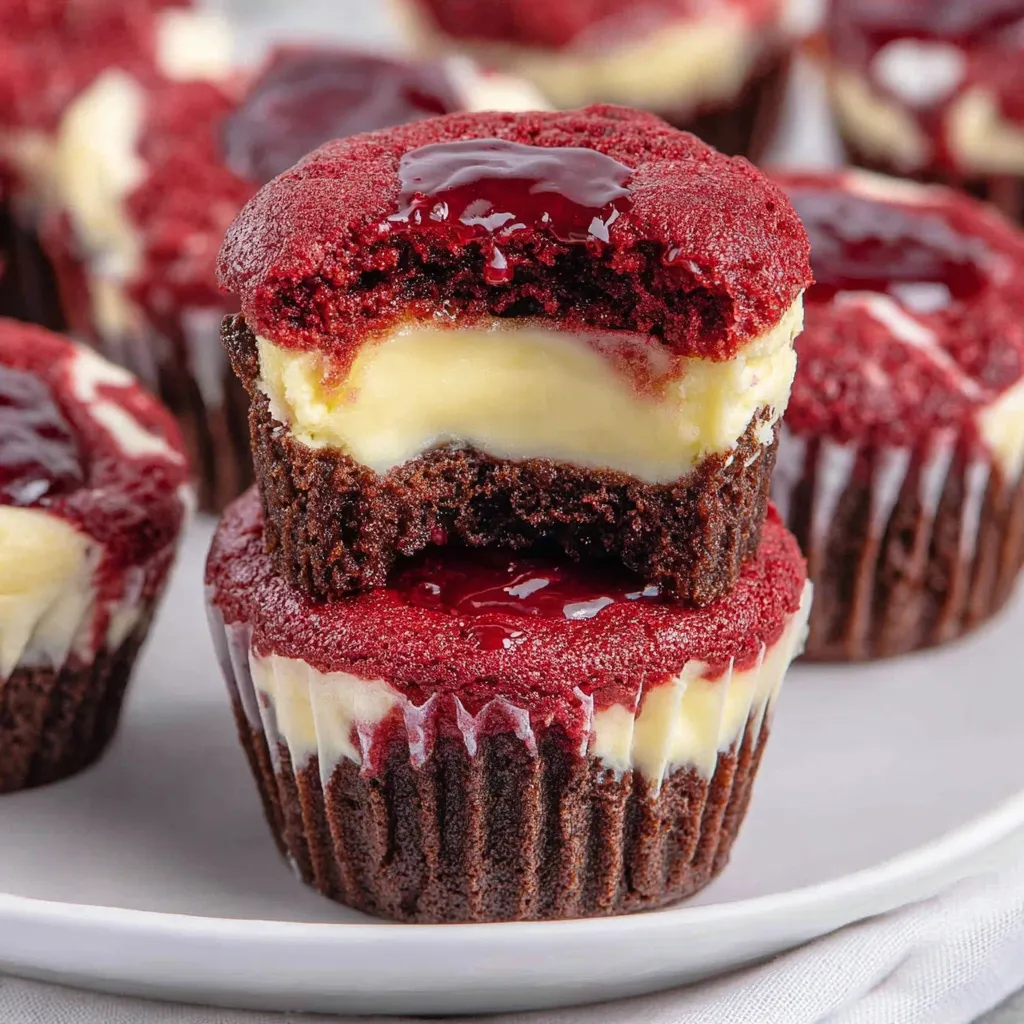
Why You'll Love This Recipe
- Quick bake time: Ready in about 30 minutes from start to finish, including quick mixing and an 8–9 minute bake — ideal when guests arrive unexpectedly.
- Accessible ingredients: Uses pantry staples like all-purpose flour, sugar, butter, and cream cheese; the red gel color (I used Sunny Side Up Bakery) gives vibrant hue without thinning the batter.
- Bite-sized convenience: Makes approximately 24 mini bites that are perfect for parties, brunch spreads, or portion-controlled treats.
- Make-ahead friendly: These freeze and reheat well — prepare a big batch and thaw as needed for last-minute entertaining.
- Crowd-pleaser texture: A tender red velvet base with a silky cheesecake center delivers a sophisticated flavor in an easy format.
- Flexible finishing: Dress them up with a tiny dollop of whipped cream, cocoa dusting, or a sprinkle of mini chocolate chips for variety.
In my kitchen these have become the dessert I turn to when I want something pretty without fuss. I often double the batch for holidays and keep a dozen in the freezer for unexpected guests. The red color never fails to prompt questions, and the cheesecake core wins everyone over — it’s one of those recipes that makes people ask for the recipe on the spot.
Ingredients
- All-purpose flour (Red Velvet Base): Use 1 cup of good-quality all-purpose flour (King Arthur or similar) for structure; measure by spooning into the cup and leveling with a knife to avoid dense crumbs.
- Unsweetened cocoa powder (Red Velvet Base): 1/4 cup plus an additional 1 tablespoon for a deeper chocolate note; use natural cocoa for a classic flavor — sift it with the flour to prevent lumps.
- Salted sweet cream butter: 3/4 cup melted and cooled; salted butter adds depth, but if you prefer control over sodium, use unsalted plus a pinch of salt.
- Granulated sugar (Red Velvet Base): 1 1/4 cups — this keeps the base tender and slightly crisp at the edges when baked in mini tins.
- Red gel food color: 1 tablespoon (I used Sunny Side Up Bakery brand) — gel color concentrates color without thinning the batter the way liquid dye can.
- Pure vanilla extract: 2 teaspoons for the base and 1 teaspoon for the filling — real vanilla makes a subtle but important difference.
- Eggs: 2 large eggs for the base (room temperature and beaten) and 1 large egg yolk for the cheesecake filling to enrich texture.
- Cream cheese: 8 ounces, softened — full-fat cream cheese yields the smoothest, creamiest filling; beat thoroughly to avoid lumps.
- Granulated sugar (Cheesecake Filling): 1/4 cup to balance the tang of the cream cheese without overpowering the red velvet flavor.
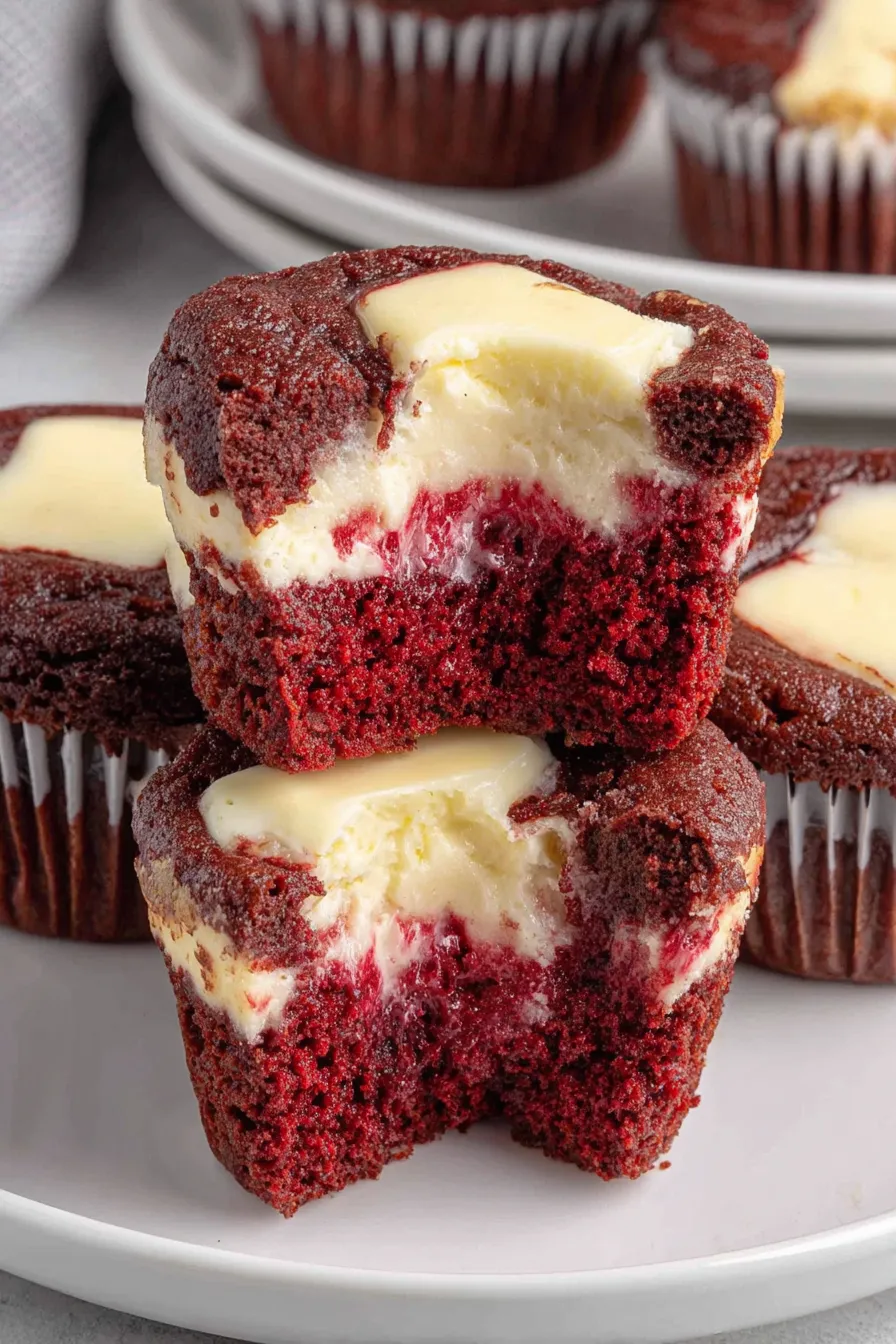
Instructions
Preheat and prepare pan: Preheat the oven to 350°F. Generously spray a mini muffin pan with nonstick cooking spray or use small liners for easier removal. Set the pan aside while you mix — a warm oven helps the batter set evenly. Combine dry ingredients: In a small bowl whisk together 1 cup all-purpose flour and 1/4 cup plus 1 tablespoon unsweetened cocoa powder until uniform. Sifting is optional but recommended to eliminate lumps and ensure even distribution. Mix wet base: In a medium bowl whisk together 3/4 cup melted and cooled salted sweet cream butter, 1 1/4 cups granulated sugar, 1 tablespoon red gel food color, 2 teaspoons pure vanilla extract, and the 2 beaten large eggs until smooth and glossy. The butter should be warm but not hot; otherwise eggs may scramble. Fold in dry ingredients: Add the flour-cocoa blend to the wet mixture and stir gently just until combined — stop when no streaks of flour remain. Overmixing develops gluten and will toughen the bases. Prepare cheesecake filling: In a separate medium bowl, beat 8 ounces softened cream cheese on medium-high with a handheld mixer for 1 minute until smooth. Add 1/4 cup granulated sugar and 1 teaspoon pure vanilla extract and mix another 1 to 1 1/2 minutes until creamy. Add 1 large egg yolk and mix just until incorporated and no yellow streaks remain. Portion batter: Transfer cheesecake filling to a disposable piping bag or a quart-size zip-top bag and snip a small corner. Spoon or pipe about 1 tablespoon of red velvet base into each prepared mini cup — aim to fill roughly two-thirds to allow room for the filling. Add filling and bake: Pipe about 2 teaspoons of cheesecake filling into the center of each red velvet base, leaving a thin border of red batter visible. Bake at 350°F for 8 to 9 minutes; the centers should look set but still slightly soft when you gently jiggle the pan. Cool and remove: Remove from the oven and allow the bites to cool in the pan for 20 to 30 minutes to firm up, then gently pop them out and transfer to a wire rack to cool completely before serving or chilling for at least 1 hour for cleaner slices.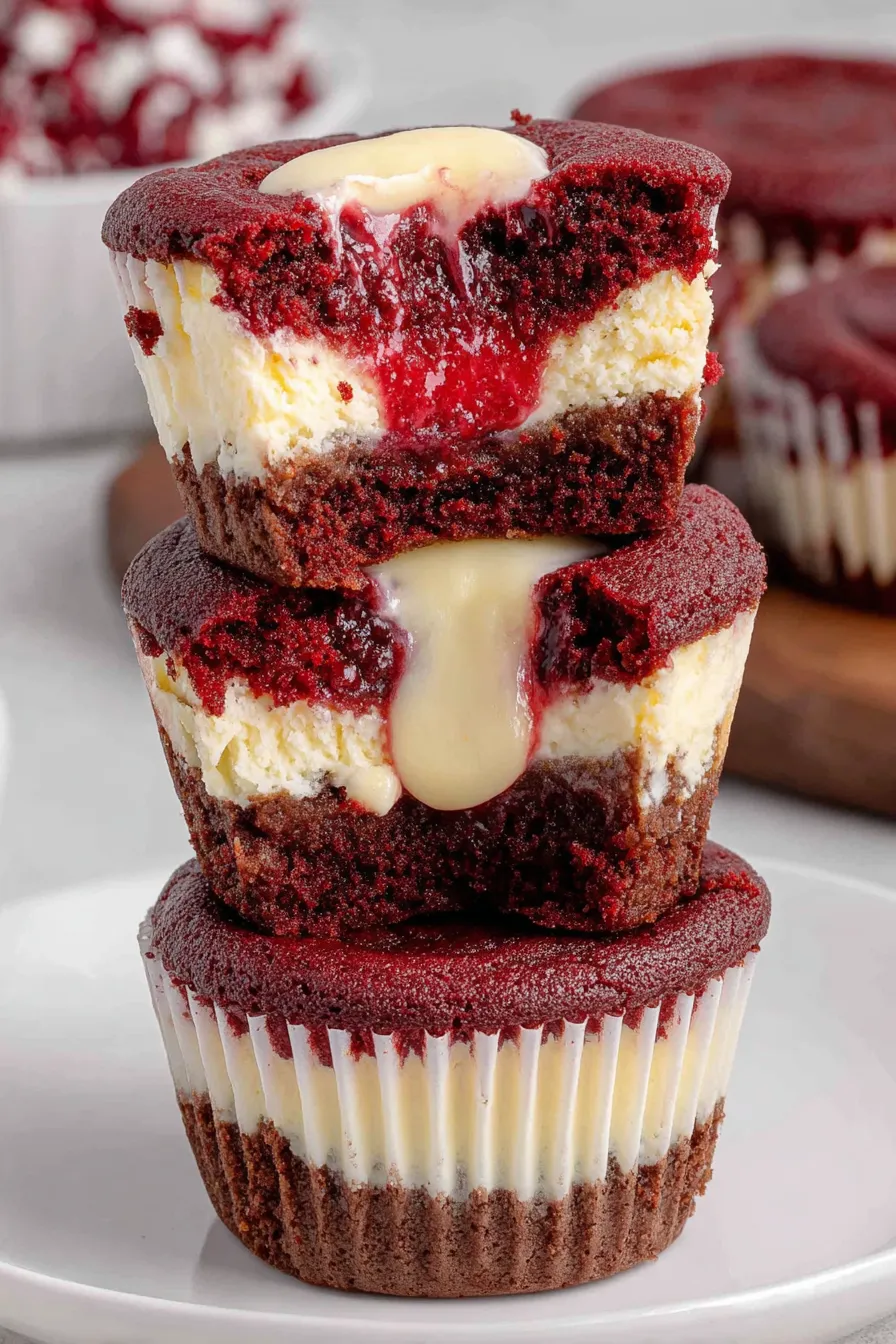
You Must Know
- Texture note: These are best when the cheesecake center is just set — overbaking will cause cracking and a dry center. 8–9 minutes is the sweet spot for most ovens.
- Storage: Store in an airtight container in the refrigerator for up to 5 days or freeze for up to 3 months. Thaw in the fridge before serving.
- Make-ahead: You can make the base and filling separately and assemble just before baking for fresher texture.
- Portion control: This recipe yields about 24 mini bites, perfect for sampling or gifting without leftovers.
- Allergens: Contains dairy, eggs, and gluten — see substitutions below for alternatives.
My favorite part is the reaction when the lid comes off the tin — that first peek at the glossy red and creamy centers. A small sprinkle of powdered sugar or a tiny chocolate curl turns these into elegant party bites. I often place them on a pretty platter and watch how quickly they disappear.
Storage Tips
To keep these mini bites at peak quality, cool completely on a wire rack before storing to prevent condensation. Refrigerate in a single layer in an airtight container with parchment paper between layers for up to 5 days. For longer storage, freeze in a rigid container with parchment between layers for up to 3 months; thaw overnight in the fridge. Reheat briefly in a 300°F oven for 5–7 minutes if you prefer them slightly warm, or serve chilled for a firmer texture.
Ingredient Substitutions
If you need to adapt, swap the salted butter for 3/4 cup unsalted butter plus 1/8 teaspoon salt. For a dairy-free version, use a vegan cream cheese substitute and vegan butter — note texture and flavor will differ slightly. To make them gluten-free, substitute a 1:1 gluten-free flour blend, but reduce mixing and avoid overbeating to prevent crumbly results. If you don’t have gel food color, use 1 to 1 1/2 teaspoons of liquid red dye, though color won’t be as intense.
Serving Suggestions
Serve these bites chilled with a dusting of powdered sugar, a tiny dollop of whipped cream, or a small piped rosette of stabilization whipped cream for parties. They pair beautifully with a cup of coffee or a light dessert wine. For a brunch spread, place alongside fresh berries and miniature scones for contrast in texture and flavor.
Cultural Background
Red velvet has roots in early 20th-century American baking, prized for its unique balance of cocoa and tangy flavor from buttermilk or vinegar. The modern craze for red-hued desserts turned it into a celebratory staple, and combining it with cream cheese draws on the classic pairing found in layer cakes and cupcakes. These mini bites are a contemporary, portable twist that nods to that history while fitting today’s snackable dessert trend.
Seasonal Adaptations
In winter, add a pinch of cinnamon to the base for warmth or top with a tiny peppermint shard for holiday flair. In summer, serve chilled with macerated strawberries or a light lemon curd spooned beside each bite to brighten the palate. For Valentine’s Day, use heart-shaped mini tins for extra charm.
Meal Prep Tips
Make the red velvet batter and the cheesecake filling ahead: the base keeps refrigerated for 24 hours, while the filling holds in a sealed container for up to 48 hours. Assemble and bake on the day you plan to serve for the best texture. For freezer-friendly prep, bake and cool completely, then freeze on a tray before transferring to a bag — this prevents sticking and maintains shape.
These mini red velvet cheesecake bites are small but memorable — perfect for sharing, gifting, or keeping for yourself. Try making a double batch and experimenting with different toppings; once you find your favorite finish, these will be on repeat for every celebration.
Pro Tips
Bring eggs and cream cheese to room temperature before mixing to ensure a lumpy-free filling.
Use gel food color to intensify hue without altering batter consistency.
Avoid overmixing the red velvet batter once flour is added to keep the bases tender.
Cool the mini bites in the pan for 20–30 minutes before removing to prevent breaking.
This nourishing mini red velvet cheesecake bites recipe is sure to be a staple in your kitchen. Enjoy every moist, high protein slice — it is perfect for breakfast or as a wholesome snack any time.
FAQs about Recipes
How long do these last in the fridge or freezer?
Store in an airtight container in the refrigerator for up to 5 days or freeze for up to 3 months. Thaw in the fridge before serving.
What is the best baking time and doneness test?
Bake for 8 to 9 minutes at 350°F. The centers should be set but slightly soft to the touch; avoid overbaking to prevent dryness.
Tags
Mini Red Velvet Cheesecake Bites
This Mini Red Velvet Cheesecake Bites recipe makes perfectly juicy, tender, and flavorful steak every time! Serve with potatoes and a side salad for an unforgettable dinner in under 30 minutes.
Ingredients
Red Velvet Base
Cheesecake Filling
Instructions
Preheat and prepare pan
Preheat the oven to 350°F and spray a mini muffin pan with nonstick cooking spray. Set aside while mixing to ensure a hot, steady oven temperature during baking.
Combine dry ingredients
Whisk together 1 cup all-purpose flour and 1/4 cup plus 1 tablespoon unsweetened cocoa powder in a small bowl; sifting helps remove lumps and distributes cocoa evenly.
Mix wet base
In a medium bowl, whisk 3/4 cup melted and cooled salted butter with 1 1/4 cups sugar, 1 tablespoon red gel color, 2 teaspoons vanilla, and the 2 beaten eggs until smooth and glossy.
Fold in dry ingredients
Stir the flour-cocoa mixture into the wet base until just combined; stop mixing when no streaks of flour remain to keep the base tender.
Prepare cheesecake filling
Beat 8 ounces softened cream cheese on medium-high for 1 minute until smooth. Add 1/4 cup sugar and 1 teaspoon vanilla and beat another 1–1 1/2 minutes. Mix in 1 egg yolk until no yellow streaks remain.
Portion batter
Pipe or spoon about 1 tablespoon of red velvet batter into each mini cup, filling roughly two-thirds to leave space for the filling.
Add filling and bake
Pipe about 2 teaspoons of cheesecake filling into the center of each base. Bake at 350°F for 8–9 minutes until centers are set but slightly soft.
Cool and remove
Cool the bites in the pan for 20–30 minutes, then transfer to a wire rack to cool completely before serving or chilling for cleaner slices.
Last Step: Please leave a rating and comment letting us know how you liked this recipe! This helps our business to thrive and continue providing free, high-quality recipes for you.
Nutrition
Did You Make This?
Leave a comment & rating below or tag
@delishum on social media!
Categories:
You might also like...
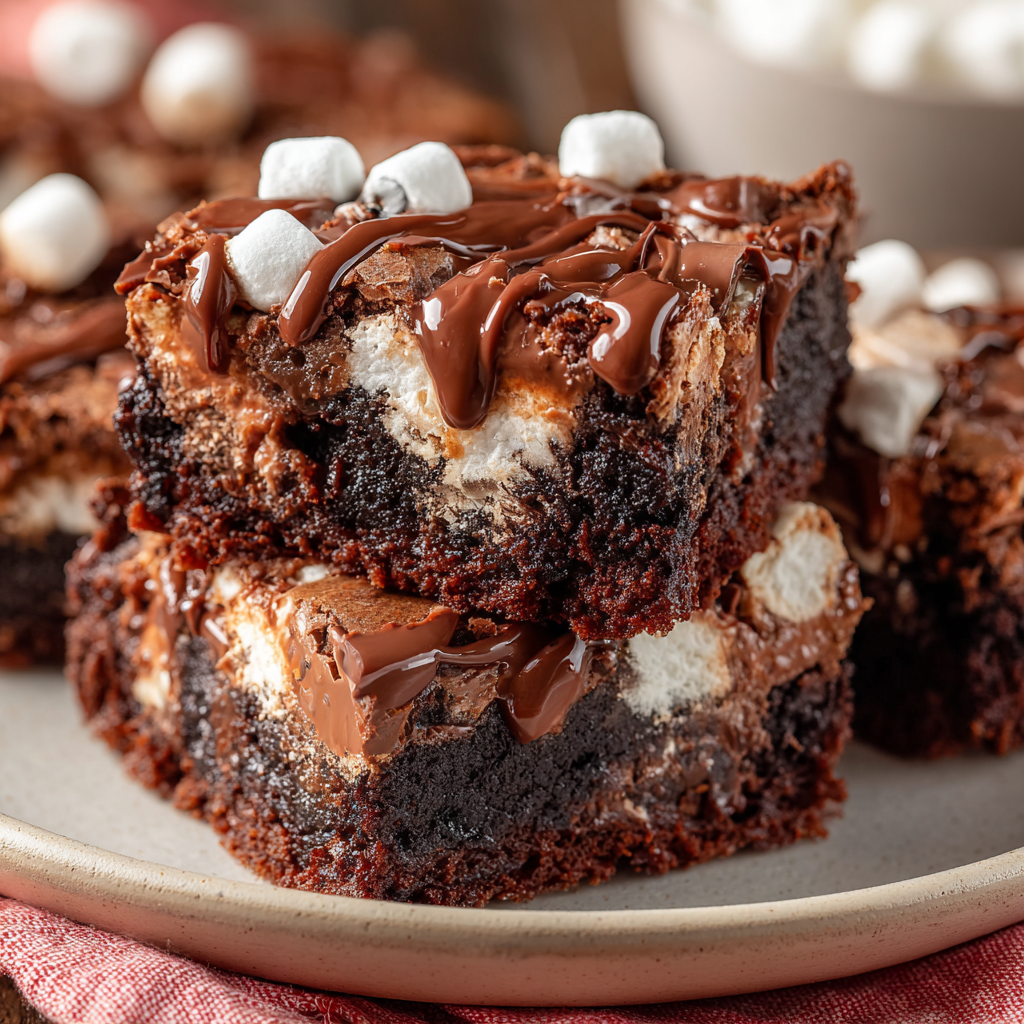
Gooey Marshmallow Chocolate Brownies
Thick chocolate chunk brownies crowned with melted mini marshmallows and drenched in glossy chocolate frosting for the ultimate fudgy, crowd-pleasing bite.
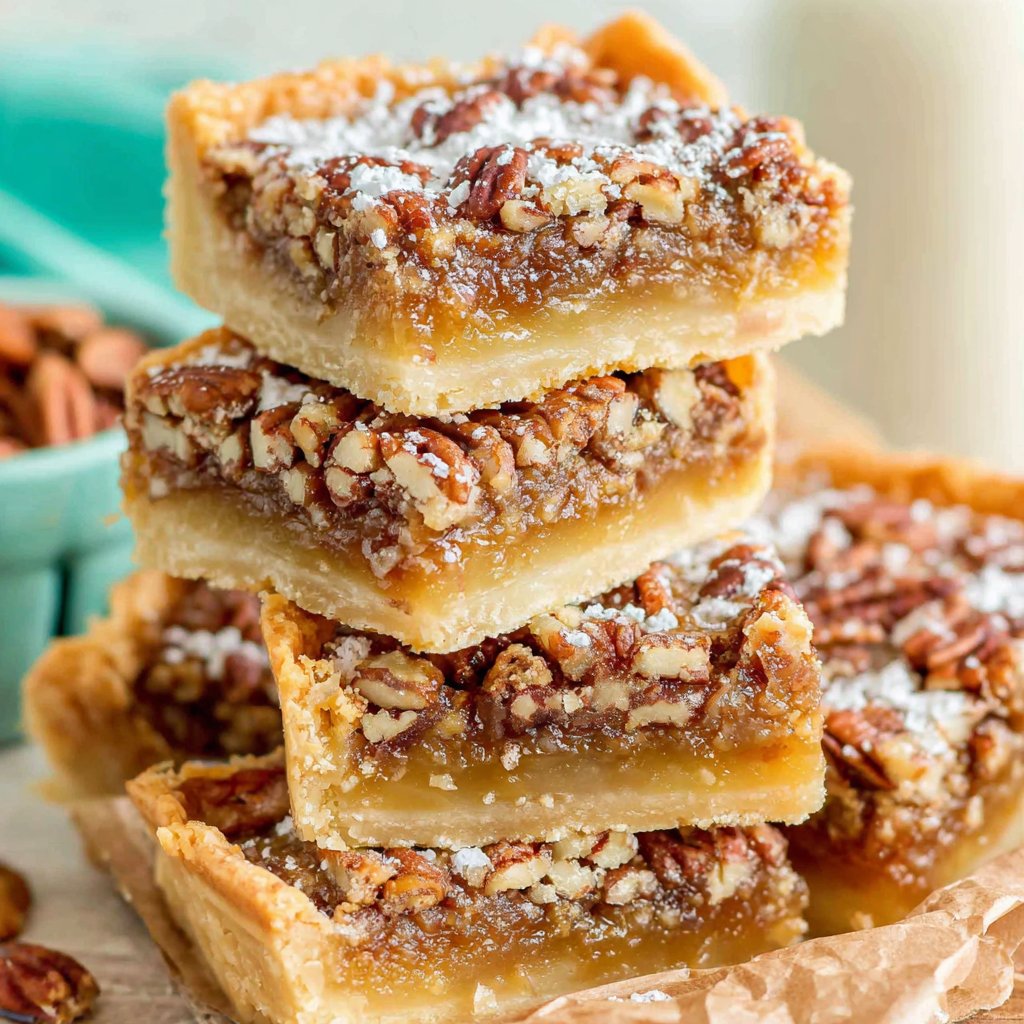
Buttery Pecan Pie Bars
Buttery shortbread crust meets a lush brown sugar pecan topping. Crunchy, caramelly, and ready with just 10 minutes of prep for effortless indulgence.
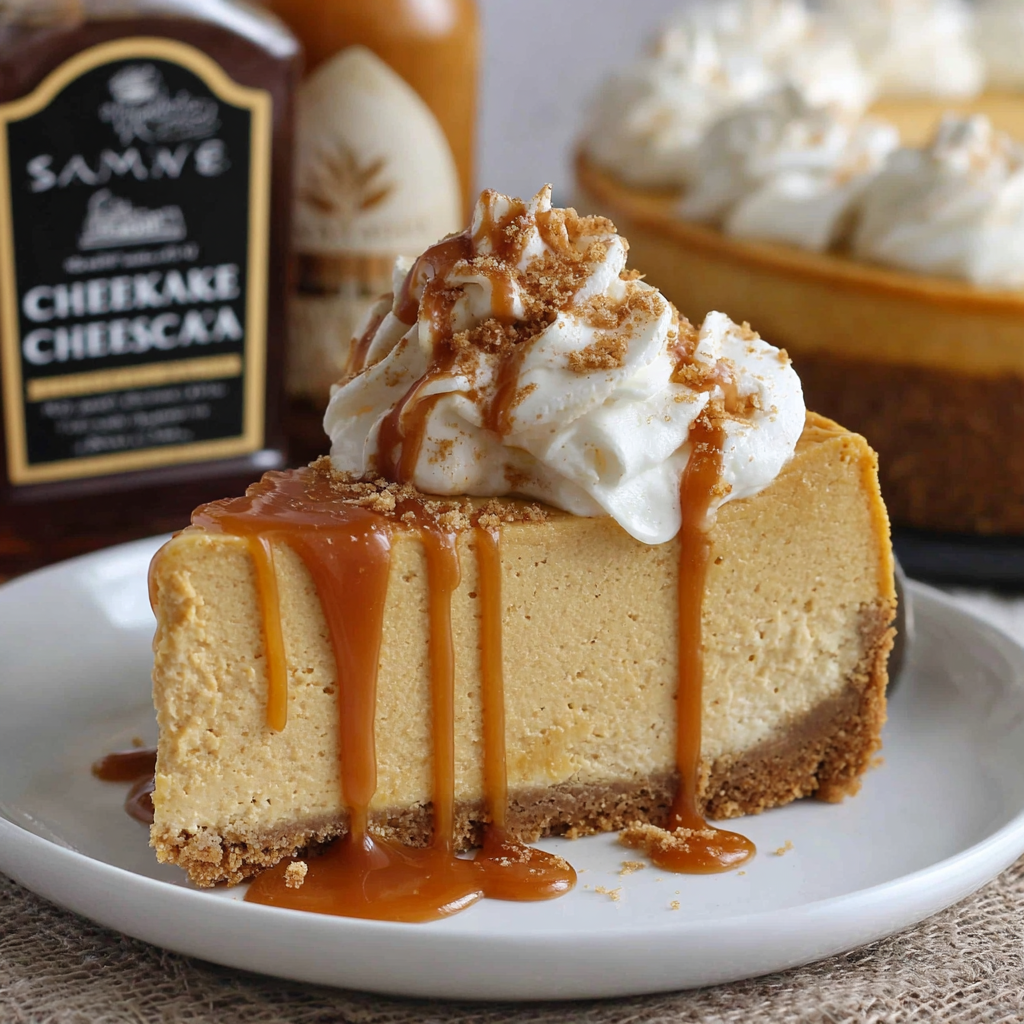
No-Crack Pumpkin Cheesecake
Ultra-smooth pumpkin cheesecake with warm spice and a sturdy graham crust. A showstopper on its own, unforgettable with caramel and rum-kissed whipped cream.
Did You Make This?
Leave a comment & rating below or tag @delishum on social media!
Rate This Recipe
Share This Recipe
Enjoyed this recipe? Share it with friends and family, and don't forget to leave a review!
Comments (1)
This recipe looks amazing! Can't wait to try it.
Comments are stored locally in your browser. Server comments are displayed alongside your local comments.

Hi, I'm Amelia!
What's Popular

30-Minute Meals!
Join to receive our email series which contains a round-up of some of our quick and easy family favorite recipes.