
>>

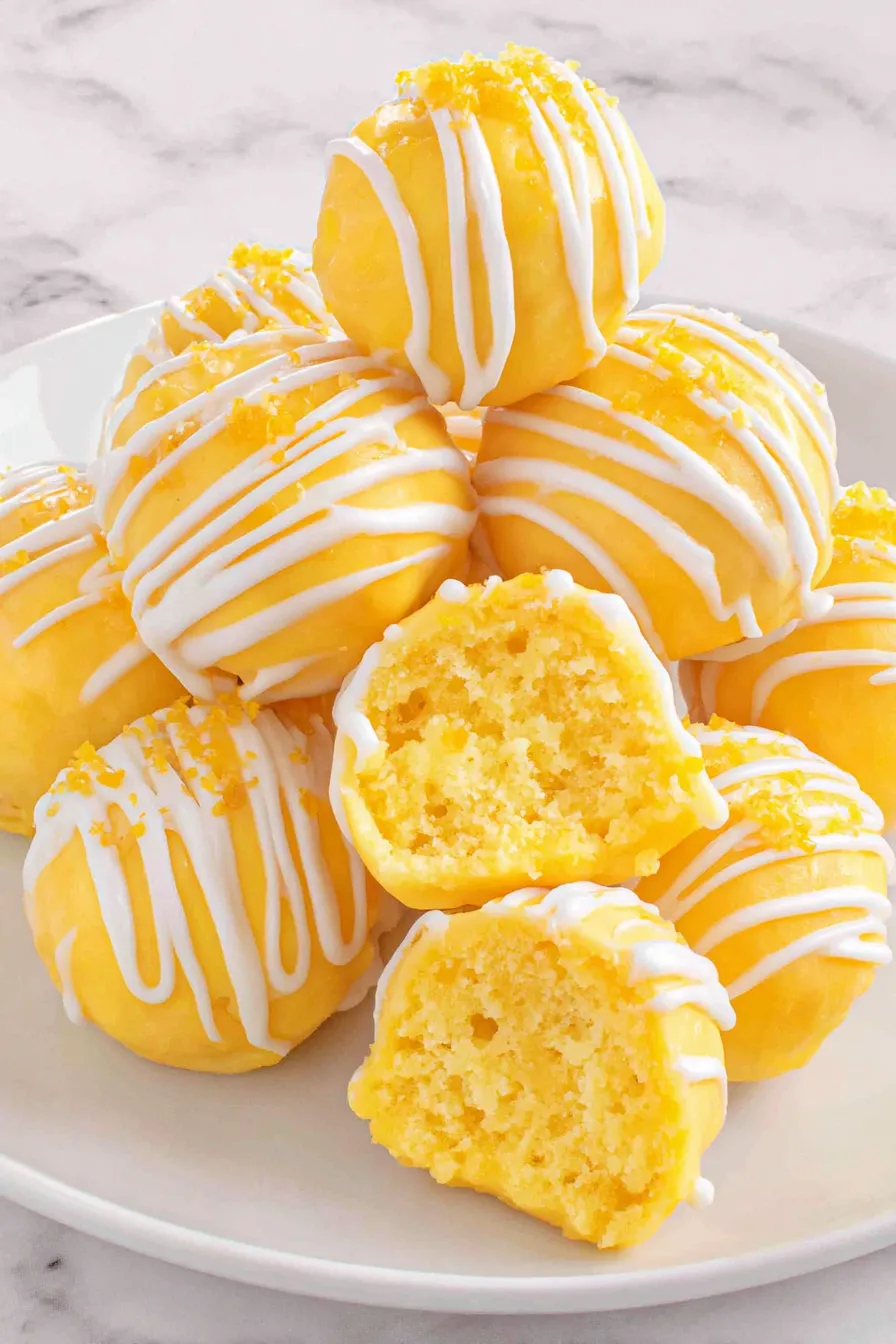
Tiny, bright lemon cheesecake bites dipped in yellow candy coating and drizzled with white vanilla almond bark—easy, make-ahead treats that sparkle at parties.

This citrusy lemon cheesecake bites collection began as a bright solution for summer gatherings. I first combined boxed lemon cake mix with soft cream cheese during a weekend when I wanted something effortless, portable, and guaranteed to please a crowd. The contrast of a silky cream cheese center, bright lemon flavor from cake mix, and the crisp candy coating makes each bite memorable. They are small enough that guests can enjoy two or three without committing to a slice, and the coating keeps them neat for picnics and potlucks.
I discovered this method while testing fast party foods that travel well. The technique of heat-treating the dry cake mix before combining it with cream cheese ensures safety when the mix is used uncooked. The finished bites are satisfyingly smooth, with a slight tang from the lemon, and a subtle crunch from the candy shell. They remind me of the tiny confections my grandmother used to bring to holiday breakfasts, but updated with a modern, bright lemon lift that feels both nostalgic and fresh.
On the first tray I made, my family devoured half before I had a chance to photograph them. The bright yellow coating made them look festive, and the tangy lemon inside felt like sunshine in every small bite. When I served them at a spring brunch, several people asked for the method rather than the ingredients, which is the highest compliment in my kitchen.

My favorite part of this method is how forgiving it is. Even if your centers aren’t perfectly spherical, the melted coating smooths and polishes each bite into something that looks bakery-made. Once I learned to tap off excess coating and use a toothpick to place the bites, the process became fast and nearly foolproof. These are the first thing I make when I need a quick, polished dessert for last-minute guests.
Place finished bites in a single layer or with parchment between layers inside an airtight container. Refrigerate for up to 5 days. For longer storage, freeze in a zip-top bag or freezer-safe container for up to 3 months; thaw in the refrigerator for a few hours before serving. Avoid leaving them at room temperature for extended periods once coated to prevent sweating under humid conditions. If condensation forms after refrigeration, give them 10 to 15 minutes at room temperature before serving so the coating regains its crisp snap.
If you prefer a different flavor profile, substitute the lemon cake mix with vanilla or white cake mix and add 1 to 2 teaspoons fresh lemon zest for a subtler citrus note. For a dairy-free version, use plant-based cream cheese and dairy-free candy melts; texture will be slightly different but still delicious. Swap the yellow candy melts for colored melts or tempered white chocolate if you want a thinner, shinier coating—temper white chocolate to prevent bloom and maintain a firm shell.
Present these bites on a tiered dessert stand or a white platter with lemon slices and mint sprigs for a fresh, springtime display. They pair well with lightly brewed tea, sparkling wine, or a fruity spritzer. For brunch, serve alongside scones and fresh berries. For a child-friendly table, use colorful sprinkles on the wet coating before it sets for festive appeal.
Miniature cheese-based confections like these echo traditions of petit fours and bite-sized sweets found across many cultures. Combining boxed cake mix with a soft cheese base is a modern convenience adaptation that draws on classic no-bake cheesecakes and truffle-making techniques. Using a candy shell is borrowed from confectionery glazing methods, adapted here for home cooks seeking fast, reproducible results that still delight visually and on the palate.
Adjust the coating color and drizzle to suit seasons. Use pastel-colored melts for spring, vibrant citrus tones for summer, or warm gold and bronze drizzles for autumn gatherings. For winter holidays, flavor the almond bark with a pinch of ground cardamom or swap in peppermint-flavored melts. The small format makes these easy to theme for holidays or celebrations without changing the base technique.
Make the centers up to 2 days in advance and keep them chilled until ready to dip. This reduces day-of work to melting and coating. If preparing for a large event, schedule assembly in shifts: scoop and chill one sheet while coating another, keeping the workflow steady. Label containers with the date and flavor to avoid confusion when offering multiple varieties.
These lemon cheesecake bites are a reliable crowd-pleaser. They are simple to scale, easy to theme, and bright enough to make any table feel celebratory. Give them a try and make small adjustments until they match your ideal balance of sweet, tart, and creamy.
Heat-treat the dry mix as instructed to reduce the risk from raw flour.
Chill the centers fully to prevent deformation while coating.
Work with one or two dozen bites at a time to keep coating temperatures consistent.
If the coating thickens, reheat in 10 to 15 second microwave bursts and stir thoroughly.
This nourishing lemon cheesecake bites recipe is sure to be a staple in your kitchen. Enjoy every moist, high protein slice — it is perfect for breakfast or as a wholesome snack any time.
This Lemon Cheesecake Bites recipe makes perfectly juicy, tender, and flavorful steak every time! Serve with potatoes and a side salad for an unforgettable dinner in under 30 minutes.
Pour the dry cake mix into a heat-safe bowl and microwave in two 30-second intervals, stirring between intervals. Allow to cool completely before use.
Beat room-temperature cream cheese on medium-high with a handheld mixer for 2 to 2 1/2 minutes until smooth and lump-free.
Sprinkle the cooled dry cake mix over the whipped cream cheese and mix until fully incorporated to form a scoopable dough.
Cover tightly and refrigerate for 2 hours to firm the centers for shaping and coating.
Use a 1 tablespoon scoop to portion the chilled dough and roll into smooth balls. Place on parchment-lined sheet.
Melt the yellow candy melts in a heat-safe bowl in 30-second intervals, stirring between bursts until smooth.
Dip each ball into the melted coating using a fork, tapping off excess, and place back on parchment. Reheat coating if it becomes too thick.
Melt the white vanilla almond bark in short microwave bursts, drizzle over coated bites, then chill until set.
Last Step: Please leave a rating and comment letting us know how you liked this recipe! This helps our business to thrive and continue providing free, high-quality recipes for you.
Leave a comment & rating below or tag
@delishum on social media!

Thick chocolate chunk brownies crowned with melted mini marshmallows and drenched in glossy chocolate frosting for the ultimate fudgy, crowd-pleasing bite.

Buttery shortbread crust meets a lush brown sugar pecan topping. Crunchy, caramelly, and ready with just 10 minutes of prep for effortless indulgence.

Ultra-smooth pumpkin cheesecake with warm spice and a sturdy graham crust. A showstopper on its own, unforgettable with caramel and rum-kissed whipped cream.
Leave a comment & rating below or tag @delishum on social media!
Enjoyed this recipe? Share it with friends and family, and don't forget to leave a review!
This recipe looks amazing! Can't wait to try it.
Comments are stored locally in your browser. Server comments are displayed alongside your local comments.

Join to receive our email series which contains a round-up of some of our quick and easy family favorite recipes.
