Classic Homemade Stuffing Recipe
30-MINUTE MEALS! Get the email series now
Royal Recipe

Classic Homemade Stuffing

5 from 1 vote
1 Comments
Amelia Rose
By: Amelia RoseUpdated: Aug 3, 2026
This post may contain affiliate links. Please read our disclosure policy.

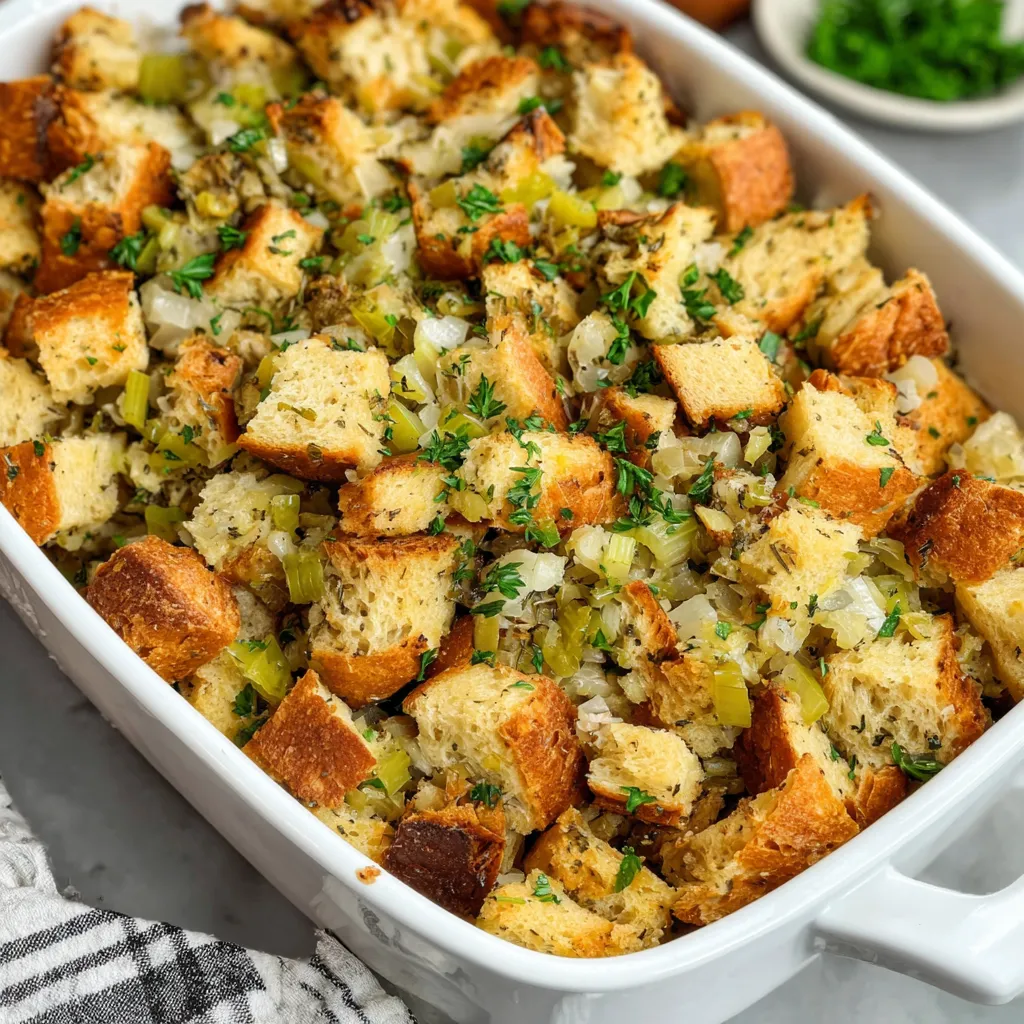
A timeless, herb-forward stuffing made with stale bread, sautéed aromatics, fresh sage and parsley, and a buttery finish — perfect for holiday gatherings or a cozy weeknight side.
Classic Homemade Stuffing
This classic homemade stuffing has been part of my family’s holiday table for as long as I can remember. I discovered this particular balance of herbs and technique after several tries to get the texture just right: tender inside with pockets of crisp along the top. The first time I made it, my grandmother watched me as I sautéed the onions and celery low and slow until they turned glossy and sweet. The aroma of butter and sage filled the kitchen and everyone gravitated toward the stove — it has that pull. Over the years I refined the steps to ensure consistent results: stale bread for structure, slow-cooked aromatics for depth, and just enough liquid to moisten without turning everything mushy. What makes this version special is the care taken with the vegetables and herbs. Sautéing the onion and celery for 20 to 30 minutes softens them and concentrates their sweetness; the fresh sage and parsley added at the end keep the green, bright notes that make each bite lively rather than one-note. I prefer white sandwich loaf cut into one-inch cubes and either dried out overnight or gently toasted at 250°F for 30 minutes for a predictable crumb. Serve it straight from the baking dish, dotted with butter for a beautiful, golden top — my family always asks for seconds. There’s a reason this combination shows up at gatherings: it’s flexible, forgiving, and deeply satisfying. Whether you make it for a holiday feast or as a comforting side on a chilly weeknight, the technique delivers reliably. The following write-up walks through why it works, what to look for at each step, and how to adapt it to your pantry and preferences.

Why You'll Love This Recipe

  • This comes together mostly hands-off once the bread is toasted and vegetables are sautéed, making it a great make-ahead component for busy entertaining.
  • Uses simple pantry and fridge staples: leftover white bread, butter, an onion and celery — no specialty items required.
  • Ready in about an hour from start to finish; the oven does the final melding while you finish other dishes.
  • Fresh sage and parsley lift the flavors so the dish tastes bright, not just buttery; the herb ratio is designed to be prominent but balanced.
  • Flexible serving sizes: scale easily by doubling into a 9x13 or 10x15 pan without changing the method.
  • Make-ahead friendly: assemble and refrigerate, then bake when ready — a huge time-saver for holiday day-of stress.

When I first served this to friends, they commented on how the center stayed moist while the top developed beautiful pockets of crunch. My husband insists on a little extra sage and the kids always chase the corners that crisp up most. Over the years I've learned to trust slow sautéing and to resist the urge to over-moisten the bread — those two lessons changed everything for me.
Ingredients

  • Stale White Bread: Use about 12 cups of 1-inch cubes from a standard loaf (roughly 1 lb 4 oz). Day-old sandwich loaf works perfectly. If it’s not stale, dry it in a 250°F oven for 30 minutes. The drier crumb soaks up liquid without collapsing.
  • Butter: ¾ cup plus 2 tablespoons, divided. Use unsalted or lightly salted; I prefer Plugrá or Land O Lakes for consistent results. Butter carries flavor and helps the top brown.
  • Onion: 1 large yellow or white onion, chopped fine. Yellow has a little more sweetness when slowly cooked and gives depth to the base.
  • Celery: 2 cups chopped including leaves. Celery adds aromatic support and slight crunch if not overcooked; save the leaves for extra flavor.
  • Seasonings & Herbs: 1½ teaspoons kosher salt, 1 teaspoon black pepper, 1 teaspoon poultry seasoning, ½ teaspoon marjoram, 3 heaping tablespoons fresh sage (chopped), and ⅓ cup fresh parsley (curly or Italian). Fresh herbs brighten the mixture; dried can be substituted at a 1:3 ratio.
  • Eggs & Broth: 2 large eggs whisked with 1 cup chicken broth or stock. The eggs bind and the broth adds savory moisture — use low-sodium stock to control salt.

Instructions

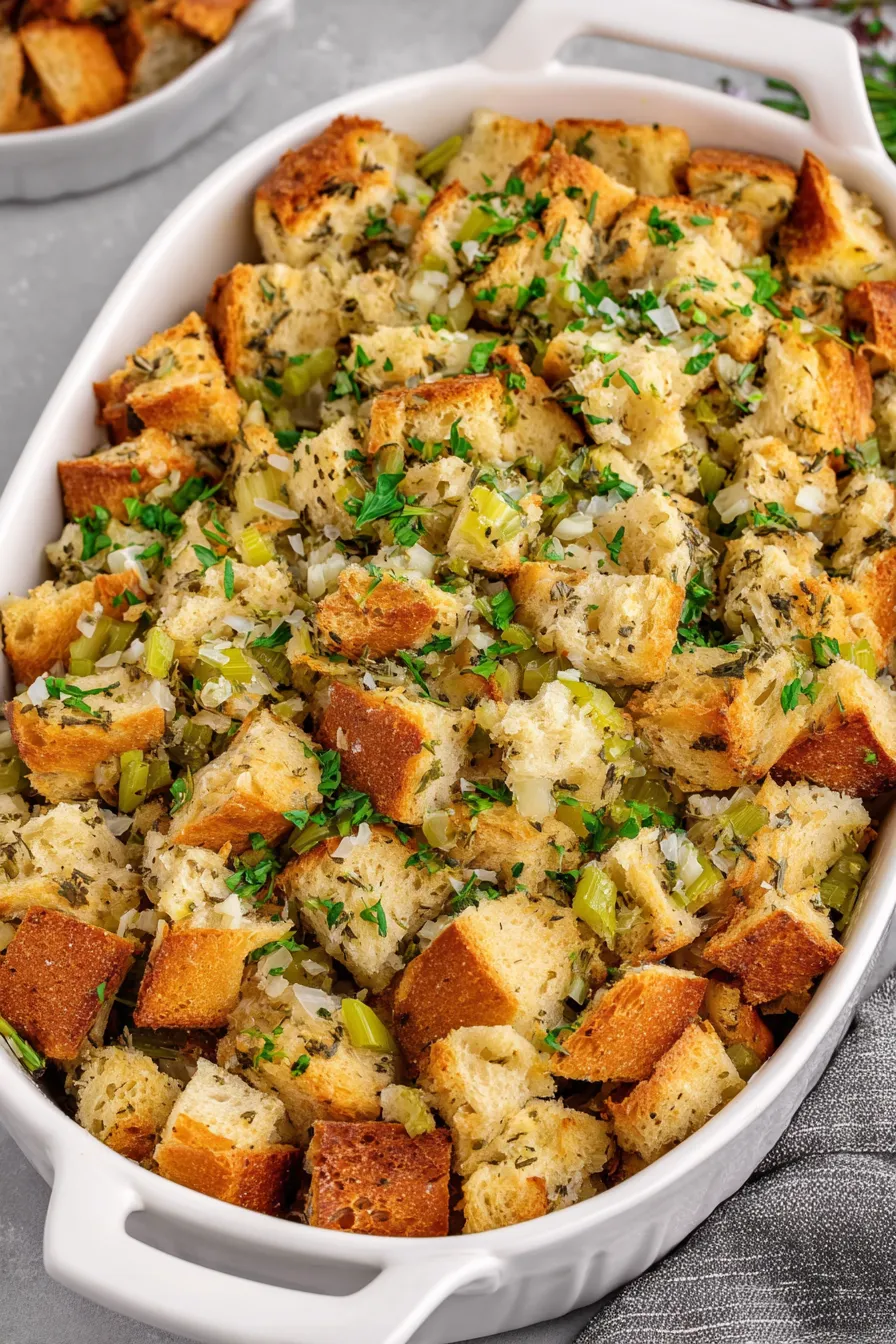
Prepare the Bread: Cube a day-old white loaf into 1-inch pieces until you have about 12 cups. If the bread is fresh, preheat the oven to 250°F and spread the cubes on a sheet pan; bake 30 minutes, tossing every 5 to 10 minutes until dry but not browned. Overnight air-drying also works and preserves a tender crumb. Preheat and Prep Dish: Preheat the oven to 350°F and grease a 9x9 baking dish liberally with butter or oil. If you double, use a 9x13 or 10x15. Generous greasing helps with browning on the sides and prevents sticking. Sauté Aromatics: In a large sauté pan over medium heat melt ¾ cup butter. Add the chopped onion and celery and cook slowly until fully softened and translucent — about 20 to 30 minutes. Stir frequently to prevent browning; you want sweet, mellow vegetables rather than crisp or caramelized pieces. Add Herbs & Seasoning: Remove the pan from heat and stir in the salt, pepper, poultry seasoning, marjoram, chopped sage and parsley. Off-heat addition preserves the bright green herb notes and prevents them from becoming bitter. Combine Liquids: Whisk the 2 eggs with 1 cup chicken broth in a small bowl until combined and slightly frothy. This ensures even distribution of liquid when added to the bread. Assemble: Transfer the bread cubes to a large bowl. Pour the onion-herb mixture over the bread and fold gently to combine. Pour the egg and broth mixture over the bread and stir until the liquid is absorbed and the mixture holds together but is not soggy. Bake: Place the mixture in the greased baking dish. Cube the remaining 2 tablespoons of butter and dot the top. Cover tightly with foil and bake at 350°F for 30 minutes. Remove foil and bake for another 15 minutes until the top begins to brown. For a crispier top, broil 1 to 2 minutes while watching closely. User provided content image 1

You Must Know

  • This keeps well refrigerated for up to 4 days and freezes for up to 3 months when wrapped airtight; thaw overnight in the fridge before reheating.
  • The texture depends on how dry your bread is: too fresh and it will be mushy; too dry and it may be crumbly. Aim for dry but slightly springy cubes.
  • Slow sautéing of the vegetables (20–30 minutes) is essential for the right depth; rushing this step results in underdeveloped flavor.
  • Adjust salt based on your stock: if using salted or commercial broths, reduce the added kosher salt to avoid over-seasoning.

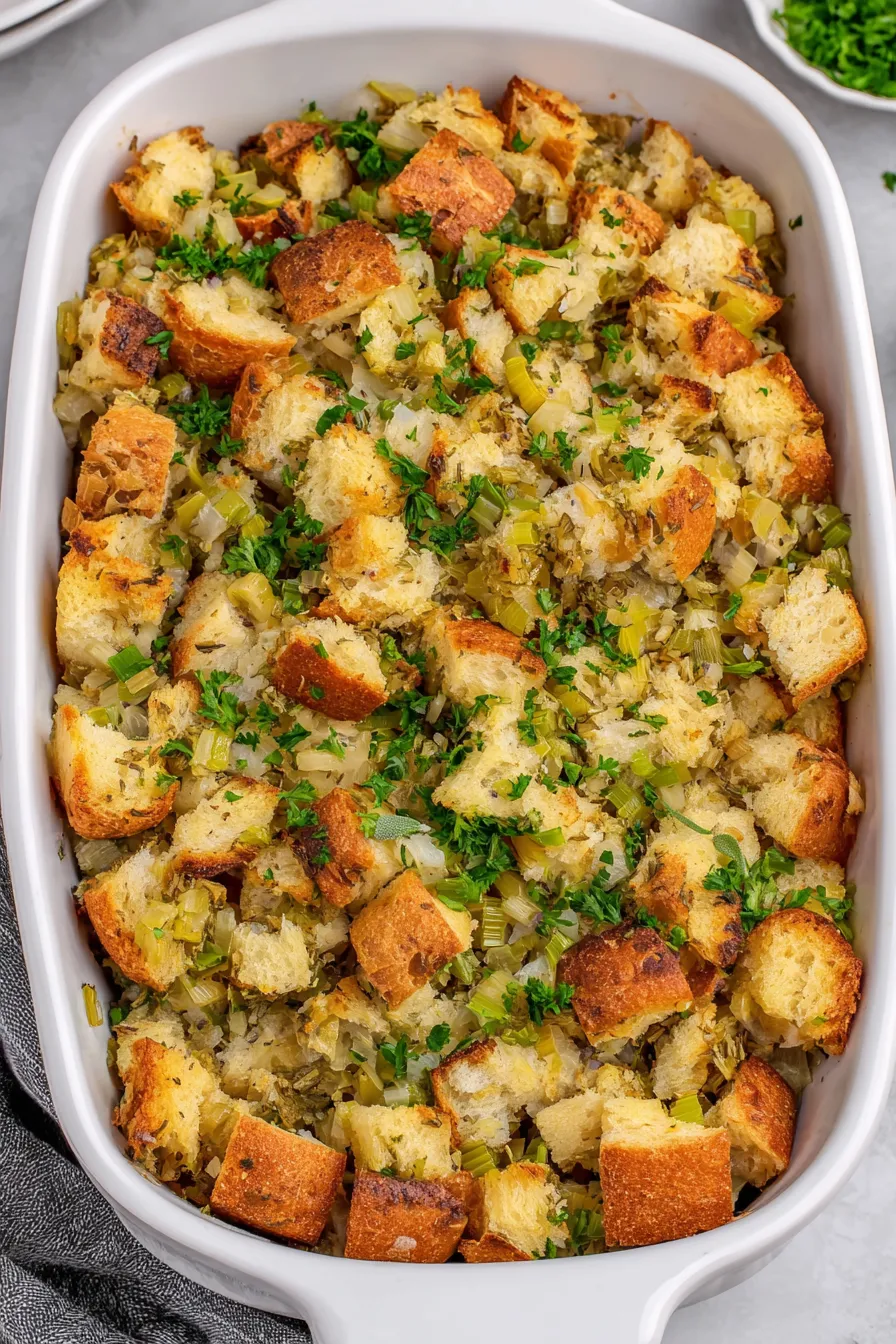
My favorite part is the contrast between the soft interior and the crisped top — especially when the edges get golden and butter-bubbled. A family holiday memory I treasure is my mother handing me a spoon and saying "taste as you go" — that freedom to tweak salt and herbs has kept this dish evolving and always delicious.
User provided content image 2

Storage Tips

To store, let the dish cool completely and cover tightly with foil or transfer to an airtight container. Refrigerate up to 4 days. For freezing, portion into individual servings or a full casserole dish lined with plastic wrap and foil, then freeze for up to 3 months. Reheat from frozen at 350°F covered until warmed through, then uncover to crisp the top or finish under the broiler for a minute. Use oven reheating rather than microwave when possible to preserve texture.

Ingredient Substitutions

If you prefer whole grain or sourdough, use the same volume but expect a heartier flavor and slightly different moisture absorption — you may need an extra 2 to 4 tablespoons of broth. For vegetarian households, replace chicken broth with vegetable stock and keep the eggs if acceptable; omit eggs for a looser texture, or use a flax "egg" (1 tablespoon ground flax + 2.5 tablespoons water per egg) though texture will be denser. If fresh sage isn't available, substitute 1 tablespoon dried sage, but reduce other dried herbs slightly to prevent bitterness.

Serving Suggestions

This pairs beautifully with roast poultry, glazed ham, or a simple roasted vegetable medley. Garnish with a little chopped parsley and a drizzle of warm melted butter for shine. For a holiday spread, serve alongside cranberry sauce, roasted Brussels sprouts, and gravy for spooning. For a cozy weeknight, top individual portions with a fried egg to make it a more substantial dish.

Cultural Background

Stuffing has roots in many culinary traditions where bread and herbs are used to extend ingredients and create comforting sides. In American holiday cuisine it became a staple alongside roast turkey, with regional variations leaning on cornbread in the South and more heavily herbed, bread-based versions in New England. This particular style — butter-forward, herb-driven, and baked in a dish — is most familiar in mid-Atlantic and Midwestern homes.

Seasonal Adaptations

Autumn is ideal for adding roasted chestnuts, diced apples, or cooked sausage for richer winter versions. In spring and summer, lighten up by adding peas, ramps, or lemon zest and using vegetable broth. For holiday splurges, fold in toasted walnuts or pecans and a handful of dried cranberries for texture and sweet-tart contrast.

Meal Prep Tips

Assemble the mixture up to 24 hours ahead and refrigerate covered; bring to room temperature for 30 minutes before baking to ensure even heating. If freezing assembled but unbaked, wrap tightly and bake from frozen adding 10–15 minutes to the covered bake time. Use disposable foil pans for easy transport to gatherings; they bake and reheat well and eliminate cleanup stress.

Make this your go-to side by adjusting the herbs to match your main dish and the crowd’s preferences. It’s forgiving, adaptable, and always invites people to the table — which, after all, is the point.

Pro Tips

  • Dry the bread thoroughly — slightly stale bread gives the best structure and prevents sogginess.

  • Sauté the onions and celery low and slow for 20–30 minutes to build sweetness and depth.

  • Add fresh herbs off heat to preserve bright flavor and avoid bitterness.

  • If the mixture feels too dry before baking, add broth 1 tablespoon at a time until it holds together.

  • For an extra crisp top, finish under the broiler for 1–2 minutes while watching closely.

This nourishing classic homemade stuffing recipe is sure to be a staple in your kitchen. Enjoy every moist, high protein slice — it is perfect for breakfast or as a wholesome snack any time.

FAQs about Recipes

Can I prepare the stuffing in advance?

Yes. You can assemble the stuffing up to 24 hours ahead and keep it covered in the refrigerator. Bake from cold, adding about 5–10 minutes to the bake time if needed.

How do I avoid over-salting?

Use low-sodium or unsalted chicken stock to control salt. If using salted stock, reduce added kosher salt by half and taste before baking.

Tags

Casseroles RecipesSide DishesHoliday ClassicsThanksgivingStuffingBread StuffingHerbs
No ratings yet

Classic Homemade Stuffing

This Classic Homemade Stuffing recipe makes perfectly juicy, tender, and flavorful steak every time! Serve with potatoes and a side salad for an unforgettable dinner in under 30 minutes.

Servings: 8 steaks
Classic Homemade Stuffing
Prep:30 minutes
Cook:45 minutes
Rest Time:10 mins
Total:1 hour 15 minutes

Ingredients

Bread

Fats

Vegetables & Herbs

Seasonings

Liquid & Binder

Instructions

1

Cube and Dry Bread

Cut loaf into 1-inch cubes to measure 12 cups. If bread is fresh, spread on a sheet pan and dry at 250°F for 30 minutes, tossing occasionally, or leave uncovered overnight.

2

Preheat Oven and Prepare Pan

Preheat oven to 350°F. Generously grease a 9x9 baking dish with butter or oil; use a 9x13 if doubling the quantity.

3

Sauté Aromatics

Melt ¾ cup butter in a large sauté pan over medium heat. Add chopped onion and celery and cook 20–30 minutes until softened and translucent, stirring to prevent browning.

4

Season Vegetables

Remove pan from heat and stir in kosher salt, black pepper, poultry seasoning, marjoram, chopped sage, and parsley so herbs remain bright.

5

Whisk Eggs and Broth

In a small bowl whisk together 2 eggs and 1 cup chicken broth until evenly combined and slightly frothy.

6

Combine and Moisten

Place bread cubes in a large bowl, pour the onion-herb mixture over them, then add the egg-broth mixture. Stir until liquid is absorbed and mixture holds together without being soggy.

7

Bake Covered then Uncovered

Transfer to the greased baking dish, dot with remaining 2 tablespoons of butter, cover with foil and bake 30 minutes at 350°F. Remove foil and bake another 15 minutes. Optionally broil 1–2 minutes to crisp the top.

8

Serve

Let rest a few minutes after baking, then serve warm from the dish. Garnish with extra chopped parsley if desired.

Last Step: Please leave a rating and comment letting us know how you liked this recipe! This helps our business to thrive and continue providing free, high-quality recipes for you.

Nutrition

Calories: 320kcal | Carbohydrates: 28g | Protein:
7g | Fat: 18g | Saturated Fat: 5g |
Polyunsaturated Fat: 4g | Monounsaturated Fat:
7g | Trans Fat: 1g | Cholesterol: 253mg | Sodium:
0mg | Potassium: 953mg | Fiber: 0g | Sugar:
0g | Vitamin A: 577IU | Vitamin C: 3mg | Calcium:
47mg | Iron: 6mg

Did You Make This?

Leave a comment & rating below or tag
@delishum on social media!

Classic Homemade Stuffing

Categories:

Classic Homemade Stuffing

Did You Make This?

Leave a comment & rating below or tag @delishum on social media!

Rate This Recipe

Share This Recipe

Enjoyed this recipe? Share it with friends and family, and don't forget to leave a review!

Comments (1)

Leave a Comment

0/1000 characters
Food Lover
1 day ago

This recipe looks amazing! Can't wait to try it.

Rating:

Comments are stored locally in your browser. Server comments are displayed alongside your local comments.

Family photo

Hi, I'm Amelia!

Chef and recipe creator specializing in delicious Casseroles cooking. Passionate about sharing easy-to-follow recipes that bring families together around the dinner table.

30-Minute Meals!

Join to receive our email series which contains a round-up of some of our quick and easy family favorite recipes.