
>>

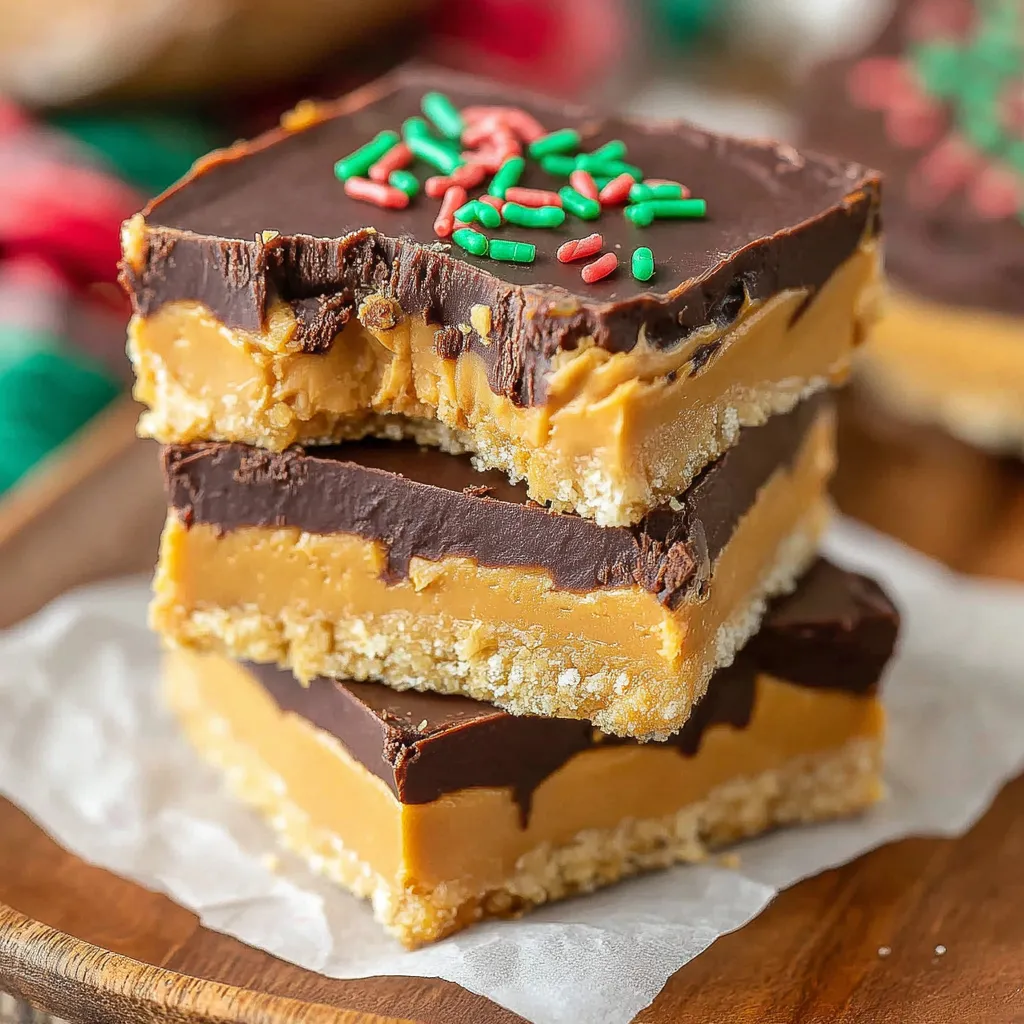
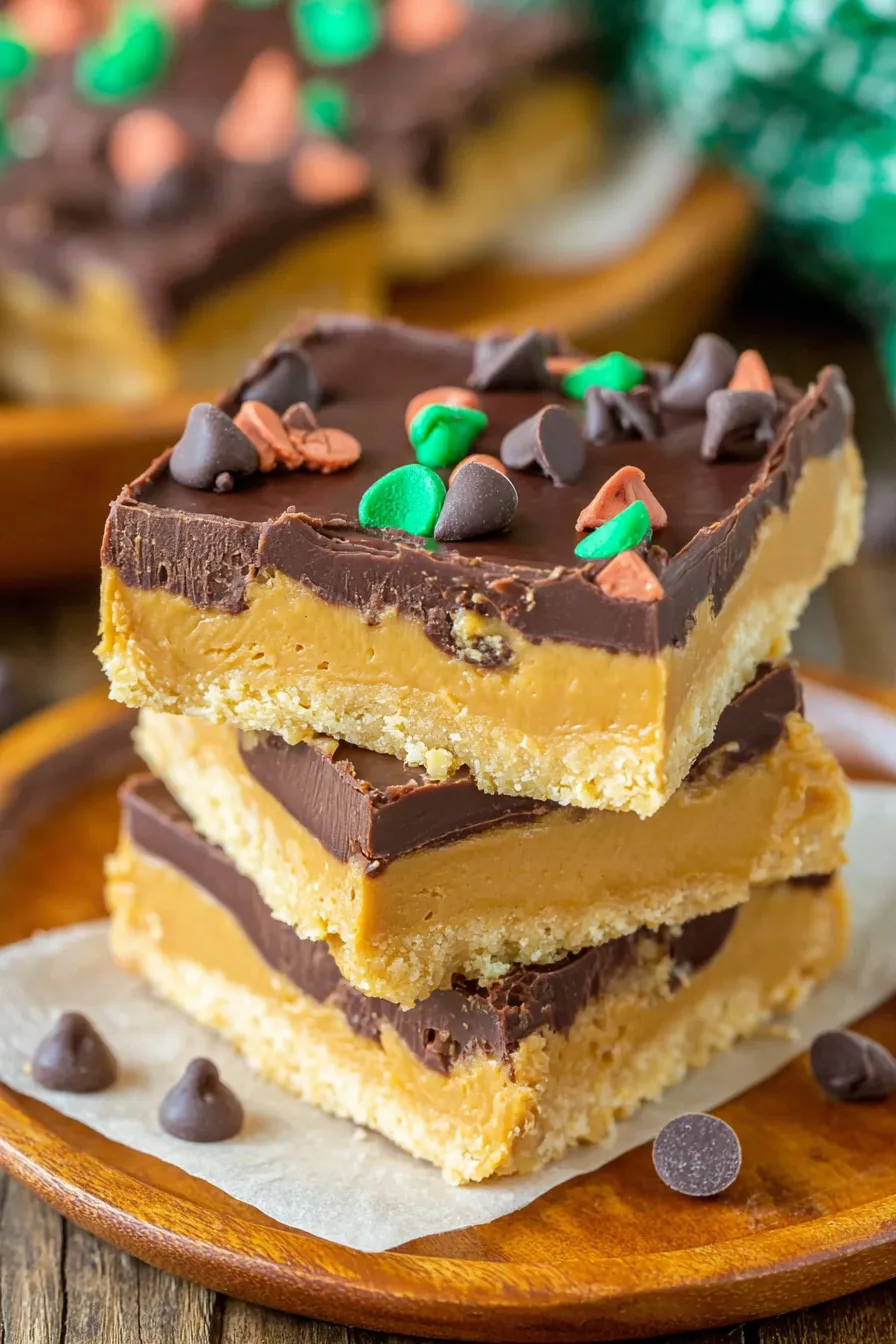
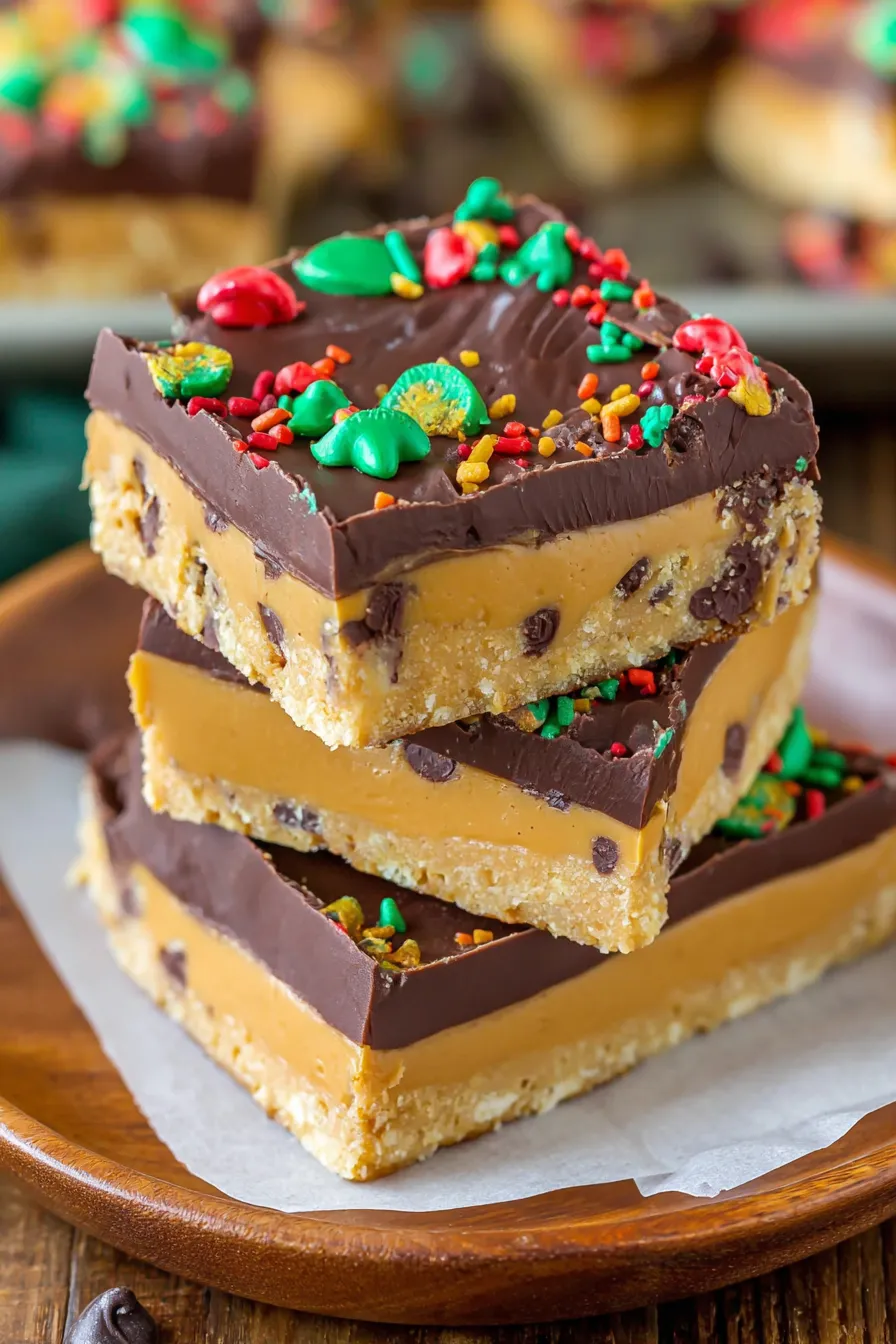
Rich peanut butter filling topped with a silky chocolate layer. No-bake, easy to make, and perfect for sharing.
This recipe for Buckeye Bars began as a shortcut one holiday when I wanted the familiar flavors of buckeye candies without the time-consuming dipping. I discovered the combination during a winter cookie swap: a friend brought a tray of these bars, and the balance of sweet powdered sugar and creamy peanut butter under a shiny chocolate top stopped me in my tracks. They are the kind of sweet that evokes lazy afternoons, a pot of coffee, and lively conversation. I started making them whenever I needed a quick tray to bring to school events, potlucks, or when guests arrive unexpectedly.
The texture is what makes these bars special. The base is dense yet tender, with the mouthfeel of a classic peanut butter cup center but with the sliceability of a bar. The chocolate sets with a satisfying snap when chilled, and the peanut butter layer remains smooth and slightly crumbly. Because the filling is stirred and pressed rather than baked, the flavor stays bright and peanut-forward. I use creamy peanut butter such as Jif or Skippy for a consistent, spreadable texture and predictable sweetness. These bars travel well, freeze cleanly, and appeal to children and adults alike.
I remember the first time I brought these to a family gathering; my sister called them an instant classic and requested the recipe the next day. Since then they have shown up at summer barbecues, holiday cookie exchanges, and school bake sales. The ease of pressing the base into a pan means my kids can help without risk of burns, and the quick melting chocolate step gives us a chance to talk about chocolate tempering basics even if we do a simple microwave method. These little rituals have made the bars more than a sweet treat in my household.
Tip: measure your peanut butter by spooning it into the cup and leveling; creamy brands pack differently, and accurate measurement keeps the texture consistent. If your powdered sugar is compacted, break it up before measuring for a true 2 cups. I prefer semi-sweet chips for balance, but if serving kids I sometimes opt for milk chocolate chips for a sweeter top layer.
My favorite aspect of these bars is their portability. I once brought a tin to a tailgate and returned with an empty box and several new recipe requests. They are one of those sweets that always draw a crowd because they look elegant without fussy technique. The shortcut of pressing the filling and pouring melted chocolate keeps the process accessible for cooks of any skill level.
Room temperature storage is possible for a few hours but refrigeration extends freshness. Place slices in an airtight container with parchment between layers, and refrigerate for up to 10 days. For longer storage, wrap individual bars tightly in plastic wrap and place them in a freezer-safe container; they will keep for up to 3 months. Thaw overnight in the refrigerator to preserve the glossy chocolate top. When serving from chilled, let bars sit at room temperature for 5 to 10 minutes for the best texture and softened bite.
If you need dairy-free options, substitute the butter in the filling with a vegan butter spread and use dairy-free chocolate chips; coconut oil works great for thinning the chocolate. For a lower-sugar version, try reducing powdered sugar slightly and adding a tablespoon of honey, but note this will change texture and may make the filling softer. Natural peanut butter will create a more pronounced roasted peanut flavor but can make the filling looser; compensate by adding 1 to 2 tablespoons more powdered sugar.
Slice into small squares and arrange on a platter for parties. Garnish with a light dusting of powdered sugar or a few flaky salt crystals on top of the chocolate if you want a sweet-salty contrast. These bars pair beautifully with strong coffee, milk, or a simple glass of cold cream. For a dessert plate, serve one bar with a scoop of vanilla ice cream and a few fresh berries to balance the richness.
In winter, add 1/4 teaspoon cinnamon and a pinch of ground nutmeg to the filling for a warm spice note. For summertime gatherings, use milk chocolate for a sweeter finish and chill the bars well before serving. For the holidays, press a layer of chopped pretzels into the filling before pouring the chocolate to add texture and a festive contrast. You can also top the chocolate with chopped roasted peanuts or a drizzle of white chocolate for visual appeal.
Make the filling up to two days ahead and keep it chilled in the bowl. When ready to finish, press into the pan and melt the chocolate for a fresh top layer that looks professional. Portion bars into individual snack-sized wraps for grab-and-go options during the week. If preparing for a large event, scale the recipe by using a 9 by 13 inch pan and double the ingredients, keeping an eye on pressing time to maintain even thickness.
Over the years readers and friends have told me these bars are a quick way to win potlucks. One reader replaced all the chocolate with dark baking chocolate and reported the bars were an adult favorite, while another made miniature versions in a mini loaf pan for school parties. These small adaptations show how forgiving the base is and how the bars reward creativity. Hearing about these variations is one of the most enjoyable parts of sharing this recipe.
These bars are simple, reliable, and full of nostalgic flavor. Whether you are making them for a crowd or a quiet afternoon at home, they are a dependable traybake that always delivers comfort and smiles. Give them a try and make them your own with the suggested variations.
Sift powdered sugar if clumpy to avoid gritty texture in the filling.
Warm your knife under hot water and dry it between cuts for neat chocolate edges.
Use the parchment overhang to lift the slab from the pan for easy slicing and cleanup.
If chocolate looks dull, add a teaspoon of coconut oil to restore gloss when melting.
This nourishing classic buckeye bars recipe is sure to be a staple in your kitchen. Enjoy every moist, high protein slice — it is perfect for breakfast or as a wholesome snack any time.
Yes. After assembling, refrigerate the slab for at least 1 hour before slicing for clean edges.
Use creamy commercial brands like Jif or Skippy for best texture; natural peanut butter will be runnier and may need more powdered sugar.
Yes, wrap individual bars and freeze up to 3 months. Thaw overnight in the refrigerator before serving.
This Classic Buckeye Bars recipe makes perfectly juicy, tender, and flavorful steak every time! Serve with potatoes and a side salad for an unforgettable dinner in under 30 minutes.
In a large bowl, beat the softened butter, creamy peanut butter, powdered sugar, and vanilla with an electric mixer until a smooth, cohesive dough forms, about 1 to 2 minutes.
Line a 9x9 inch baking dish with parchment or foil leaving an overhang. Lightly grease the parchment for easy release.
Transfer the peanut butter mixture into the prepared pan and press down firmly and evenly with a spatula or the back of a measuring cup until smooth.
Melt the chocolate chips with coconut oil in 30 second microwave increments, stirring between bursts, until glossy and smooth. Alternatively, use a double boiler.
Pour melted chocolate over the pressed base, spread evenly, let set at room temperature briefly, then refrigerate for at least 1 hour before lifting and slicing into 16 bars.
Last Step: Please leave a rating and comment letting us know how you liked this recipe! This helps our business to thrive and continue providing free, high-quality recipes for you.
Leave a comment & rating below or tag
@delishum on social media!

Thick chocolate chunk brownies crowned with melted mini marshmallows and drenched in glossy chocolate frosting for the ultimate fudgy, crowd-pleasing bite.

Buttery shortbread crust meets a lush brown sugar pecan topping. Crunchy, caramelly, and ready with just 10 minutes of prep for effortless indulgence.

Ultra-smooth pumpkin cheesecake with warm spice and a sturdy graham crust. A showstopper on its own, unforgettable with caramel and rum-kissed whipped cream.
Leave a comment & rating below or tag @delishum on social media!
Enjoyed this recipe? Share it with friends and family, and don't forget to leave a review!
This recipe looks amazing! Can't wait to try it.
Comments are stored locally in your browser. Server comments are displayed alongside your local comments.

Join to receive our email series which contains a round-up of some of our quick and easy family favorite recipes.
