
>>

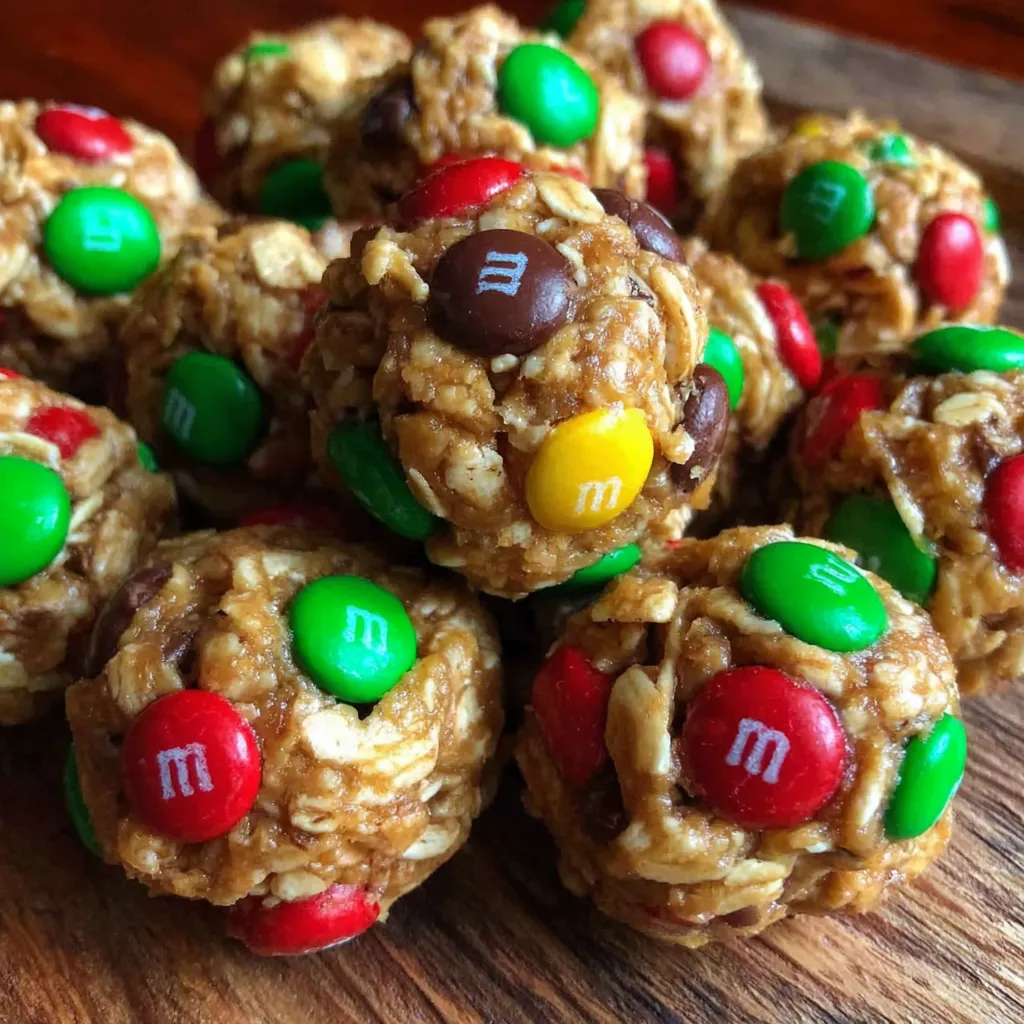
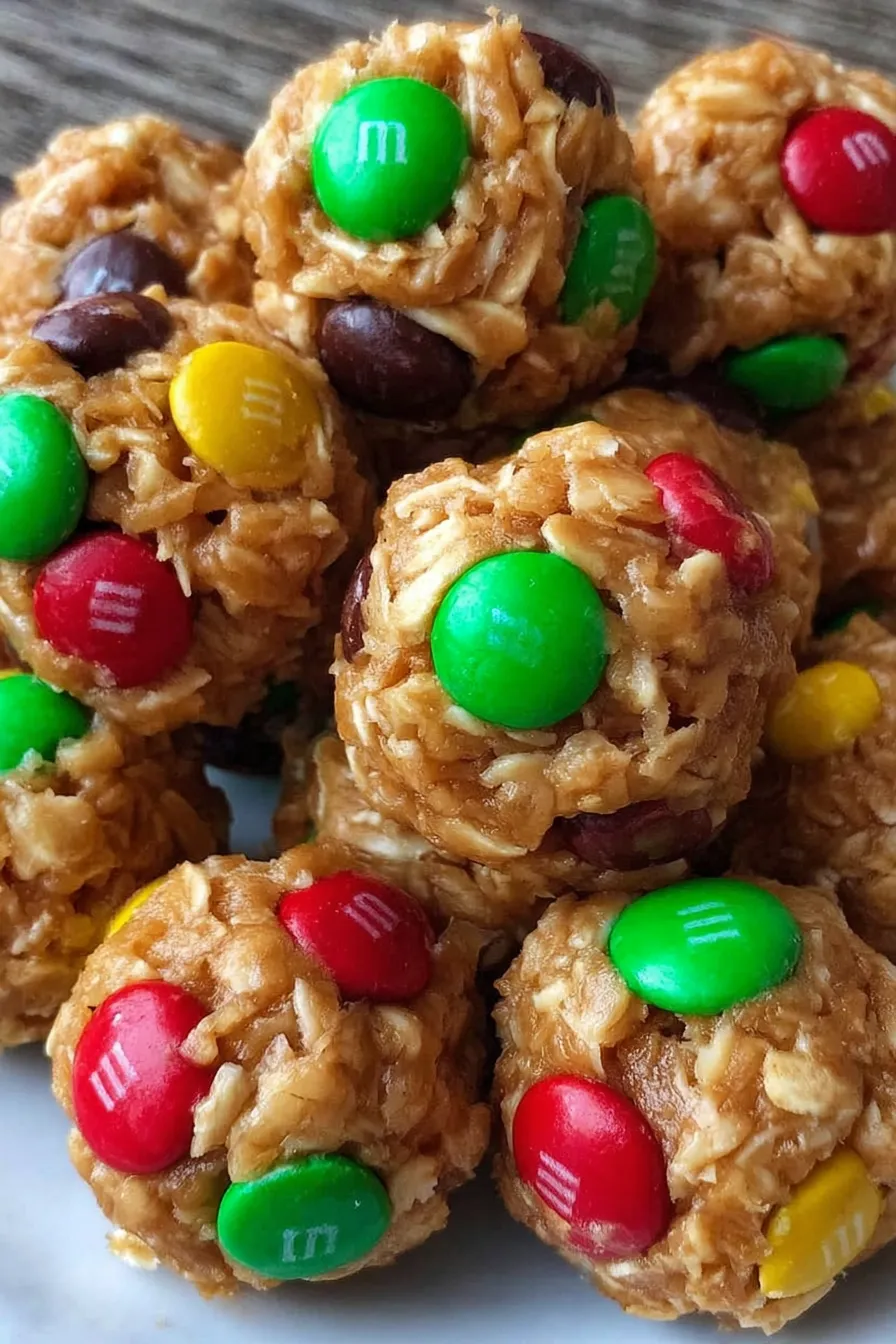
Festive no-bake energy bites studded with mini M&Ms — an easy, make-ahead holiday snack perfect for kids, parties, and last-minute gifting.
I love how quick these are to whip up and how they brighten a snack plate. At home, my kids help press the M&Ms into each ball and claim the odd misshapen ones as their prize. Over the years I’ve found that a short chill helps keep the mixture tidy when rolling, and pressing the candies twice guarantees a neat, colorful appearance every time.

My favorite part about this recipe is how many ways it adapts. Kids love decorating them, and adults appreciate the simplicity. One winter I made three batches for a holiday market; they vanished faster than I could box them. Guests often ask for the recipe because the bites have the right balance of sweet and nutty without being overly sugary.
Store the bites in a single layer or separated with parchment in an airtight container in the refrigerator for up to 10 days. For longer storage, freeze in a single layer on a tray until solid, then transfer to a freezer-safe bag or container for up to 3 months. Thaw at room temperature for 15 to 30 minutes before serving to regain tenderness. Avoid leaving them at room temperature more than a few hours, especially in warm weather, as the candies can bloom or the peanut butter may soften too much.
If you have allergies or prefer different flavors, swap peanut butter for almond butter or sunflower seed butter to make them nut-free. Replace honey with maple syrup or agave for a slightly different sweetness and a looser texture; you may need a touch more oats to firm the mixture. Use dark chocolate chips or seasonal candies other than M&Ms for texture changes. For a gluten-free version, ensure you use certified gluten-free oats. Expect texture and flavor shifts with each swap; adjust binding liquid and chilling time as needed.
Arrange the bites on a festive platter dusted with a few extra mini candies for a cheerful centerpiece. Serve alongside warm beverages like hot chocolate, spiced cider, or a holiday latte. For a quick breakfast box, pair two bites with a piece of fruit and a yogurt cup. They also make charming edible gifts when packed in small mason jars tied with ribbon. Garnish with a dusting of finely chopped roasted nuts or a drizzle of melted white chocolate for a fancier presentation.
Energy bites and no-bake clusters are modern pantry-era snacks that blend convenience with simple ingredients. They draw inspiration from traditional snack balls found in many cultures, where grains and nut pastes are combined into compact, portable forms. The use of oats and nut butter became popular in home kitchens as a wholesome, quick snack option. Adding seasonal candies like Mini M&Ms is a contemporary holiday twist that adds visual appeal and a touch of nostalgia for classic candy-coated chocolates in festive colors.
Adapt the candies and garnishes to suit any season: use pastel candies for spring celebrations, orange and black pieces for Halloween, or mini red candies for Valentine’s Day. Swap honey for maple syrup and add a pinch of cinnamon and nutmeg for an autumnal flavor. For a winter-spiced version, mix in a teaspoon of ground ginger and a pinch of cloves. Small changes to add-ins like dried cranberries, chopped nuts, or coconut flakes can make the bites feel fresh and seasonal.
Double or triple the batch and portion into small containers or snack bags for grab-and-go treats during the week. Use a tablespoon scoop for uniform sizing and faster prep, then press candies into the dough while they sit on a parchment-lined tray. Label freezer containers with the date and portion count for easy rotation. If preparing for gifts, package in clear cellophane and include a note about refrigeration recommendations.
Readers and friends have told me these bites are the fastest way to win a potluck. One friend made them for classroom treats and reported the teacher loved their clean ingredient list. Another reader made a large batch for a ski trip where the bites were perfect on the slopes. The simplicity and adaptability make them a go-to when I want something homemade without the fuss of baking.
These energy bites are a small celebration in every bite: colorful, portable, and reliably delicious. Whether you’re making them for a holiday table, a packed snack, or a last-minute gift, they’re a cheerful, stress-free treat you can feel good about sharing.
Chill the mixture for 30 minutes before rolling to make handling easier and neater.
Use a tablespoon cookie scoop for uniform bites and faster portioning.
Press candies into the surface rather than stirring them throughout to keep the festive colors visible.
This nourishing christmas energy bites recipe is sure to be a staple in your kitchen. Enjoy every moist, high protein slice — it is perfect for breakfast or as a wholesome snack any time.
Store in an airtight container in the refrigerator for up to 10 days or freeze for up to 3 months. Thaw at room temperature for 15 to 30 minutes before serving.
Yes. Use almond butter or sunflower seed butter instead of peanut butter, and choose dairy-free candies to make them nut- and dairy- friendly depending on the brands.
This Christmas Energy Bites recipe makes perfectly juicy, tender, and flavorful steak every time! Serve with potatoes and a side salad for an unforgettable dinner in under 30 minutes.
Add 2 cups quick oats to a large mixing bowl. Use a high-sided bowl to avoid spills. Optional: toast oats in a dry skillet for 3 to 4 minutes for extra nuttiness, then cool.
Add 1 cup creamy peanut butter and 1/4 cup honey to the oats and stir until thoroughly combined. If the mixture seems too dry, add honey by teaspoon until it holds together; if too wet, fold in additional oats a tablespoon at a time.
Cover and refrigerate the mixture for 30 minutes to firm it up. This step makes rolling tidier, especially in warm kitchens or when using natural-style nut butter.
Portion the dough into tablespoon-sized balls using a small scoop or spoon, rolling gently between palms to smooth. Place on a parchment-lined tray.
Press Mini M&Ms into the surface of each ball for decoration. Roll gently again if needed to round the shape while keeping the candies visible. Store chilled in an airtight container.
Last Step: Please leave a rating and comment letting us know how you liked this recipe! This helps our business to thrive and continue providing free, high-quality recipes for you.
Leave a comment & rating below or tag
@delishum on social media!

Thick chocolate chunk brownies crowned with melted mini marshmallows and drenched in glossy chocolate frosting for the ultimate fudgy, crowd-pleasing bite.

Buttery shortbread crust meets a lush brown sugar pecan topping. Crunchy, caramelly, and ready with just 10 minutes of prep for effortless indulgence.

Ultra-smooth pumpkin cheesecake with warm spice and a sturdy graham crust. A showstopper on its own, unforgettable with caramel and rum-kissed whipped cream.
Leave a comment & rating below or tag @delishum on social media!
Enjoyed this recipe? Share it with friends and family, and don't forget to leave a review!
This recipe looks amazing! Can't wait to try it.
Comments are stored locally in your browser. Server comments are displayed alongside your local comments.

Join to receive our email series which contains a round-up of some of our quick and easy family favorite recipes.
