
>>

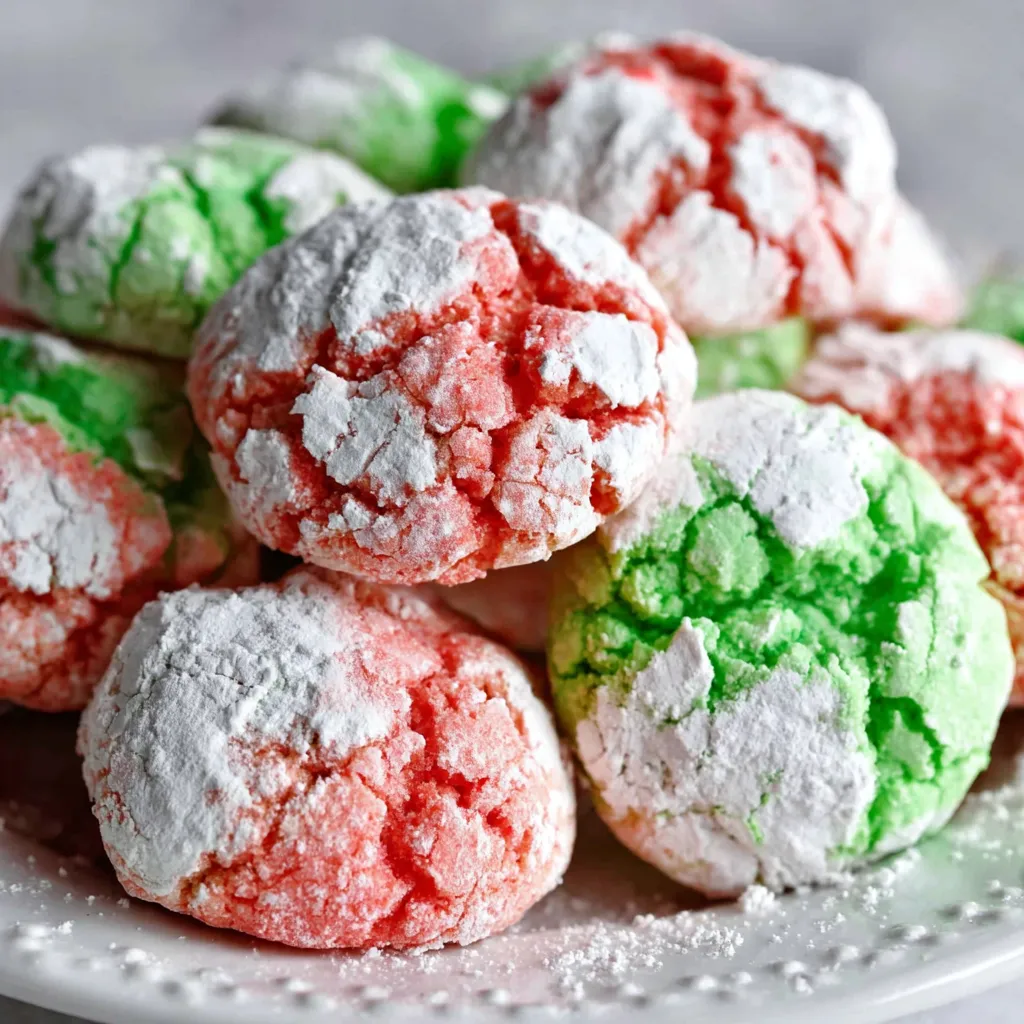
Soft, festive crinkle cookies made from a simple white cake mix, colored red and green and rolled in powdered sugar — a holiday shortcut that tastes like celebration.
This chewy, festive crinkle cookie has been my go-to holiday shortcut since I first made it at a chaotic December cookie swap. I discovered this simple method using a white cake mix one cold evening when I needed something fast, colorful, and comforting for a last-minute party. The result was surprising: slightly cakey interior, a thin crackled exterior dusted with powdered sugar, and bright pops of red and green that turned a humble dough into something holiday-worthy. It’s the kind of cookie kids love to help make and guests reach for first on the dessert table.
What makes these special is their playful texture and color — the dough behaves more like play dough than conventional cookie batter, which makes rolling and shaping oddly therapeutic. The sugar crust gives a delicate crunch while the interior stays tender and cake-like. I often bring a batch to neighbors with a mix of classic and peppermint variations, and I’ve watched skeptical friends come back for seconds. These are perfect for baking with kids, for cookie exchanges, or when you want a festive treat with minimal fuss and ingredients you likely already have.
I first shared these at a neighborhood cookie swap and a few new friends asked for the recipe on the spot. My niece insisted each batch needed extra green because, in her words, "green tastes like Christmas." Over the years I refined chilling time and rolling technique so the crackle pattern becomes regular and the cookies don’t spread too much in the oven.

My favorite thing is how reliably cheerful these cookies are. Once I brought them to a holiday brunch and a neighbor who doesn’t usually eat sweets declared them "small miracles." They’re quick to make for school parties and look impressive on a platter surrounded by evergreen sprigs. The combination of the soft inside and crinkled sugar-dusted exterior is oddly nostalgic; it reminds me of childhood cookies that were both playful and slightly special.

Store baked cookies in an airtight container at room temperature for up to 4 days; place a sheet of parchment between layers to keep the sugar coating intact. For longer storage, freeze cooled cookies in a single layer on a baking sheet until firm, then transfer to a freezer-safe container or bag for up to 3 months. To refresh slightly stale cookies, warm them in a 300°F oven for 5–7 minutes — this helps restore chewiness without melting the sugar coating.
If you don’t have a white cake mix, a yellow cake mix will work with a slightly warmer tone; use a vegan cake mix and egg replacer for an eggless version, though texture will be denser. Swap the neutral oil for melted butter for more flavor (use the same 1/3 cup). If you want less sweetness, reduce the powdered sugar coating slightly or roll in a 50/50 mix of powdered sugar and finely ground nuts for a nutty finish. Gel food coloring yields brighter shades with less liquid; if using liquid coloring, reduce any additional liquid in the mix.
Arrange cookies on a festive platter with sprigs of rosemary or candied cranberries for color contrast. Serve with hot cocoa, mulled cider, or eggnog for a classic holiday pairing. For a brunch display, place cookies alongside cinnamon rolls and mini quiches for variety. Garnish with edible glitter or finely grated white chocolate for an extra-special party presentation.
Crinkle-style cookies have roots in many baking traditions where a sugared top contrasts a tender inside — the method became especially popular in mid-20th century American home baking when boxed cake mixes and convenient shortcuts transformed holiday baking. Using cake mix as the base is a more recent adaptation that leans on convenience while preserving the classic crackled appearance associated with traditional holiday cookies.
For winter, add 1/2 teaspoon peppermint extract to one colored batch for a candy-cane twist. In autumn, swap colors for orange and brown, add 1/2 teaspoon cinnamon, and roll in cinnamon-sugar instead of powdered sugar. For a Valentine’s batch, use pink and white, and press a small chocolate chip into the center before baking.
Prepare dough up to 2 days ahead and keep tightly wrapped in the refrigerator. For party-ready trays, bake cookies and store them in labeled containers; bring to room temperature before serving. If you’d rather freeze dough, shape the balls, freeze on a tray until solid, then transfer to a bag — bake frozen balls an extra 1–2 minutes to compensate for the chill.
These cookies are a small, joyful way to add color and sweetness to holiday gatherings. They’re forgiving, quick, and a perfect canvas for seasonal creativity — make them once, and they’ll likely become a staple you return to every year.
Use gel food coloring for vibrant red and green without adding extra liquid; knead colors in with gloved hands.
Chill dough for at least 30 minutes to minimize spread and maximize crackle definition.
Roll cookie balls firmly to create a smooth surface, then coat generously in powdered sugar so cracks show up clearly when baked.
If using butter instead of oil, melt and cool slightly before adding to avoid cooking the eggs.
This nourishing christmas crinkle cookies recipe is sure to be a staple in your kitchen. Enjoy every moist, high protein slice — it is perfect for breakfast or as a wholesome snack any time.
Yes — the dough can be chilled up to 48 hours before shaping; bring to room temperature for 5 minutes before rolling if very firm.
Baked cookies freeze well for up to 3 months in an airtight container with parchment between layers.
This Christmas Crinkle Cookies recipe makes perfectly juicy, tender, and flavorful steak every time! Serve with potatoes and a side salad for an unforgettable dinner in under 30 minutes.
In a large bowl, combine the white cake mix, 2 large eggs, and 1/3 cup oil. Stir until a thick, cohesive dough forms, scraping the bowl to incorporate all dry pockets.
Split the dough into two equal portions. Place each portion into separate small bowls and add red food coloring to one and green to the other. Knead by hand until evenly colored; add color slowly to control intensity.
Cover or wrap each colored portion and refrigerate for at least 30 minutes. This firms the dough and reduces spreading during baking.
Scoop tablespoon-sized pieces, roll into smooth balls, then coat thoroughly in powdered sugar. Arrange on a parchment- or Silpat-lined sheet with 2 inches between each ball.
Bake in a preheated 375°F oven for 9–11 minutes until the edges set and cracks form on top. Cool on the sheet for 3–4 minutes before transferring to a wire rack to cool completely.
Store in an airtight container at room temperature up to 4 days or freeze baked cookies for up to 3 months. To bake from frozen dough balls, add 1–2 minutes to the baking time.
Last Step: Please leave a rating and comment letting us know how you liked this recipe! This helps our business to thrive and continue providing free, high-quality recipes for you.
Leave a comment & rating below or tag
@delishum on social media!

Thick chocolate chunk brownies crowned with melted mini marshmallows and drenched in glossy chocolate frosting for the ultimate fudgy, crowd-pleasing bite.

Buttery shortbread crust meets a lush brown sugar pecan topping. Crunchy, caramelly, and ready with just 10 minutes of prep for effortless indulgence.

Ultra-smooth pumpkin cheesecake with warm spice and a sturdy graham crust. A showstopper on its own, unforgettable with caramel and rum-kissed whipped cream.
Leave a comment & rating below or tag @delishum on social media!
Enjoyed this recipe? Share it with friends and family, and don't forget to leave a review!
This recipe looks amazing! Can't wait to try it.
Comments are stored locally in your browser. Server comments are displayed alongside your local comments.

Join to receive our email series which contains a round-up of some of our quick and easy family favorite recipes.
