
>>

Sweet, salty, and festive—mini pretzel sandwiches filled with gooey caramel and coated in red, green, and white candy melts. Perfect for gifting and holiday parties.
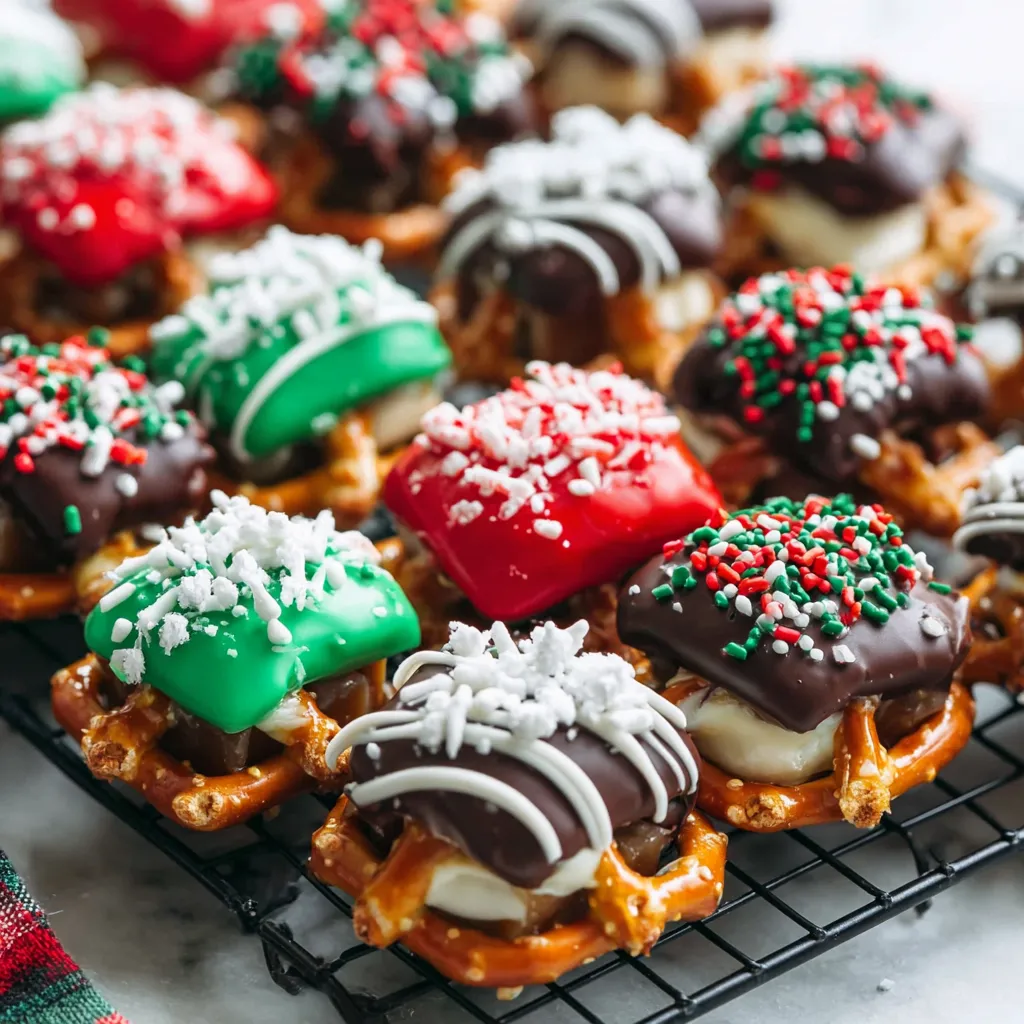
This little holiday treat has been my go-to for quick party snacks since the first December I tried to make edible ornaments for my family's cookie swap. I discovered the combination of crunchy mini pretzels and softened caramels on a late-night baking experiment: I wanted something that balanced sweet and salty, required no rolling pin, and could travel well to potlucks. The result — two pretzels sandwiching a warm, melty caramel and dressed in festive candy melts — became an instant crowd-pleaser. They pop in your mouth with a satisfying crack of pretzel followed by a creamy caramel center and a crisp candy shell. The texture contrast is what keeps people coming back for more.
I love how adaptable this treat is: you can make them in under 30 minutes, decorate to match any theme, and the process is delightfully simple even for bakers who prefer no-fuss projects. Over the years I've gifted trays of these to neighbors, used them to decorate gingerbread houses, and even hidden them in holiday care packages. The visual impact of red, green, and white drizzles with a sparkle of sprinkles makes these feel upscale while remaining one of the easiest items to assemble when the season gets busy.
In my experience, neighbors and coworkers consistently ask for the recipe after tasting these, and they travel exceptionally well—no soggy bottoms or melted messes if you let the candy coating fully set. I often prepare multiple batches in one afternoon while watching a holiday movie; it's relaxing and productive, and the kitchen smells like toasted pretzels and sweet caramel.
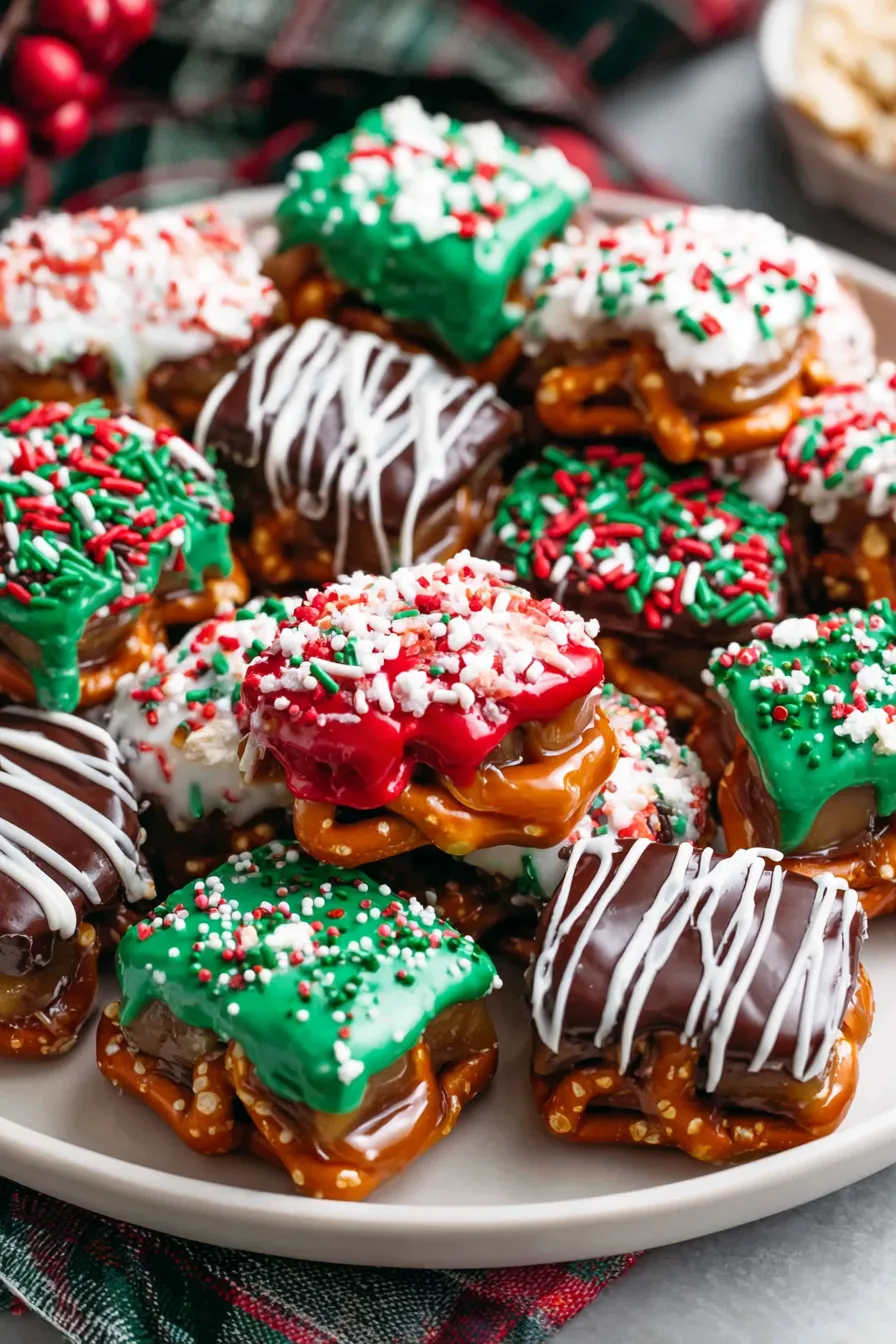
My favorite part of this little project is how forgiving the technique is; even if a drizzle looks imperfect, sprinkles and a neat tray presentation make every piece look intentional. Family members always ask whether I bought them when they see the glossy coating and festive colors—it's a simple way to make homemade confections feel professional without fuss.
Store finished bites in an airtight container at room temperature for up to one week. Layer the container with parchment to prevent sticking; avoid stacking more than two layers without protection. For longer storage, freeze in a single layer until firm, then stack with parchment between layers in a sealed freezer-safe container for up to three months. Thaw at room temperature for 10–20 minutes before serving to avoid condensation on the candy shell. If refrigerated, allow to sit at room temperature 10 minutes before serving so the caramel softens slightly.
If you can't find candy melts, use white chocolate chips for the white layer—melt with a little vegetable oil rather than shortening to achieve fluidity. For colored coatings, temper colored chocolate or use candy melts substitutes available online. Swap caramels for Nutella or peanut butter for a nutty variation (note: this will change shelf life and allergen profile). For a gluten-free version, use certified gluten-free pretzel twists and check caramels for gluten-free labeling. To reduce sweetness, choose lightly salted or low-sugar caramels, but expect a slightly firmer set.
Serve these on decorative trays with paper doilies for holiday parties, or package in clear cellophane bags tied with ribbon for gifts. They pair well with hot chocolate, mulled cider, or robust coffee. For an elegant dessert platter, alternate bites with chocolate-dipped dried fruit and candied nuts. Garnish with crushed peppermint for a winter twist or a light dusting of cocoa for a richer bite. These also make charming edible place-card holders when wrapped individually and labeled.
The sweet-and-salty marriage of caramel and pretzel draws on American snack traditions that celebrate contrasting textures and flavors. Pretzels themselves have European roots, but the pairing with caramel and festive candy coatings is a modern holiday innovation popularized through seasonal markets and home bakers. This treat is part of a larger trend of no-bake or minimal-bake confections that gained popularity for their speed and adaptability during busy holiday seasons.
Change the candy melt colors to suit seasons—pastels for spring, orange and brown for Thanksgiving, or team colors for game-day gatherings. Swap sprinkles for edible glitter or chopped toasted nuts to vary texture and flavor. For a winter spice theme, add a light dusting of cinnamon sugar to the caramel before sandwiching or drizzle with salted caramel instead of colored coating for a more decadent finish.
Assemble multiple trays in one afternoon while multitasking: pre-slice caramels, line baking sheets, and set up three bowls for melting each candy color. Work in stages—bake and sandwich all pretzels first, then melt and drizzle one color at a time. Keep a small offset spatula or spoon handy for repairing stray drizzles and holding sprinkles over each piece as you decorate. Label and date packaged trays for gifting and quick grab-and-go snacks during the holidays.
These festive bites are a joyful addition to holiday gatherings—simple to make, easy to share, and endlessly adaptable. I encourage you to make them your own by experimenting with colors, coatings, and toppings; they always spark conversation and smiles at any party.
Work in small batches when melting candy to avoid overheating; stir frequently and use short microwave bursts.
Press the top pretzel gently—just enough to spread the caramel to the edges without squeezing it out.
Let each color set slightly before adding the next to preserve defined drizzle layers and prevent colors from running together.
Use parchment between layers when storing to prevent sticking and protect the candy coating.
This nourishing christmas caramel pretzel bites recipe is sure to be a staple in your kitchen. Enjoy every moist, high protein slice — it is perfect for breakfast or as a wholesome snack any time.
Yes — freeze arranged in a single layer on a baking sheet, then transfer to a sealed bag for up to 3 months. Thaw at room temperature before serving.
Use 1 teaspoon of vegetable shortening per cup of Candy Melts and add more by the teaspoon only if needed to thin the coating.
This Christmas Caramel Pretzel Bites recipe makes perfectly juicy, tender, and flavorful steak every time! Serve with potatoes and a side salad for an unforgettable dinner in under 30 minutes.
Preheat oven to 375°F and line a rimmed baking sheet with parchment paper to prevent sticking and allow easy cleanup.
Place 24 mini pretzels in a single layer, spacing about 1 inch apart. Add a half-caramel to the center of each pretzel.
Bake for 5 minutes until caramels are softened and glossy. Check at 4 minutes if your oven runs hot to avoid over-melting.
Remove from oven and immediately press another pretzel on top of each softened caramel. Let cool on the sheet until the caramel firms.
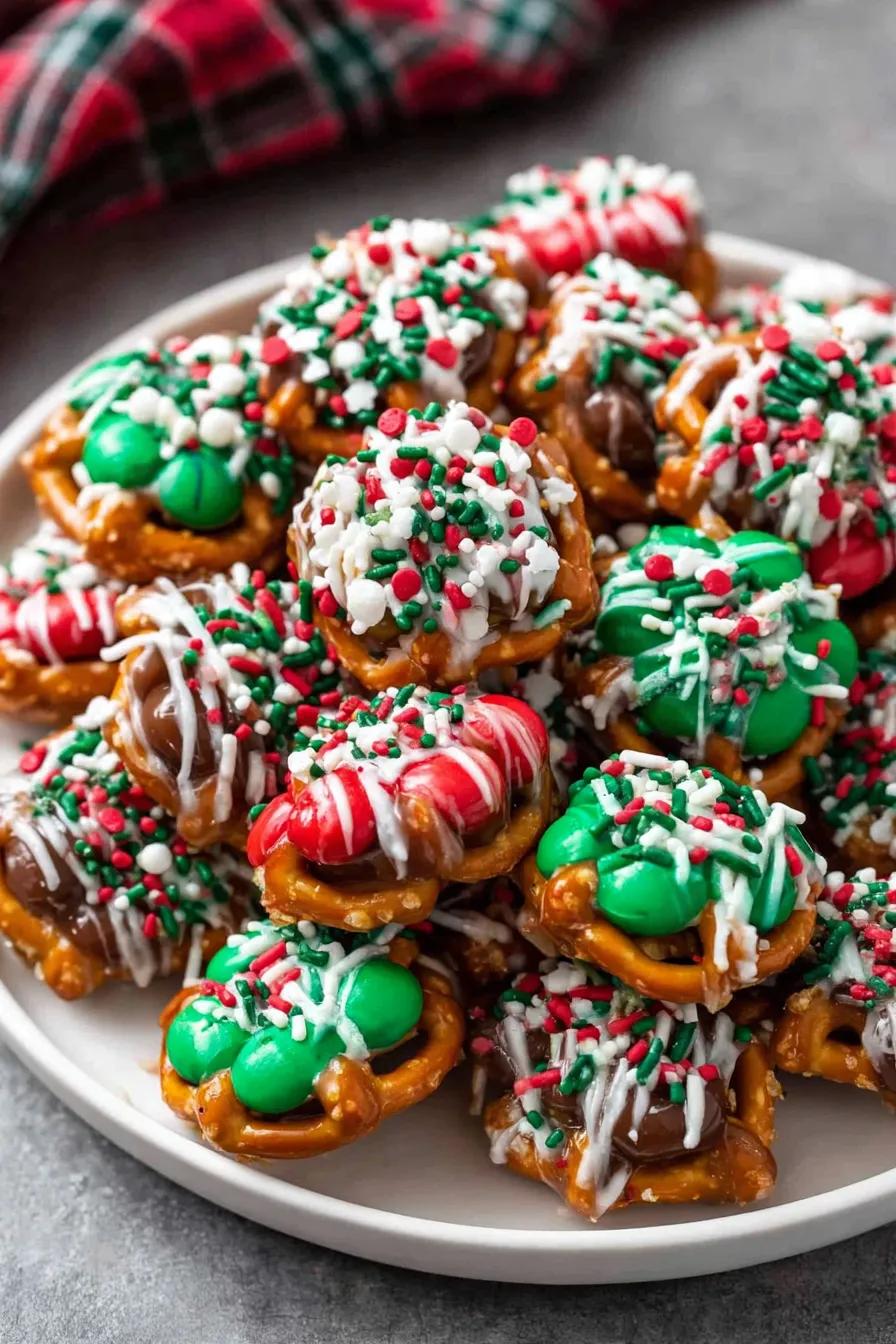
Melt each color of Candy Melts with about 1 teaspoon shortening per cup in 30-second microwave bursts, stirring until smooth. Transfer to a piping bag and drizzle red, then green, then white. Add sprinkles while white coating is still wet.
Allow coatings to fully harden at room temperature (15–30 minutes). Store in an airtight container with parchment layers at room temperature for up to 1 week or freeze for longer storage.
Last Step: Please leave a rating and comment letting us know how you liked this recipe! This helps our business to thrive and continue providing free, high-quality recipes for you.
Leave a comment & rating below or tag
@delishum on social media!

Thick chocolate chunk brownies crowned with melted mini marshmallows and drenched in glossy chocolate frosting for the ultimate fudgy, crowd-pleasing bite.

Buttery shortbread crust meets a lush brown sugar pecan topping. Crunchy, caramelly, and ready with just 10 minutes of prep for effortless indulgence.

Ultra-smooth pumpkin cheesecake with warm spice and a sturdy graham crust. A showstopper on its own, unforgettable with caramel and rum-kissed whipped cream.
Leave a comment & rating below or tag @delishum on social media!
Enjoyed this recipe? Share it with friends and family, and don't forget to leave a review!
This recipe looks amazing! Can't wait to try it.
Comments are stored locally in your browser. Server comments are displayed alongside your local comments.

Join to receive our email series which contains a round-up of some of our quick and easy family favorite recipes.
