
>>

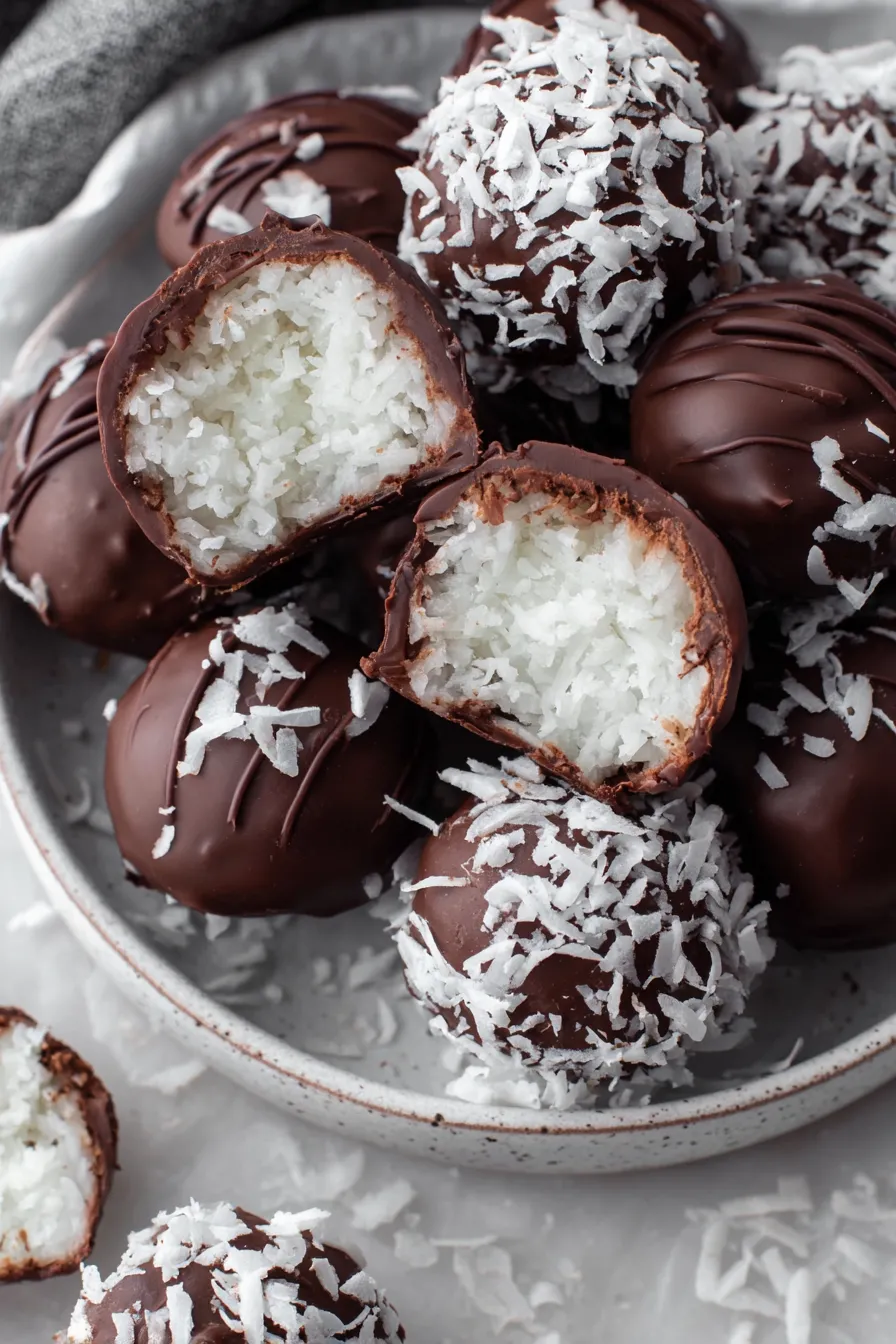
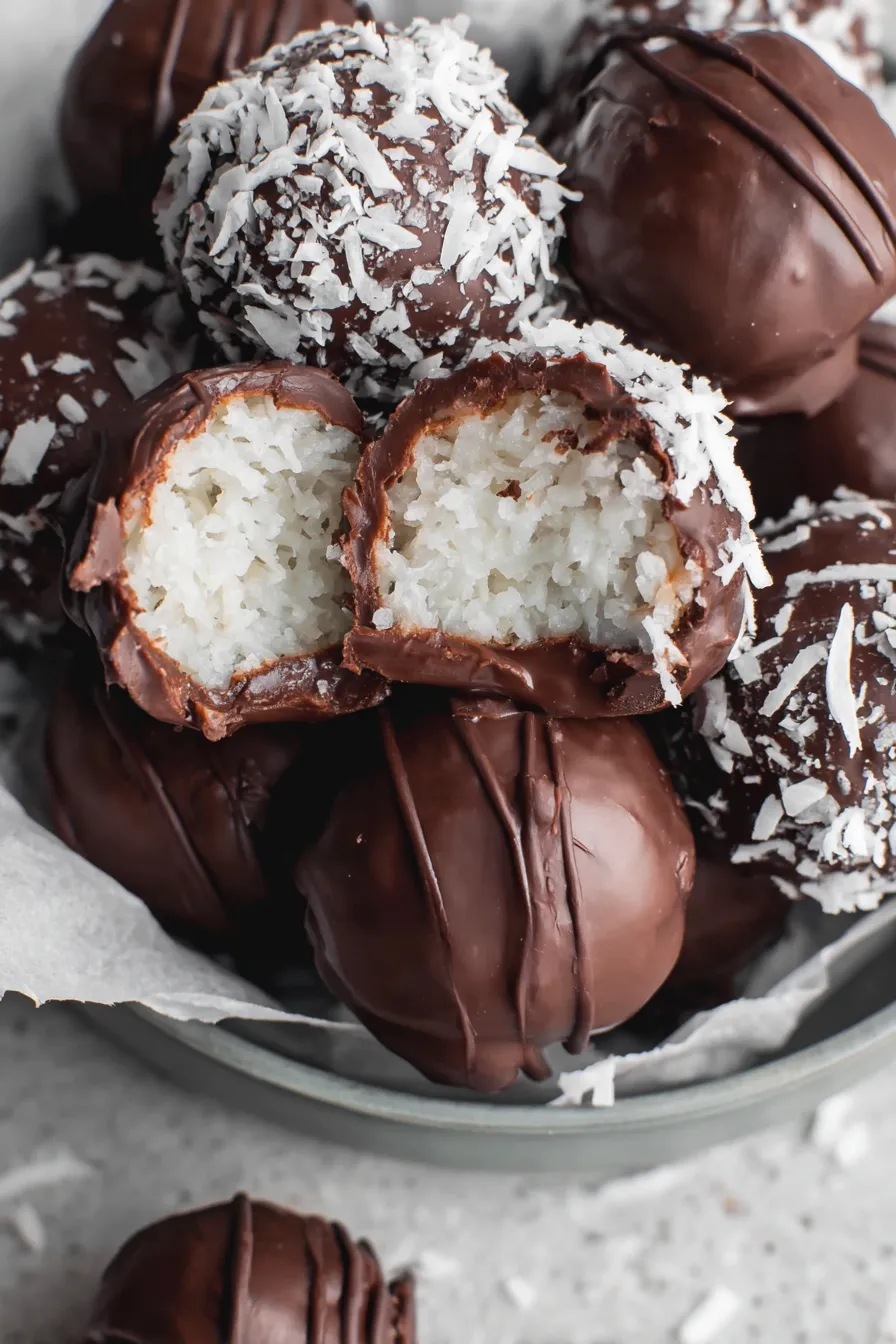
Sweet, tender coconut centers rolled into bite-sized balls and dipped in silky chocolate — a classic, make-ahead treat perfect for holidays and everyday indulgence.

This recipe for Chocolate Covered Coconut Balls has been a holiday staple in my kitchen for years. I first made a batch on a whim one December evening when I had leftover sweetened shredded coconut and a can of sweetened condensed milk on the pantry shelf. What started as an experiment turned into a ritual: family members lined up to sample, neighbors requested extras, and the recipe quickly earned a permanent place in my recipe box. The combination of a tender, chewy coconut interior and a glossy chocolate shell creates a textural contrast that never fails to delight.
What makes these treats special is their simplicity and reliability. The dough comes together in minutes — just cream the butter and powdered sugar, fold in condensed milk and coconut, shape, freeze, and dip. Yet the final result tastes like something made with care. The buttery, slightly vanilla-scented coconut centers are rich without being cloying, and the chocolate coating adds an elegant snap. They travel well, freeze beautifully, and hold up on dessert platters at parties, making them a go-to when I need something pretty and portable.
Personally, these became my 'going-away' gift for friends. One winter I baked several batches, tucked twenty balls into small boxes, and delivered them around the neighborhood; the reaction was so warm that it became a December tradition. My kids loved helping roll the balls, which made it a memorable evening of baking and storytelling.
My favorite thing about these is how they turn ordinary ingredients into something elegant — a little bit of work (and a lot of waiting while they chill) creates a polished bite that looks like it came from a boutique confectioner. Years of making these has taught me to label boxes clearly when sending to potlucks so they return empty; they rarely make it back home intact.
Store the finished pieces in an airtight container layered with parchment to prevent sticking. At room temperature in a cool pantry they will last several days, but for longer freshness keep them in the refrigerator for up to two weeks. For long-term storage, freeze in a freezer-safe container for up to three months. When removing from the freezer, thaw in the refrigerator for a few hours to avoid condensation forming on the chocolate. Bring to room temperature before serving for the best texture and flavor.
If you prefer less sweetness, substitute half the sweetened shredded coconut with unsweetened coconut and reduce the powdered sugar by 1/4 pound (4 ounces), but be aware the texture will be drier and you may need to add a splash more condensed milk. Use dark chocolate for a less-sweet coating, or white chocolate for a sweeter, creamier finish. Vegan swaps: use a vegan butter substitute, a vegan condensed milk alternative, and a dairy-free chocolate; results will be slightly different in texture but still delicious.
Present these on a tiered dessert stand for holidays, or arrange in small paper candy cups for gifting. Pair with robust coffee, a cup of chai, or a dessert wine like late-harvest Riesling for contrast. Garnish with toasted coconut flakes, a light dusting of cocoa, or a sprinkle of flaky sea salt on top of the chocolate to heighten the flavor. They also make lovely additions to a cookie box for neighbors.
Confections combining coconut and chocolate are enjoyed in many cultures, from the South Asian coconut laddoos to European chocolate-coated treats. The concept of combining shredded coconut with sweetened condensed milk and rolling into balls is a practical innovation born from pantry staples — a method that rose in popularity in the mid-20th century with the wider availability of canned dairy and processed chocolate coatings. These bites blend that tradition with the familiar American penchant for hand-held, bite-sized sweets at gatherings.
In winter, add a pinch of ground ginger and cinnamon to the coconut mixture for a festive spice profile. For spring and summer, use a white chocolate coating and tint with a few drops of gel food coloring for pastel hues. Around the holidays, mix in a tablespoon of orange zest for a bright citrus twist, or roll in crushed peppermint candy as the chocolate sets for a peppermint-coconut version.
Portion and shape the centers during a weekend prep session and freeze them on a baking sheet. Transfer to labeled freezer bags once firm. When you're ready to host, melt the chocolate and dip right before guests arrive. For quick serving, keep a frozen jar of centers on hand and dip small batches as needed; this keeps the coating fresh and shiny. Use a small cookie scoop for uniform sizes to ensure even freezing and coating.
These chocolate covered coconut balls are a little labor of love with big returns: simple assembly, reliable results, and endless ways to customize. They reward patience — the chilling step is essential — and deliver a polished, crowd-pleasing confection you and your guests will return to again and again.
Chill the shaped centers thoroughly before dipping to prevent misshapen coatings and to make handling easier.
Toast a small amount of shredded coconut in a dry pan until golden to deepen the coconut flavor before mixing.
Use a small cookie scoop for uniform balls so they freeze and dip evenly.
Work in small batches when melting chocolate to avoid overheating and seizing.
This nourishing chocolate covered coconut balls recipe is sure to be a staple in your kitchen. Enjoy every moist, high protein slice — it is perfect for breakfast or as a wholesome snack any time.
Yes. Shape the centers and freeze them on a baking sheet for at least 2 hours or until firm. Transfer to a freezer-safe container and dip directly from frozen when ready.
To ensure shiny chocolate, temper the chocolate or add a teaspoon of neutral oil (like vegetable oil) to the melted coating and avoid overheating. Stir frequently and stop heating once smooth.
This Chocolate Covered Coconut Balls recipe makes perfectly juicy, tender, and flavorful steak every time! Serve with potatoes and a side salad for an unforgettable dinner in under 30 minutes.
In a large bowl, cream 1 cup room-temperature unsalted butter with 1/2 teaspoon vanilla until smooth. Gradually add 2 1/4 pounds powdered sugar in batches until the mixture is thick and slightly sandy.
Pour in one 14-ounce can of sweetened condensed milk and fold in 14 ounces of sweetened shredded coconut. Stir until the coconut is fully moistened and the mixture holds together when pressed.
Portion the mixture with a small cookie scoop or tablespoon and roll into 1- to 1 1/4-inch balls. Place on a parchment-lined sheet and freeze for at least 2 hours or overnight so they firm up for dipping.
Melt almond bark or dipping chocolate in a microwave-safe bowl: microwave 1 minute, stir, then heat in 30-second intervals, stirring between, until completely smooth. Alternatively, use a double boiler.
Using a fork or dipping tool, submerge each frozen ball into the melted chocolate, tap off excess, and return to parchment. Add garnish before the chocolate sets if desired. Allow to set at room temperature or chill briefly.
Once the coating is fully set, transfer to an airtight container. Store in a cool place for several days or refrigerate for up to two weeks. For longer storage, freeze for up to three months.
Last Step: Please leave a rating and comment letting us know how you liked this recipe! This helps our business to thrive and continue providing free, high-quality recipes for you.
Leave a comment & rating below or tag
@delishum on social media!

Thick chocolate chunk brownies crowned with melted mini marshmallows and drenched in glossy chocolate frosting for the ultimate fudgy, crowd-pleasing bite.

Buttery shortbread crust meets a lush brown sugar pecan topping. Crunchy, caramelly, and ready with just 10 minutes of prep for effortless indulgence.

Ultra-smooth pumpkin cheesecake with warm spice and a sturdy graham crust. A showstopper on its own, unforgettable with caramel and rum-kissed whipped cream.
Leave a comment & rating below or tag @delishum on social media!
Enjoyed this recipe? Share it with friends and family, and don't forget to leave a review!
This recipe looks amazing! Can't wait to try it.
Comments are stored locally in your browser. Server comments are displayed alongside your local comments.

Join to receive our email series which contains a round-up of some of our quick and easy family favorite recipes.
