
Chocolate Cherry Pie

A no-bake, crowd-pleasing pie that layers bright cherry filling with a creamy chocolate-cream cheese mousse in a crisp chocolate crust — perfect for holidays and potlucks.
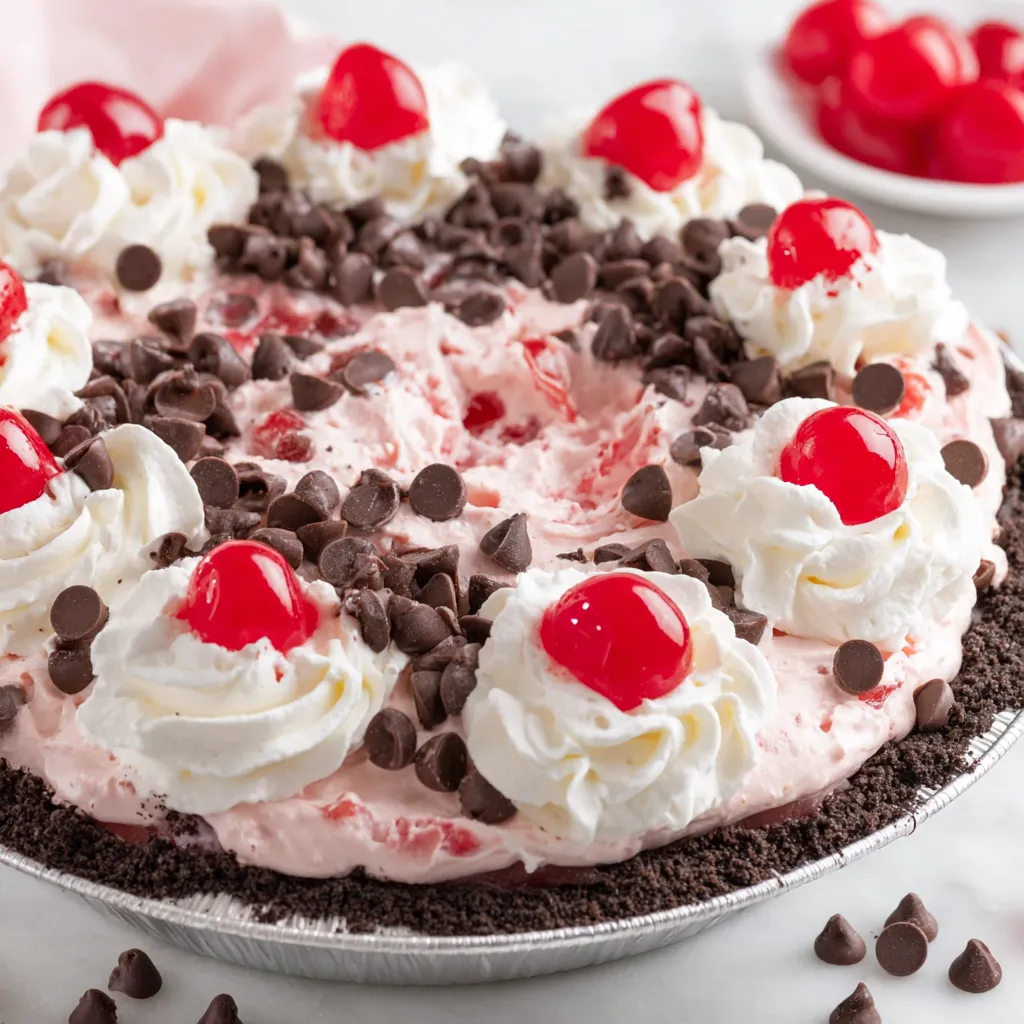
This Chocolate Cherry Pie has been a favorite at family gatherings for years. I first put this together one summer when I was chasing a light, make-ahead dessert that still felt indulgent; the combination of tangy cherries, silky cream cheese, and pockets of melted chocolate delivered exactly that. The texture is what I love most: a crisp chocolate shell, a pillowy, mousse-like filling, and the occasional hit of semi-sweet chocolate chips that gives each bite a little surprise.
I remember the first time I served this at a small backyard party — people kept coming back for tiny slices, many swearing they would never go back to plain cherry pie. The bright red cherry filling against the dark crust makes it visually festive, and the whole thing is simple enough to pull off even when you’re juggling a busy day. This version uses a store-bought 9-inch chocolate crust to save time, but I’ll include notes on making your own if you prefer to take it further.
Why You'll Love This Recipe
- Ready with only 15 minutes of active work and a 3–4 hour chill, it’s ideal for planning ahead — make it the night before and let it set while you sleep.
- Uses pantry staples and one refrigerated cabinet staple: cream cheese — no special equipment or tempering chocolate required.
- Perfect for potlucks, brunches, or a quick celebration dessert: the 9-inch pie serves about 8 people comfortably.
- Make-ahead friendly: flavors deepen in the fridge, and the texture improves as it chills, so it actually benefits from resting.
- Flexible toppings: pipe swirls of Cool Whip and scatter extra mini chips and cherries for an elegant finish without added fuss.
- Crowd-pleaser that balances sweetness with bright cherry acidity and deep chocolate notes — impressive with minimal effort.
In my experience, guests always comment on the glossy cherry pockets and the rich chocolate hits. It’s one of those dishes that tastes elevated but doesn’t require late-night baking or complex techniques — perfect when you want something special without the stress.
Ingredients
- 9-inch chocolate pie crust: A store-bought crust (Keebler or similar) works wonderfully to save time; if making from scratch, use a cocoa cookie crumb crust for the best chocolate flavor and a sturdy base.
- 8 ounces cream cheese: Full-fat is best for stability and flavor; bring to room temperature so it whips smooth (I recommend Philadelphia brand for consistent texture).
- 1 cup powdered sugar: Sift if lumpy — this sweetens and stabilizes the filling without any graininess.
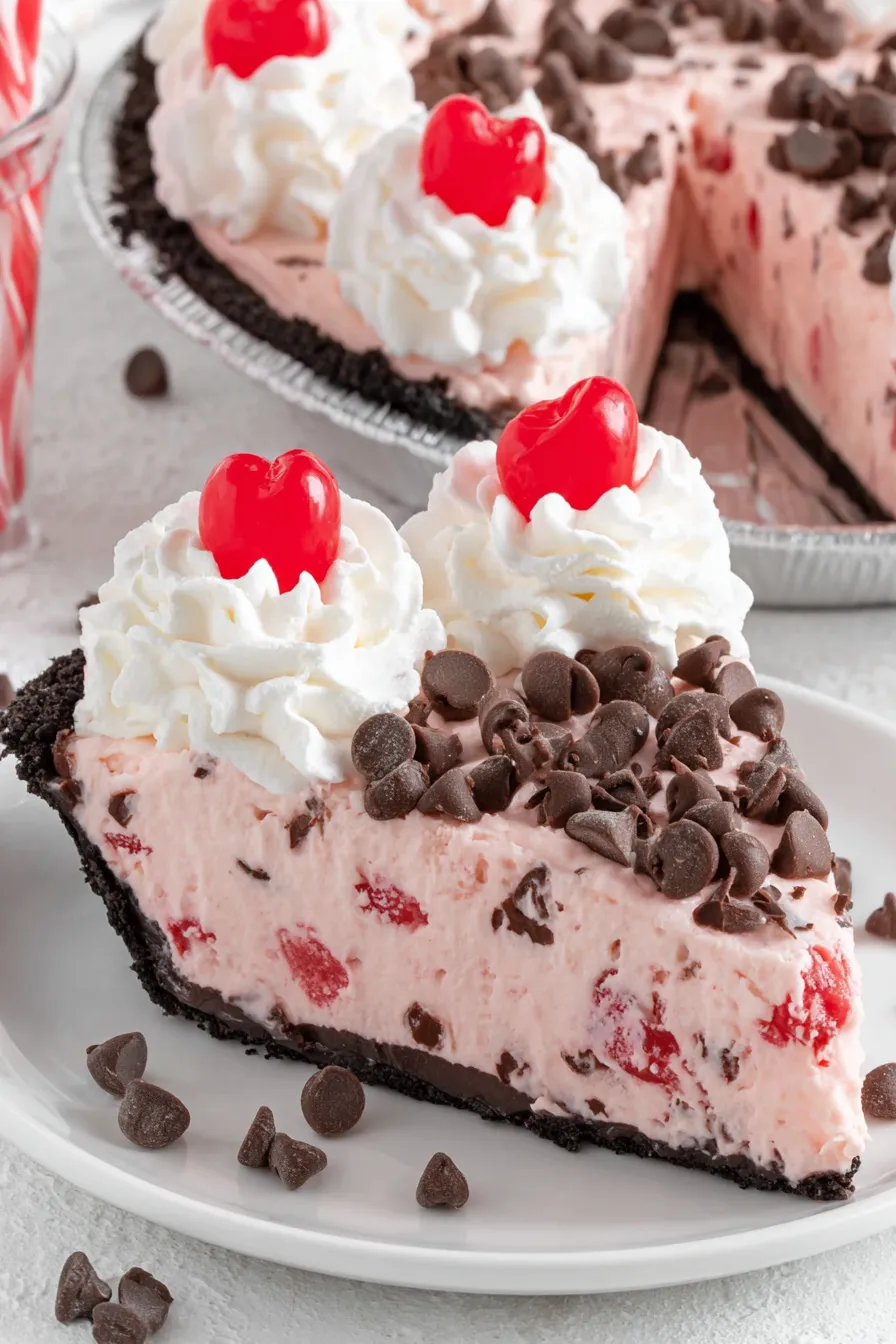
- 21 ounce can cherry pie filling: The classic, glossy filling gives bright fruit flavor and those attractive pockets of cherries; if you prefer a firmer set, gently drain a little syrup but keep most for shine.
- 8 ounces Cool Whip: Folded in for lightness and ease — thaw completely in the refrigerator before using so it incorporates evenly.
- 1½ cups semi-sweet mini chocolate chips (divided): Use Nestlé Toll House or Ghirardelli mini chips; smaller chips distribute through the filling and give a better mouthfeel than large chips.
- Maraschino cherries (optional): For garnish — drain well and pat dry so they don’t weep onto the surface.
Instructions
Prepare the Filling Base: In a medium mixing bowl, beat the softened cream cheese and 1 cup powdered sugar with a hand mixer or stand mixer on medium speed until smooth and light in color — about 2 to 3 minutes. Room-temperature cream cheese ensures no lumps; if you see any small curds, continue beating briefly until completely smooth. This creates the stable, creamy backbone for the pie. Incorporate the Fruit and Cool Whip: Use a flexible spatula to gently stir in the entire 21-ounce can of cherry pie filling, folding until the cherries and syrup are evenly distributed. Next, fold in the thawed 8 ounces of Cool Whip in three additions, using large strokes to retain air. Overmixing will deflate the filling — stop once the mixture looks uniform and fluffy. Add Chocolate and Fill the Crust: Fold in 1 cup of the mini semi-sweet chips so they disperse evenly through the filling. Spoon the mixture into the 9-inch chocolate crust and smooth the top with an offset spatula for a clean look. Reserve the remaining ½ cup chips for topping. Chill to Set: Cover loosely with plastic wrap and refrigerate for 3 to 4 hours, or until the filling is firm to the touch. Chilling not only sets the texture but allows the flavors to meld — the chocolate notes deepen and the filling becomes pleasantly mousse-like. Finish and Serve: Before serving, pipe or dollop additional Cool Whip on top, sprinkle the remaining mini chips, and add maraschino cherries for a classic look. Let slices sit at room temperature for 5–10 minutes before serving to soften slightly for the best mouthfeel.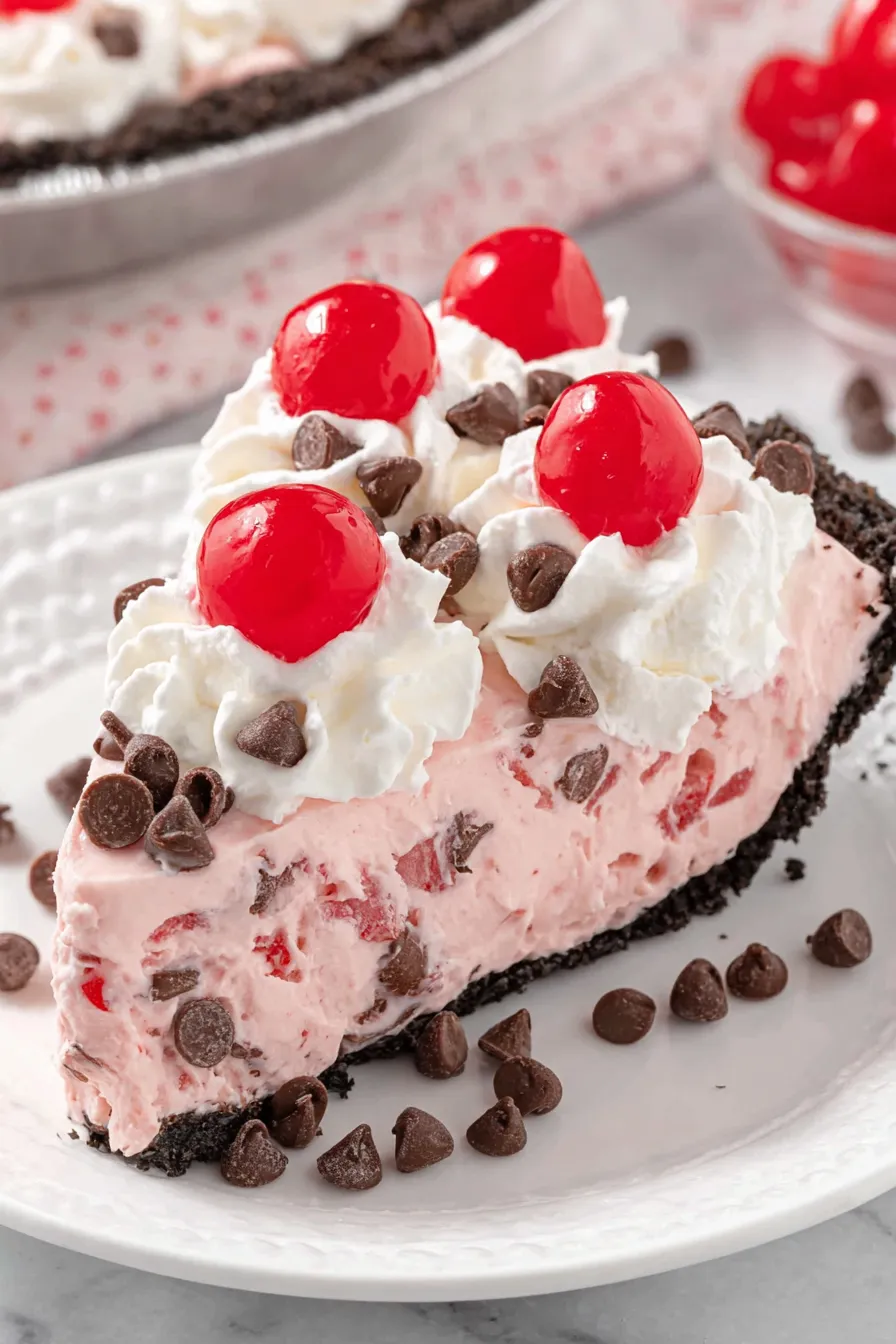
You Must Know
- This is a no-bake, refrigerator-set dessert — chilling time is essential: allow at least 3 hours for a clean slice.
- Store in the refrigerator for up to 3 days; for longer storage, freeze for up to 1 month (wrap tightly and thaw overnight in the fridge).
- High in sugar and fat — a rich treat best served in modest slices; each pie serves 8 comfortably.
- Contains dairy and gluten (crust) and soy (in chocolate)—see allergy notes below for alternatives.
My favorite aspect is how forgiving the assembly is: even when the cream cheese was slightly too cool once, a few extra seconds of beating fixed it. Guests comment on the contrast between the glossy cherries and the deep chocolate crust — it’s a simple presentation that reads like something fancier than it is, making it an easy showstopper.
Storage Tips
Keep the pie covered in the refrigerator to prevent it absorbing other flavors and to keep the topping looking fresh. Airtight containers or pie carriers work best. Leftover slices can be stored in single-serve containers for easy grab-and-go desserts. If freezing, wrap the whole pie tightly in plastic wrap and then in foil; thaw in the refrigerator overnight and allow 20–30 minutes at room temperature before serving so the texture softens slightly.
Ingredient Substitutions
For a gluten-free option, use a gluten-free chocolate cookie crust; brands like Kinnikinnick or store-made crust from gluten-free chocolate cookies work well. To make this dairy-free, try a dairy-free cream cheese alternative and a coconut-based whipped topping — note texture will be slightly looser. If you want stronger chocolate flavor without adding more chips, fold in 1 tablespoon of cocoa powder into the cream cheese before adding the Cool Whip.
Serving Suggestions
Serve chilled slices with a small scoop of vanilla ice cream or a drizzle of warm chocolate sauce for contrast. Garnish with whole maraschino cherries or finely grated dark chocolate for an upscale finish. This pie is wonderful alongside coffee at brunch or as a showpiece at holiday dessert tables — for a summer twist, add a sprinkle of toasted almond slivers for crunch.
Cultural Background
Layered cream-and-fruit pies are a classic in American home baking, riffing on traditional cherry pies and combining them with no-bake cream fillings that became popular in mid-century home cooking. The chocolate crust is a modern adaptation that adds depth, inspired by cookie-crumb bases used in cheesecakes. This version blends nostalgic canned cherry filling with contemporary convenience and texture contrasts.
Seasonal Adaptations
In summer, swap canned filling for a lightly macerated fresh cherry compote (roughly 3 cups fresh cherries cooked with 1/3 cup sugar and 1 tablespoon lemon juice) for brighter flavor. In winter holidays, replace cherries with cranberry-orange compote and add cinnamon to the cream base for warmth. For a spring brunch, scatter fresh berries on top and use whipped cream flavored with a touch of orange zest.
Meal Prep Tips
Make the filling the day before and keep it chilled in a covered bowl; fill the crust the next day and finish with toppings just before serving. Prepare individual mini pies using tartlet crusts for portable portions that are handy for parties. Use disposable pie tins if you need to transport dessert — line them with parchment for neat slicing.
This pie is a dependable favorite: easy to scale, friendly to make-ahead plans, and consistently praised by guests. Give it a try at your next gathering and make it your own with the topping and garnish variations suggested above.
Pro Tips
Use room-temperature cream cheese for a lump-free, silky filling.
Fold in whipped topping gently to keep the filling airy; overmixing will deflate it.
Reserve some chocolate chips for topping so you have a pretty finish without extra work.
Let slices sit 5–10 minutes at room temperature before serving for best texture.
This nourishing chocolate cherry pie recipe is sure to be a staple in your kitchen. Enjoy every moist, high protein slice — it is perfect for breakfast or as a wholesome snack any time.
FAQs about Recipes
How long does it need to chill?
Yes — refrigerate for at least 3 hours; chilling overnight yields the best slices.
Can I freeze the pie?
Thaw overnight in the refrigerator, then sit 20–30 minutes at room temperature before serving.
Tags
Chocolate Cherry Pie
This Chocolate Cherry Pie recipe makes perfectly juicy, tender, and flavorful steak every time! Serve with potatoes and a side salad for an unforgettable dinner in under 30 minutes.
Ingredients
Crust
Filling
Topping
Instructions
Beat cream cheese and sugar
Beat 8 ounces softened cream cheese with 1 cup powdered sugar until light and completely smooth, about 2–3 minutes using a hand or stand mixer.
Combine cherries and Cool Whip
Stir in the 21-ounce can of cherry pie filling with a spatula, then fold in thawed 8 ounces of Cool Whip in thirds to keep the mixture airy.
Add chocolate chips and fill crust
Fold in 1 cup mini semi-sweet chips until evenly dispersed, spoon mixture into the 9-inch chocolate crust, and smooth the top.
Chill to set
Cover loosely and refrigerate for 3–4 hours until firm. Chill longer for cleaner slices and deeper flavor melding.
Finish and serve
Top with extra Cool Whip, remaining 1/2 cup mini chips, and maraschino cherries if desired. Let slices rest 5–10 minutes at room temperature before serving.
Last Step: Please leave a rating and comment letting us know how you liked this recipe! This helps our business to thrive and continue providing free, high-quality recipes for you.
Nutrition
Did You Make This?
Leave a comment & rating below or tag
@delishum on social media!
Categories:
You might also like...

Gooey Marshmallow Chocolate Brownies
Thick chocolate chunk brownies crowned with melted mini marshmallows and drenched in glossy chocolate frosting for the ultimate fudgy, crowd-pleasing bite.

Buttery Pecan Pie Bars
Buttery shortbread crust meets a lush brown sugar pecan topping. Crunchy, caramelly, and ready with just 10 minutes of prep for effortless indulgence.

No-Crack Pumpkin Cheesecake
Ultra-smooth pumpkin cheesecake with warm spice and a sturdy graham crust. A showstopper on its own, unforgettable with caramel and rum-kissed whipped cream.
Did You Make This?
Leave a comment & rating below or tag @delishum on social media!
Rate This Recipe
Share This Recipe
Enjoyed this recipe? Share it with friends and family, and don't forget to leave a review!
Comments (1)
This recipe looks amazing! Can't wait to try it.
Comments are stored locally in your browser. Server comments are displayed alongside your local comments.

Hi, I'm Amelia!
What's Popular

30-Minute Meals!
Join to receive our email series which contains a round-up of some of our quick and easy family favorite recipes.