
Baked Mac and Cheese with a Crunch

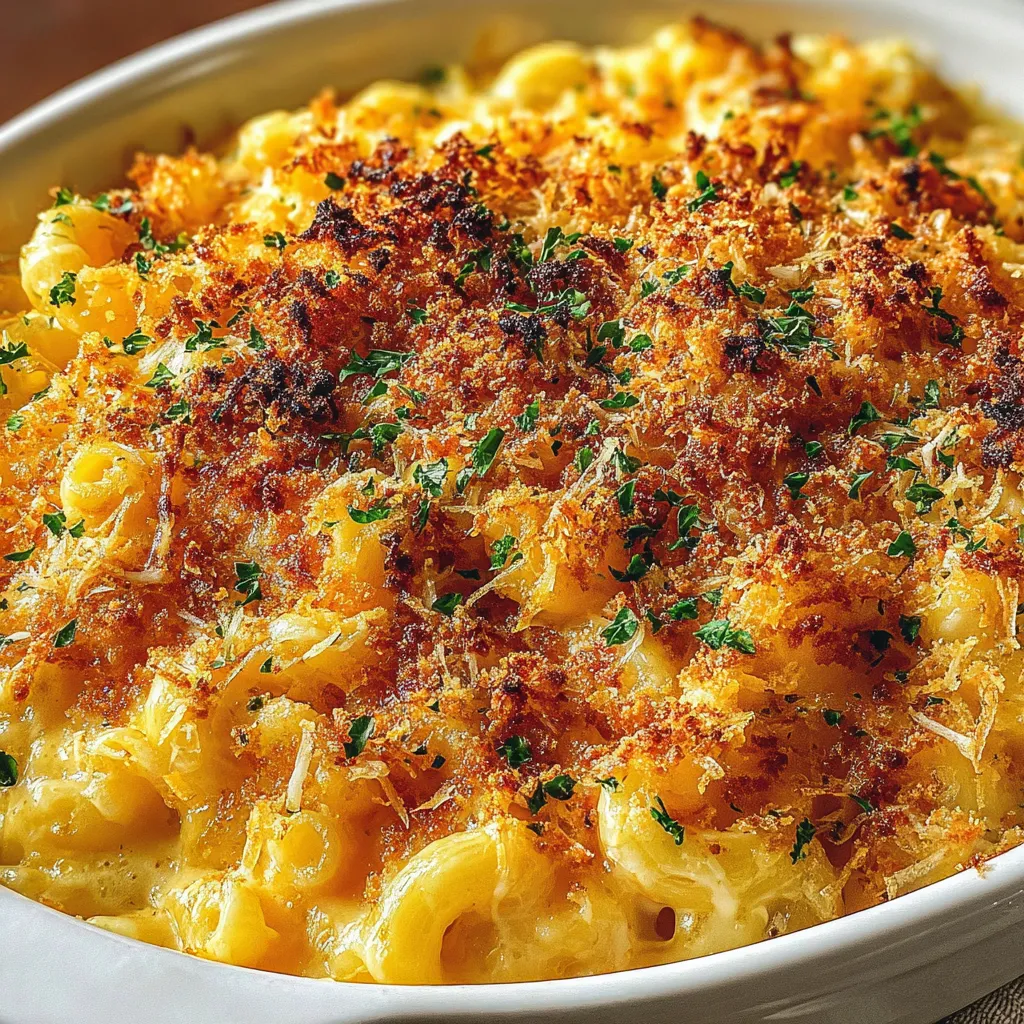
Creamy, cheesy pasta topped with a golden, crunchy breadcrumb-Parmesan crust — a family-favorite comfort dish that's easy to make and perfect for weeknights or gatherings.
Why You'll Love This Recipe
- This dish is creamy and rich yet simple to assemble; it uses pantry staples like elbow pasta, flour, butter, milk, and shredded cheddar for easy weeknight prep.
- The crunchy topping — a blend of breadcrumbs and grated Parmesan tossed with olive oil — delivers a satisfying contrast to the silky pasta underneath.
- Ready in about 45 minutes from start to finish: roughly 15 minutes active prep and 20–25 minutes in the oven, ideal when you need something fast and comforting.
- Flexible and crowd-pleasing: make-ahead options include assembling ahead and baking just before serving, or freezing for up to 3 months for an easy reheat later.
- Accessible ingredients: use pre-shredded cheese to save time, or grate your own for creamier melt and less anti-caking agents; breadcrumbs can be panko for extra crunch.
- Customizable to dietary preferences: swap breadcrumbs for gluten-free crumbs and use lactose-free milk for a gluten-free or dairy-light adaptation.
My family always asks for seconds, and I love that the leftovers reheat beautifully — a quick 10–12 minute reheat under the broiler restores that crisp top. One memorable Sunday, this was the dish that convinced my picky cousin to try new flavors: they declared it the best mac and cheese they'd ever had after the first bite.
Ingredients
- Elbow macaroni (1 pound): Use a quality dried pasta like Barilla or De Cecco; cook to al dente so the pasta holds its shape during baking.
- Sharp cheddar cheese (4 cups, shredded): Choose a good sharp cheddar — Cabot or Tillamook are reliable — and shred it yourself for better melting and creamier texture than pre-shredded bags.
- Whole milk (3 cups): Whole milk gives the best mouthfeel; for a richer result, substitute 1 cup of milk with half-and-half.
- All-purpose flour (1/2 cup): Used to make a roux that thickens the sauce. Measure by spooning into the cup for accuracy.
- Unsalted butter (1/2 cup or 1 stick): Start with unsalted to control seasoning. Salted butter can be used — reduce added salt accordingly.
- Bread crumbs (1 cup): Panko yields a lighter, extra-crispy top; regular breadcrumbs provide a denser crust.
- Grated Parmesan cheese (1/2 cup): Adds umami and helps the crumbs brown beautifully; freshly grated is best.
- Salt (1 teaspoon): Kosher or table salt to taste; adjust depending on whether your cheese is salty.
- Ground black pepper (1/2 teaspoon): Freshly ground for bright peppery notes.
- Smoked paprika (1/2 teaspoon): Brings subtle smokiness and depth — optional but recommended.
- Garlic powder (1/2 teaspoon): Adds savory warmth without the bite of fresh garlic; swap for 1 clove minced garlic if you prefer.
- Olive oil (2 tablespoons): Coats the crumbs for crisping and adds a hint of fruitiness.
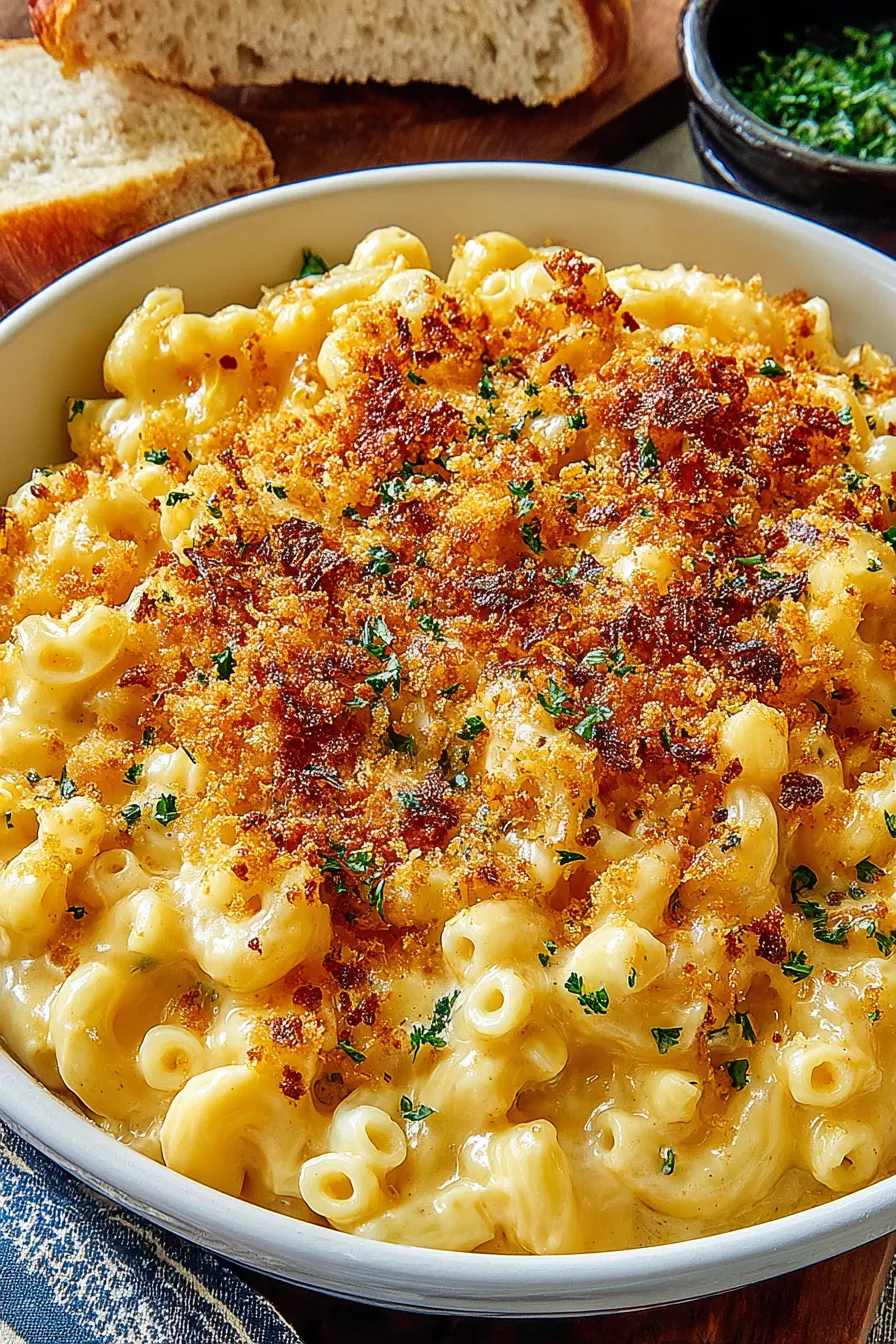
- Fresh parsley (2 tablespoons, chopped, optional): Bright finishing herb that lifts the richness when sprinkled on top before serving.
Instructions
Preheat and boil: Set your oven to 350°F (175°C). Bring a large pot of salted water to a rolling boil and cook 1 pound elbow macaroni according to package instructions until just al dente — usually 8–9 minutes. Al dente means there's a slight bite; the pasta will finish cooking in the oven. Drain and set aside. Make the roux: In a large saucepan over medium heat, melt 1/2 cup (1 stick) unsalted butter. Add 1/2 cup all-purpose flour and whisk constantly for about 2 minutes until the mixture turns a light golden color and loses its raw flour taste. This step develops the nutty base and prevents a pasty finish. Whisk in milk and thicken: Gradually pour in 3 cups whole milk while whisking to prevent lumps. Continue to whisk and bring the sauce to a gentle simmer (do not boil aggressively). Simmer for 3–5 minutes until the sauce thickens and coats the back of a spoon — this indicates proper viscosity for clinging to pasta. Add cheese and season: Remove from heat and stir in 4 cups shredded sharp cheddar, 1 teaspoon salt, 1/2 teaspoon black pepper, 1/2 teaspoon smoked paprika, and 1/2 teaspoon garlic powder. Stir until the cheese melts fully and the sauce is smooth and glossy. Taste and adjust seasoning if needed. Combine pasta and sauce: Fold the drained pasta into the cheese sauce, making sure every piece is coated. Transfer the mixture to a lightly buttered 9x13-inch (or similar) oven-safe baking dish and spread evenly. Prepare the topping: In a small bowl, combine 1 cup breadcrumbs, 1/2 cup grated Parmesan, and 2 tablespoons olive oil. Toss until the crumbs are evenly coated and look slightly glossy — this helps them brown in the oven without drying out. Bake until golden: Evenly sprinkle the breadcrumb mixture over the pasta. Bake in the preheated oven for 20–25 minutes, or until the top is deep golden brown and crispy and the edges bubble. If you want an extra-crispy finish, place under the broiler for 1–2 minutes while watching closely to avoid burning. Rest and garnish: Remove from the oven and let rest for 5–10 minutes — this helps the sauce set slightly for neater serving. Garnish with 2 tablespoons chopped fresh parsley if desired, and serve warm.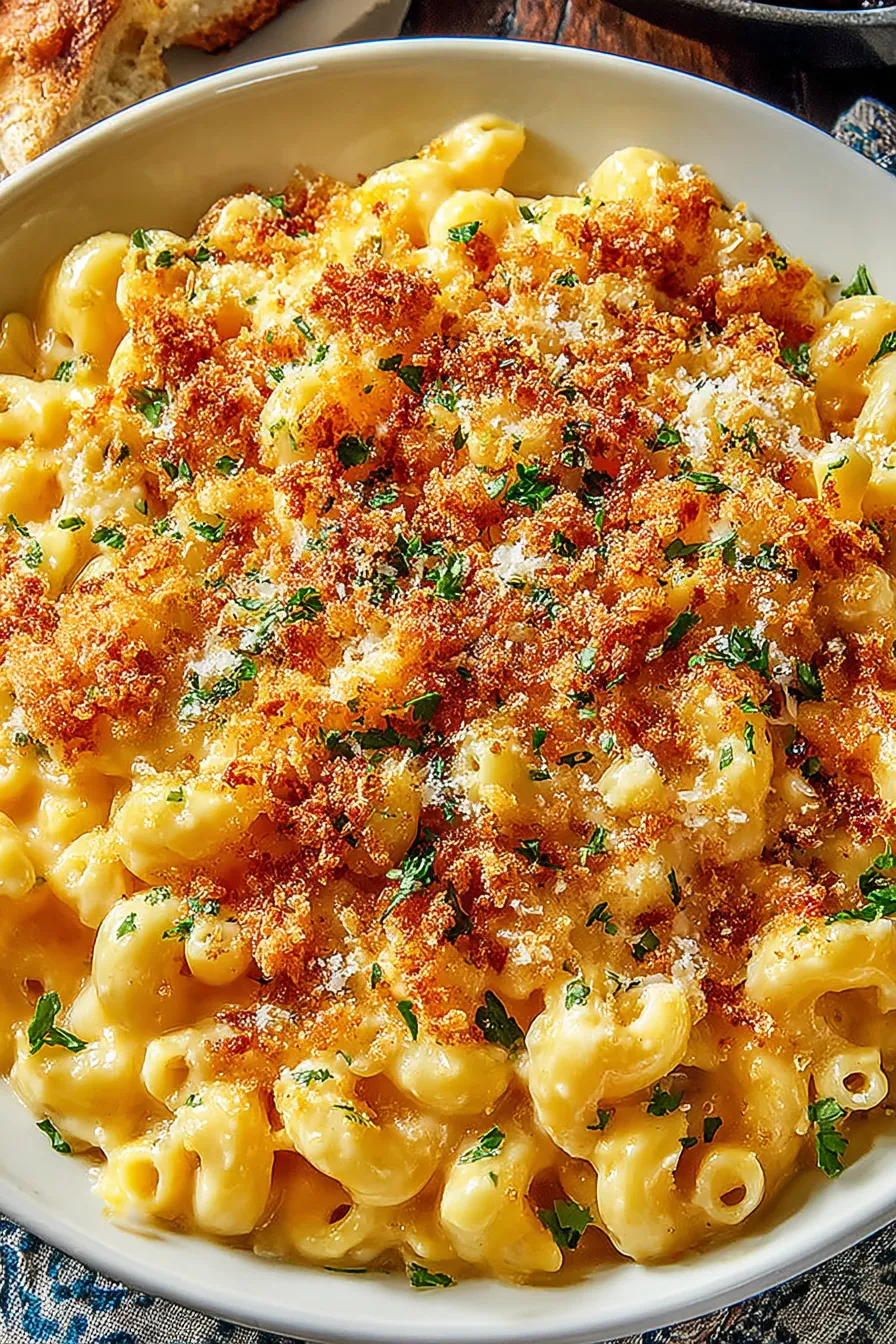
You Must Know
- This keeps well in the refrigerator for up to 4 days when covered; reheat individual portions in the oven or under the broiler for best texture.
- Freeze assembled, unbaked portions for up to 3 months; thaw overnight in the fridge before baking and add a few extra minutes to the bake time.
- Using freshly shredded cheese (not pre-shredded) yields a creamier sauce because it melts more smoothly—pre-shredded often contains anti-caking agents.
- Pasta cooked to al dente prevents a mushy final texture after baking and resting.
What I love most about this recipe is how forgiving it is — if the sauce looks too thick, stir in a splash of milk to loosen it; if it's thin, a couple more minutes over low heat will help. Family members remember the crunchy top first and then settle into the warmth of the cheesy interior; it's comfort food that also shows a little kitchen technique.
Storage Tips
Store leftovers in an airtight container or cover the baking dish tightly with foil. In the refrigerator, the dish will keep well for 3–4 days. For longer storage, freeze individual portions after the dish has cooled completely — wrap tightly in plastic and place in a freezer-safe container for up to 3 months. To reheat from frozen, thaw overnight in the fridge and reheat covered at 350°F for 20–30 minutes until warm, then uncover and broil for 1–2 minutes to refresh the crust. For fridge leftovers, reheat in a 350°F oven for 10–15 minutes or microwave and then crisp under the broiler for best texture.
Ingredient Substitutions
If you need lighter options, swap 1 cup of milk for low-fat milk or use 1 cup half-and-half for extra richness. For gluten-free diets, use a gluten-free pasta and gluten-free breadcrumbs; mix cornstarch (1 tablespoon) with the flour in the roux if you want to reduce wheat — note, the texture will vary slightly. To make it vegetarian-friendly without Parmesan, omit the Parmesan in the topping or use a vegetarian hard cheese. For a smoky, deeper flavor, swap half the cheddar for smoked Gouda or add 1/2 cup Gruyère for nutty complexity.
Serving Suggestions
This pairs beautifully with a crisp green salad dressed in lemon vinaigrette to cut through the richness, or roasted vegetables such as broccoli or Brussels sprouts for a hearty accompaniment. For a brunch spread, serve small scoops as a side alongside scrambled eggs and bacon. Garnish with chopped chives or parsley for color, and offer hot sauce on the side for people who like a spicy kick.
Cultural Background
Macaroni and cheese has deep roots in American comfort cooking, with early variations appearing in 18th-century European cookbooks. In the U.S., it evolved into a soul-warming staple found in Southern cooking and family kitchens nationwide. The baked version with a crunchy topping became popular as home ovens and breadcrumb use grew; it adds texture and a browned flavor that complements the creamy interior.
Seasonal Adaptations
In winter, add roasted root vegetables or a touch of Dijon mustard for warmth. For summer, lighten it with half milk and half Greek yogurt stirred in off the heat, and top with lemon zest and fresh herbs. For holiday meals, mix in diced ham or cooked lobster for a luxurious twist and swap panko for crushed buttery crackers in the topping for a festive golden crust.
Meal Prep Tips
To streamline weeknight cooking, prepare the sauce and cook the pasta ahead and assemble in the baking dish. Cover and refrigerate up to 24 hours; bake just before serving. For larger gatherings, assemble several smaller dishes rather than one big one — they reheat more evenly and make serving easier. Keep the breadcrumb topping separate until ready to bake if you want to preserve extra crunch for later reheating.
In the end, this baked mac and cheese with a crunchy topping is one of those dishes that brings people together — warm, nostalgic, and endlessly adaptable. Whether you keep it classic or add your own twist, it's a reliable way to turn everyday ingredients into something special. I hope it becomes a staple in your kitchen, too.
Pro Tips
Grate your own cheddar for a creamier melt; pre-shredded cheese contains anti-caking agents that can affect texture.
Cook the roux for about 2 minutes to remove the raw flour taste before adding milk.
If the sauce is too thick, stir in a splash of milk; if too thin, simmer gently until it reaches a coating consistency.
This nourishing baked mac and cheese with a crunch recipe is sure to be a staple in your kitchen. Enjoy every moist, high protein slice — it is perfect for breakfast or as a wholesome snack any time.
FAQs about Recipes
Should I fully cook the pasta before baking?
Cook the pasta to al dente; it will finish cooking in the oven and prevent a mushy texture.
How long does leftovers keep in the fridge?
Yes — cover tightly and refrigerate for up to 4 days. Reheat in the oven and broil briefly to refresh the top.
Tags
Baked Mac and Cheese with a Crunch
This Baked Mac and Cheese with a Crunch recipe makes perfectly juicy, tender, and flavorful steak every time! Serve with potatoes and a side salad for an unforgettable dinner in under 30 minutes.
Instructions
Preheat and Cook Pasta
Preheat oven to 350°F (175°C). Bring a large pot of salted water to a boil and cook 1 pound elbow macaroni until al dente (8–9 minutes). Drain and set aside.
Make the Roux
Melt 1/2 cup unsalted butter in a saucepan over medium heat. Add 1/2 cup all-purpose flour and whisk for about 2 minutes until it turns light golden and raw flour taste is gone.
Add Milk and Thicken
Gradually whisk in 3 cups whole milk, bringing the mixture to a gentle simmer. Continue to whisk until the sauce thickens and coats the back of a spoon, about 3–5 minutes.
Incorporate Cheese and Seasonings
Remove from heat and stir in 4 cups shredded sharp cheddar, 1 teaspoon salt, 1/2 teaspoon black pepper, 1/2 teaspoon smoked paprika, and 1/2 teaspoon garlic powder. Stir until smooth.
Combine Pasta and Sauce
Fold drained pasta into the cheese sauce, ensuring thorough coating. Transfer mixture to a buttered 9x13-inch baking dish and spread evenly.
Prepare Breadcrumb Topping
Mix 1 cup breadcrumbs with 1/2 cup grated Parmesan and 2 tablespoons olive oil until crumbs are evenly coated. Sprinkle evenly over the pasta.
Bake and Rest
Bake for 20–25 minutes until the top is golden and crispy. Let rest 5–10 minutes before serving. Garnish with chopped parsley if desired.
Last Step: Please leave a rating and comment letting us know how you liked this recipe! This helps our business to thrive and continue providing free, high-quality recipes for you.
Nutrition
Did You Make This?
Leave a comment & rating below or tag
@delishum on social media!
Categories:
You might also like...
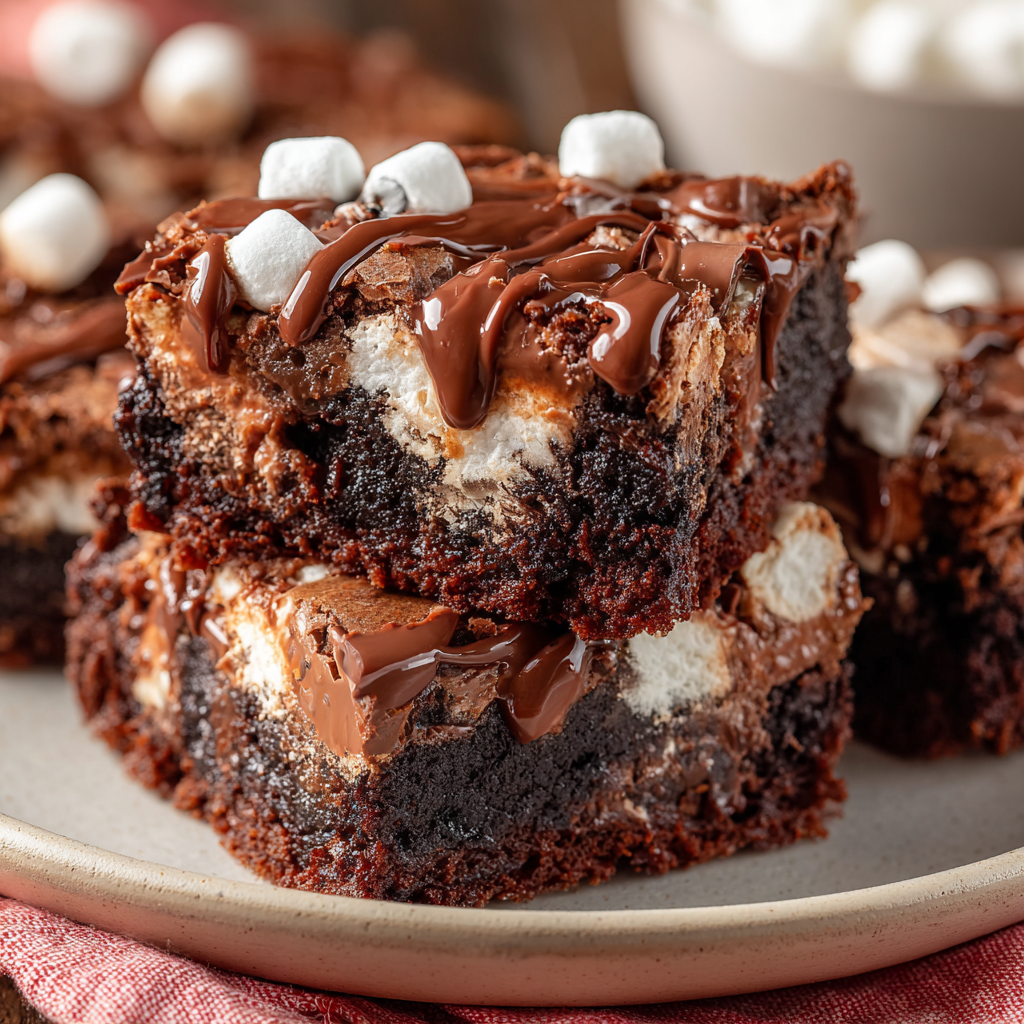
Gooey Marshmallow Chocolate Brownies
Thick chocolate chunk brownies crowned with melted mini marshmallows and drenched in glossy chocolate frosting for the ultimate fudgy, crowd-pleasing bite.
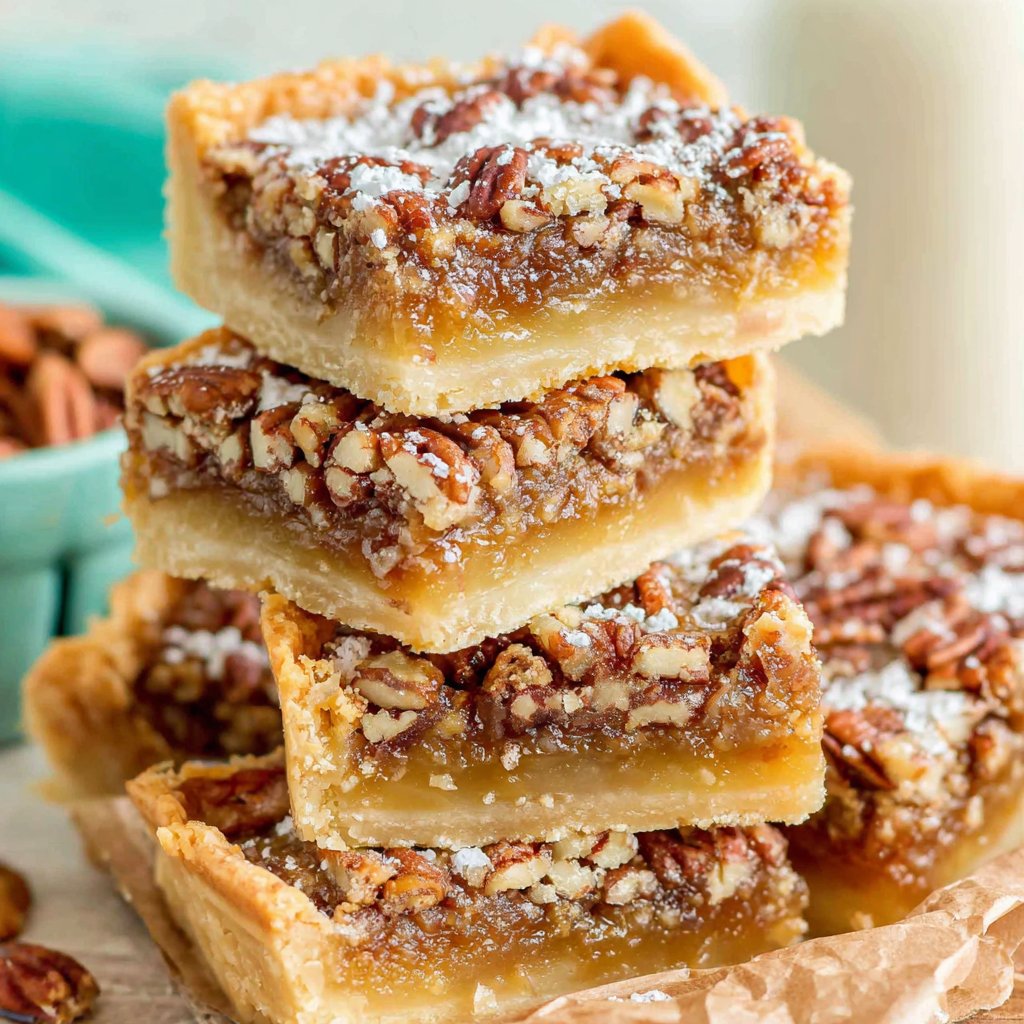
Buttery Pecan Pie Bars
Buttery shortbread crust meets a lush brown sugar pecan topping. Crunchy, caramelly, and ready with just 10 minutes of prep for effortless indulgence.
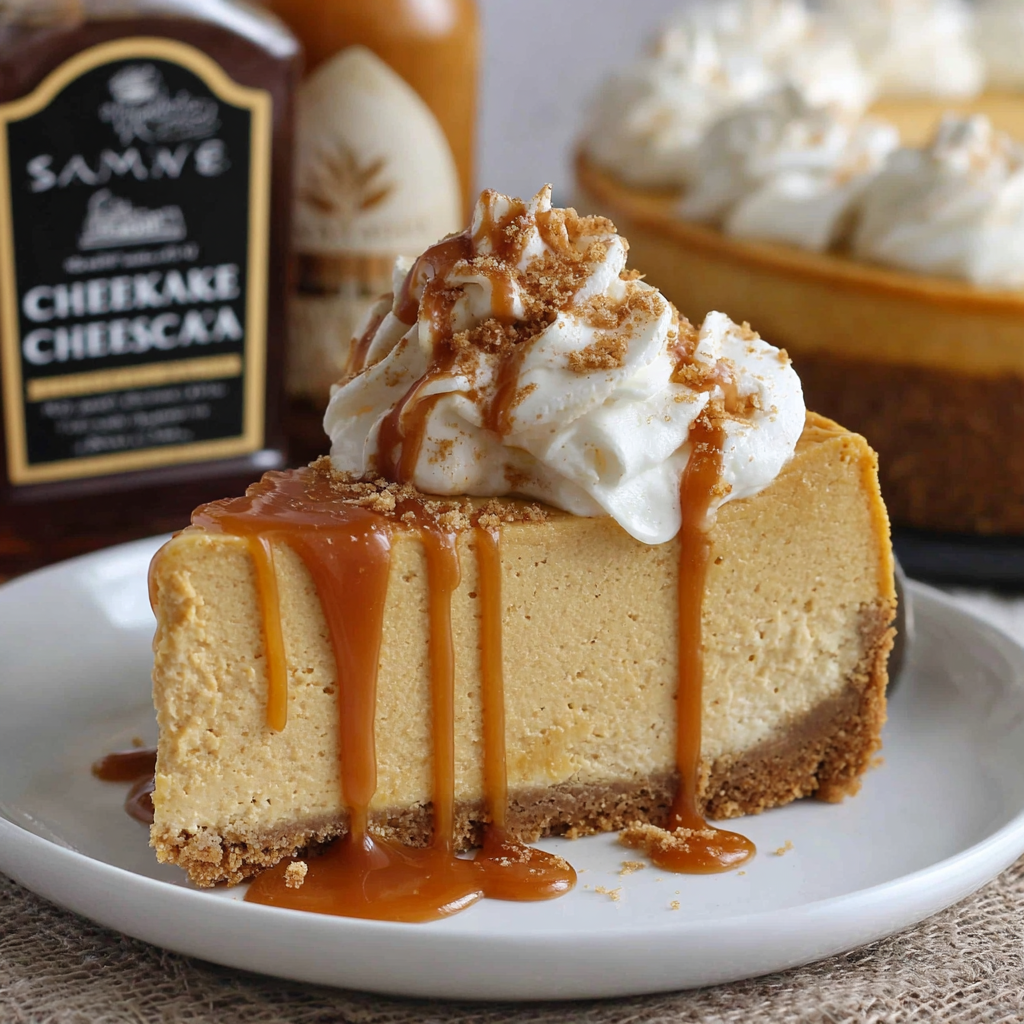
No-Crack Pumpkin Cheesecake
Ultra-smooth pumpkin cheesecake with warm spice and a sturdy graham crust. A showstopper on its own, unforgettable with caramel and rum-kissed whipped cream.
Did You Make This?
Leave a comment & rating below or tag @delishum on social media!
Rate This Recipe
Share This Recipe
Enjoyed this recipe? Share it with friends and family, and don't forget to leave a review!
Comments (1)
This recipe looks amazing! Can't wait to try it.
Comments are stored locally in your browser. Server comments are displayed alongside your local comments.

Hi, I'm Amelia!
What's Popular
30-Minute Meals!
Join to receive our email series which contains a round-up of some of our quick and easy family favorite recipes.